36
Installing the Wireless Bridge
Physical Installation
3. Create a drip loop in any cable installed outdoors. This will prevent water from
running along the cable and entering the Wireless Bridge or the building where
the cable terminates.
4. Verify that the RJ45 port on the Wireless Bridge is connected to the AP/BRIDGE
port on the PoE injector.
5. Connect the Ethernet cable from the NETWORK port on the PoE injector to your
network router or switch.
6. Apply power to the Wireless Bridge.
• If you are using PoE, plug the power adapter in to an AC power source.
• If you are using DC power, connect the DC cable to a DC power source.
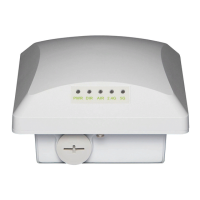
7. Verify that the PWR LED on the back of the Wireless Bridge is steady green.
8. Continue to “Attaching the Mounting Brackets”
.
Attaching the Mounting Brackets
What You Will Need
To complete this procedure, you will need the following items:
■ Static bracket
■ Dynamic bracket
■ Wall anchors
■ Flat washers
■ Hex nuts
■ 10mm ratchet wrench
If you are mounting the Wireless Bridge on a flat surface, you will also need an electric
drill with an 8mm drill bit.
If you are mounting the Wireless Bridge on a pipe or pole, you will also need the
following:
■ A 30mm to 60 mm (1.18 in. to 2.36 in.) pipe or pole
■ Steel clamp
■ 10mm flathead screwdriver
Step 1: Attach the Static Bracket to the Mounting
Surface
The procedure for attaching the bracket to the mounting surface depends on whether
you are mounting the Wireless Bridge to a flat surface or a pole.
■ Attaching the Bracket to a Flat Surface
■ Attaching the Bracket to a Pole