25
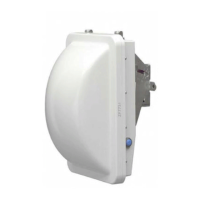
Installing the Wireless Bridge
Physical Installation
Figure 19. Import provisioning settings from Root Bridge to Non-Root Bridge
Physical Installation
Prepare the Required Hardware and Tools
You must supply the following tools and equipment:
■ A notebook or desktop computer running Windows (2000/XP/Vista/7) with one
Ethernet card installed
■ 6mm flathead screwdriver
■ 6mm Phillips screwdriver
■ 10mm ratchet wrench
■ 3mm Phillips screwdriver (if you will be using DC power)
■ Electric drill with 8mm drill bit (if mounting on a flat surface)
■ Two outdoor-rated 5.6mm-6.0mm (outside diameter) Cat-5e foil screened twisted
pair (FTP) solid Ethernet cables
Determine the Optimal Mounting Location and
Orientation
The location and orientation that you choose for the Wireless Bridge play a critical
role in the performance of your wireless network. In general, Ruckus Wireless recom-
mends installing Wireless Bridges away from obstructions and sources of interference
and ensuring that the Wireless Bridges are in direct line of sight of one another.
NOTE: Ruckus Wireless recommends installing the Root Bridge on the network side
of the bridged link and the Non-Root Bridge on the remote side.