48
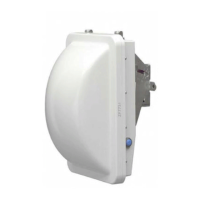
Installing the Wireless Bridge
Optimizing the Distance, Orientation and Channel
Aiming
■ Aiming in a Point to Point Deployment
■ Aiming in a Point to Multipoint Deployment
Aiming in a Point to Point Deployment
Once both units are installed in their permanent locations, press the Aiming Button
on the outside of either unit to begin aiming. Alternatively, you can start the aiming
process via the Web browser, by clicking Start Aiming on the Status > Wireless page.
NOTE: The following section describes the procedure for aiming a pair of ZoneFlex
7731 Wireless Bridges in a point to point configuration. For information on aiming in
a point to multipoint deployment, see “Aiming in a Point to Multipoint Deployment”
on page 49.
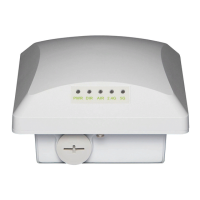
1. Press the blue button on the side of either bridge and hold it for 4 seconds.
• The bottom LED turns yellow, indicating that the unit is in Aiming Mode.
• If the unit is in Aiming mode but there is no association between the two bridge
units, all LEDs will cycle yellow until the two ZoneFlex 7731 units have associ-
ated.
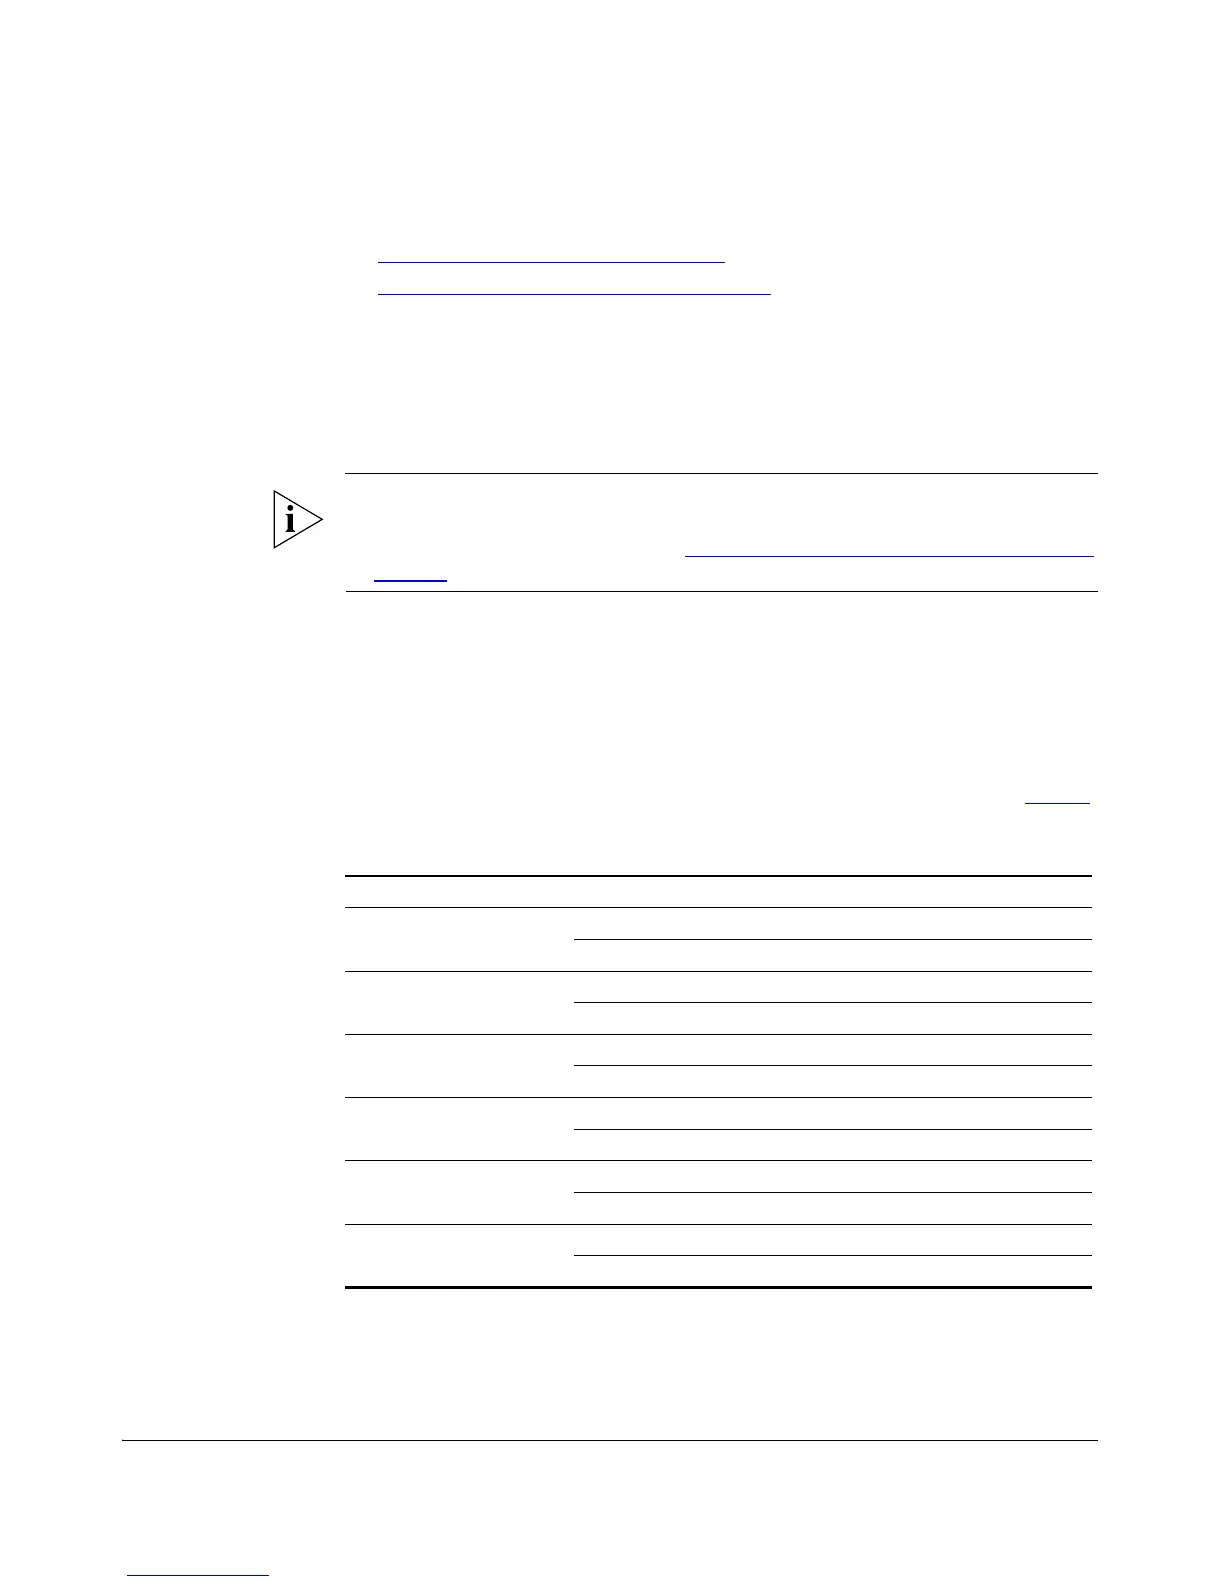
2. Adjust the azimuth and elevation of the first unit to maximize the Aiming LED
indicators. RSSI (received signal strength indication) values are shown in Tab le 5
.
3. After one unit is at its maximum link level, adjust the second unit to increase the
link performance.
Table 5. RSSI values of LED indicators
LED Status RSSI (<=)
LED 6
Solid 35 (Max)
Flashing 30
LED 5
Solid 28
Flashing 25
LED 4
Solid 23
Flashing 20
LED 3
Solid 18
Flashing 15
LED 2
Solid 13
Flashing 10
LED 1
Solid 8
Flashing 5 (Min)