50
Installing the Wireless Bridge
Optimizing the Distance, Orientation and Channel
3. Repeat the aiming procedure for each additional Non-Root Bridge, while leaving
the Root Bridge fixed.
4. Once you have completed the aiming procedure for all Non-Root Bridges,
proceed to “Verifying the Connection”
.
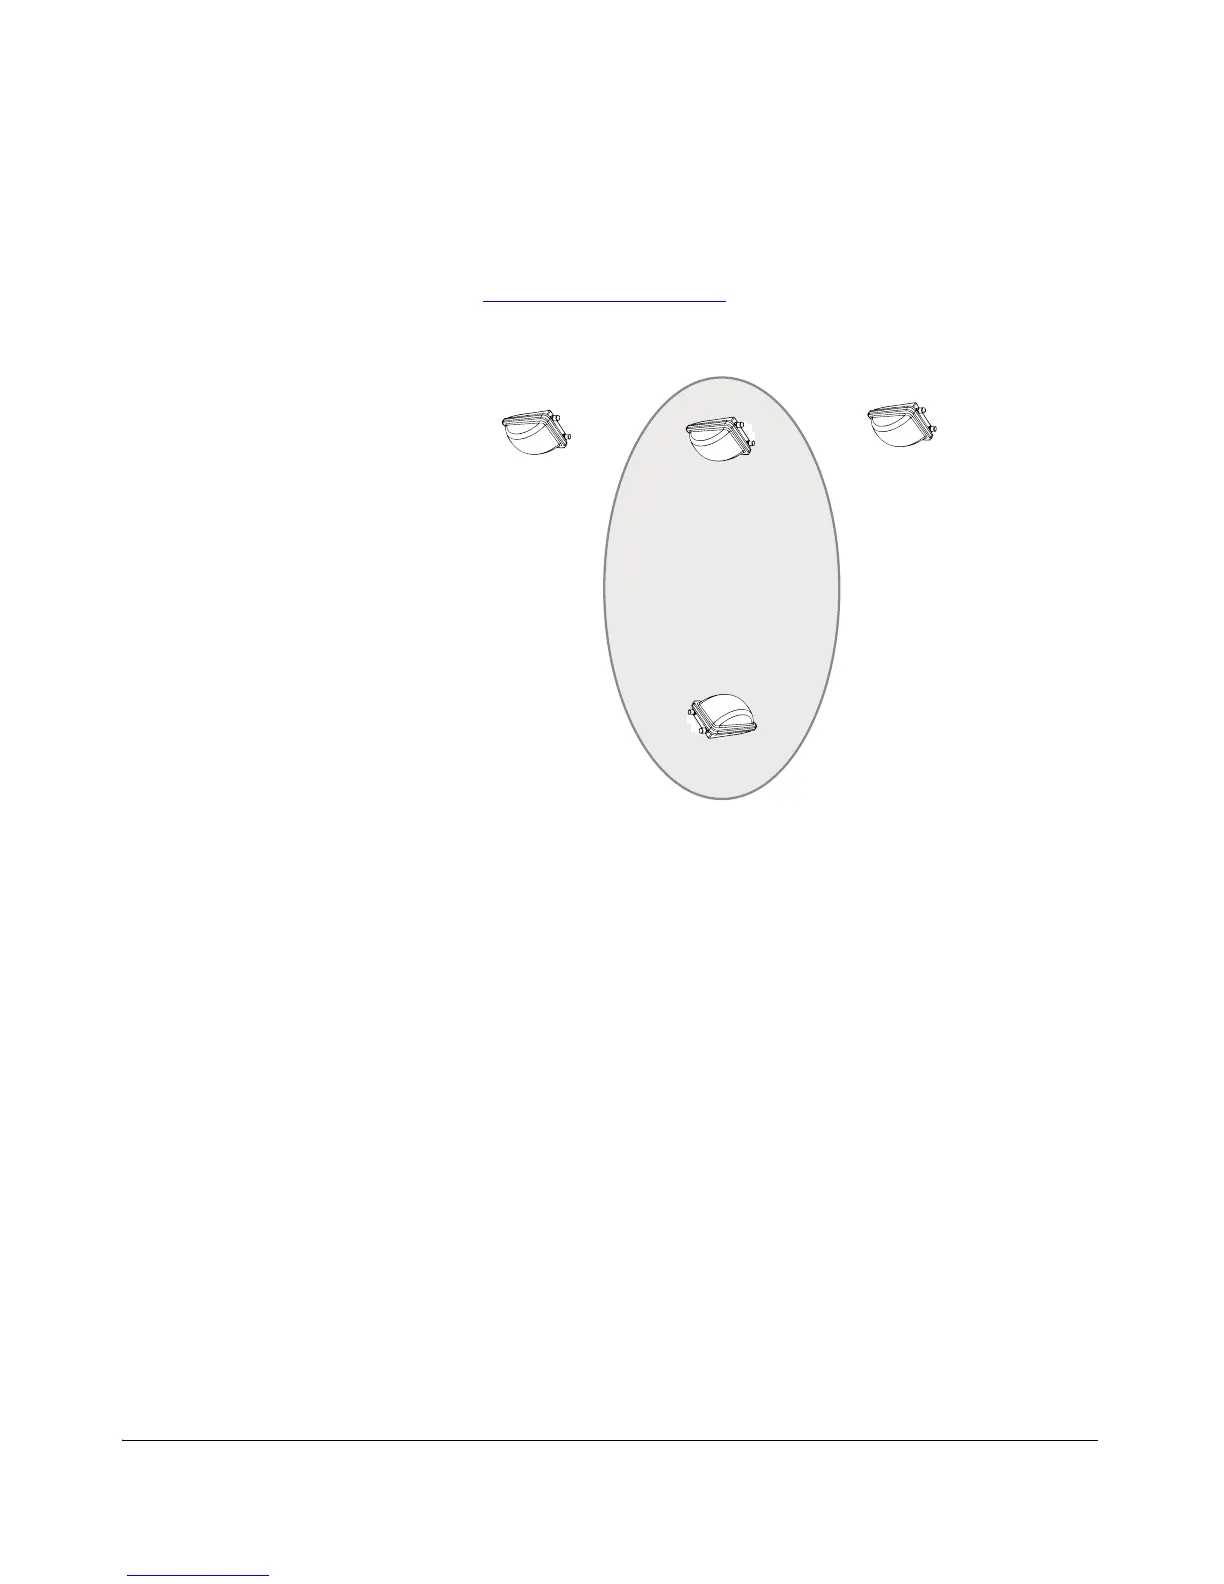
Figure 45. Choosing the “optimal” pair in a point to multipoint deployment
Channel Optimization
After the aiming process is complete the first time, the Root Bridge automatically
initiates a channel scan to determine the optimal channel for the specific environment.
Once it has scanned each channel and determined which channel provides the best
performance, the Root Bridge sends a message to all Non-Root Bridges informing
them of the proper channel to use.
You can also manually initiate this channel scan process at any time. Ruckus Wireless
recommends manually running the channel optimizer again each time additional Non-
Root Bridges are added (after the Aiming process is complete).
To manually initiate the Channel Optimizer Process:
1. Go to Status > Wireless on the Root Bridge Web interface.
2. Click the Start Channel Optimizer Process link.
3. The Channel Optimizer begins immediately.
4. The LEDs on the Root Bridge cycle orange until the process is complete.
5. Wait for the Channel Optimizer to complete scanning, and it will automatically
configure the Root and Non-Root Bridges with the appropriate channel. The time
it takes for the process to complete depends on the number of channels available
in your country or region.