37
Installing the Wireless Bridge
Physical Installation
Attaching the Bracket to a Flat Surface
WARNING: Ruckus Wireless strongly recommends that you wear eye protection
before drilling holes on the mounting surface.
NOTE: The wall anchors that are supplied with the Wireless Bridge are for mounting
on solid masonry walls only. If you are mounting the Wireless Bridge on other materials
(for example, drywall, wood, or hollow cinder block), you will need the appropriate
types of wall anchors. Check your local hardware store for options.
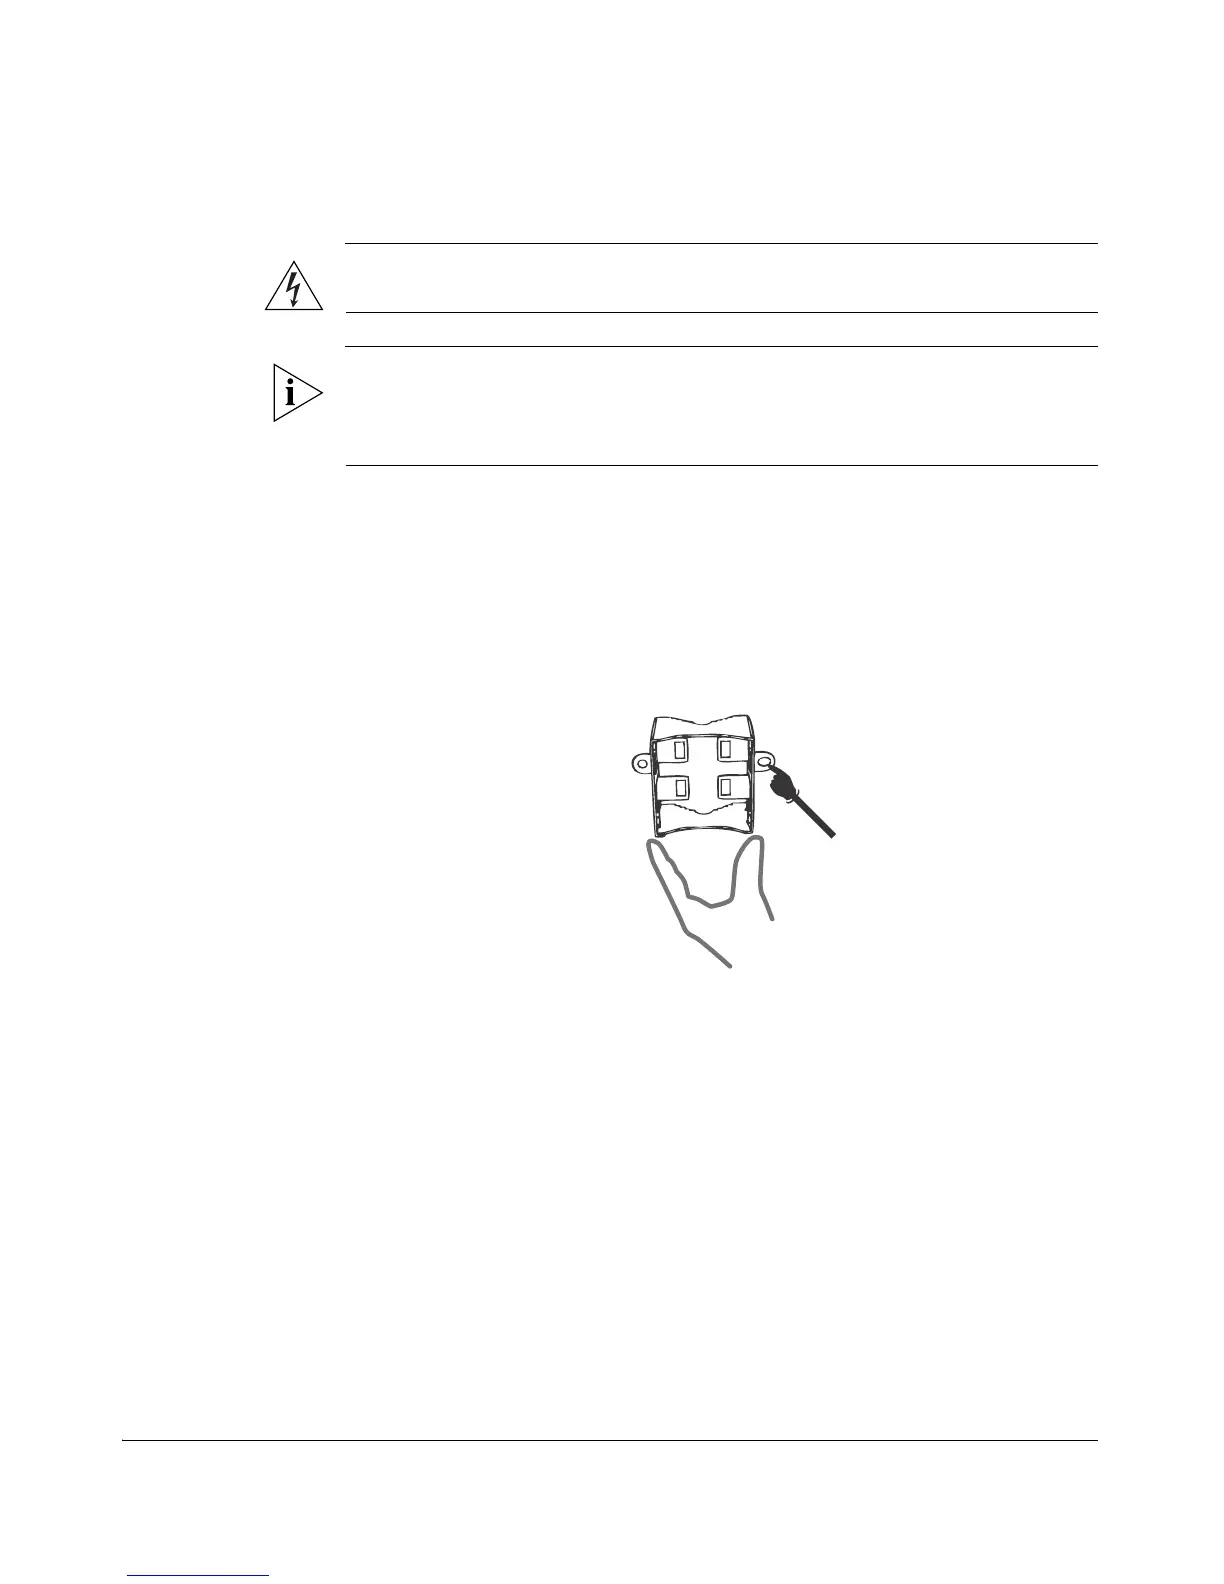
1. Place the static bracket at the exact location on the mounting surface where you
want to mount it.
2. Use the static bracket as a template to mark the locations of the mounting holes
on the two mounting tabs.
Figure 31. Mark the locations of the mounting holes
3. Remove the static bracket from the mounting surface.
4. Drill an 8mm-diameter hole with a depth of 36mm-38mm into each of the markings
that you made on the mounting surface.
5. Insert a wall anchor (with the unthreaded part first) into each of the holes that you
drilled.
6. Place a metal cone on each wall anchor, and then place a flat washer on top of the
metal cone.