35
Installing the Wireless Bridge
Physical Installation
Step 2: Install the Back Panel Cover
1. Make sure that the perimeter rubber gasket on the underside of the bottom cover
is in place and is clear of debris.
2. Place the bottom cover of the Wireless Bridge onto the bottom section.
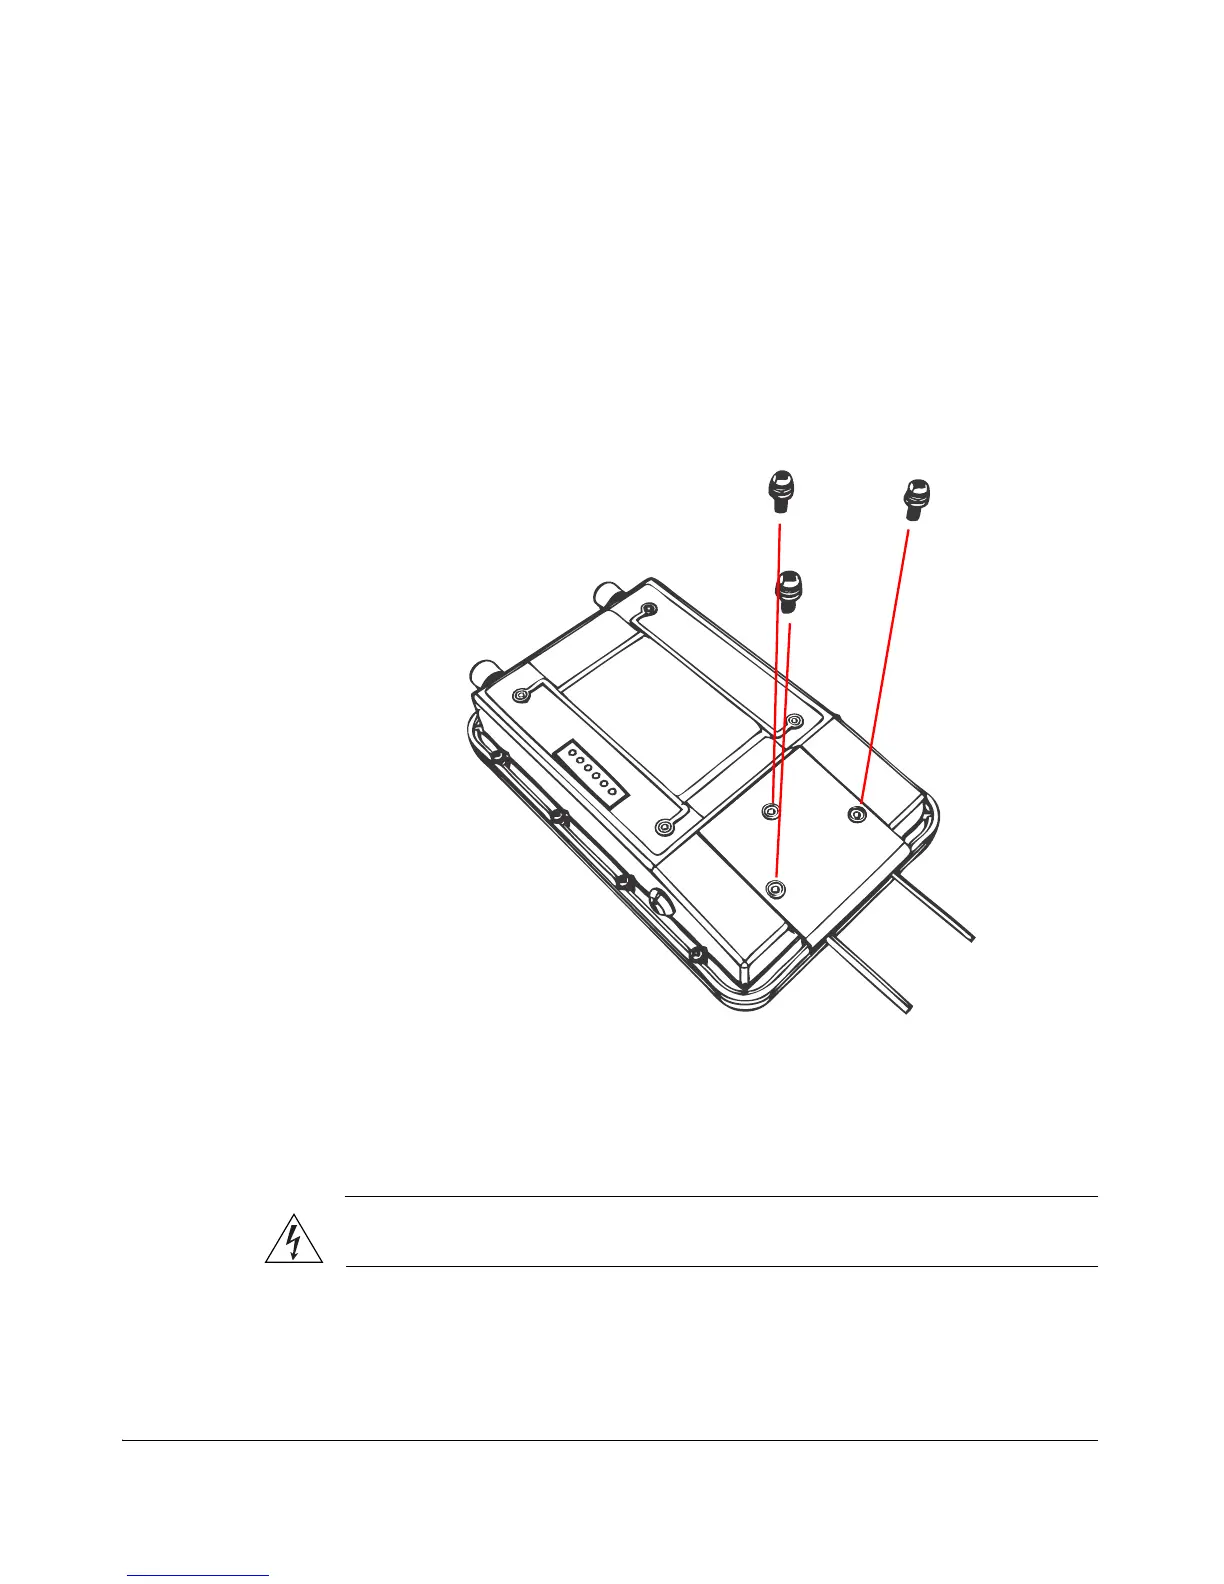
3. Using the three gasketed machine screws that are supplied with the Wireless
Bridge, fasten the bottom cover to the chassis. Screw torque value must be 6.9 ±
0.2 kgf-cm (6.2 ± 0.2 lbfin) to obtain a proper seal.
Figure 30. Fasten the bottom cover using three machine screws
Step 3: Connect the Wireless Bridge to the Network
In this step, you will connect the Wireless Bridge from its mounting location to the
network. Follow the steps below for a typical installation that uses both PoE and DC
power as power sources.
WARNING: Do not apply power to the Wireless Bridge until you finish connecting
all other components.
1. Take the Wireless Bridge to its mounting location.
2. Verify that the Cat-5e FTP cable (outdoor-rated) from the Wireless Bridge is long
enough to reach the PoE injector that is installed indoors.