6. Click OK again to close the Local Area Connection Properties dialog box.
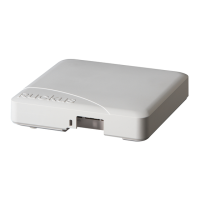
You are now ready to connect the AP to your network.
Step 2: Verifying AP Operation
Before deploying the AP in your environment, Ruckus Wireless strongly recommends
that you verify that the AP is operating correctly.
To do this, connect the AP to your live network temporarily and make sure that the
network connection works and that wireless clients are able to associate with the AP
and connect to your network and the Internet.
NOTE The network and power connections that you make in this step are temporary.
Continue with the following:
• Connect the AP to the Network on page 83
• Associate a Wireless Client with the AP on page 83
• Check the LEDs on page 84
• Check the TR069 Status (FlexMaster Management Only) on page 84
• Disconnect the AP from the Network on page 84
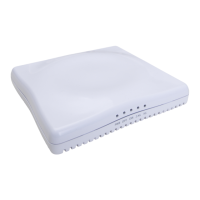
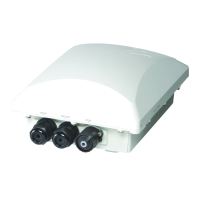
Connect the AP to the Network
Use an Ethernet cable to connect the AP to your network.
1. Connect the Ethernet cable from a LAN (RJ-45) port on the AP to your network's
router or switch.
2. Reconnect the AP to a power source.
You have completed connecting the AP to your live network. Perform the tasks described
in the following sections to verify that the AP is operating normally.
Associate a Wireless Client with the AP
Associate to the WiFi network to verify AP operation.
1. On the administrative computer, verify that the wireless interface is enabled.
2. Connect your admin computer to the wireless network.
3. In the list of available wireless networks, click the network with the same SSID as
you configured in Configure the Wireless Settings on page 79. For example, if you
set the SSID to "Ruckus Wireless AP," click the wireless network named Ruckus
Wireless AP.
4. Click Connect.
Your wireless client connects to the wireless network.
ZoneFlex Indoor Access Point Release 104.0 User Guide
83
Installation
Step 2: Verifying AP Operation