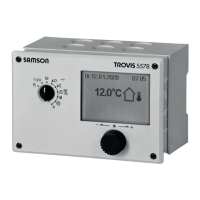
10 Installation
Dimensions in mm (W x H x D)
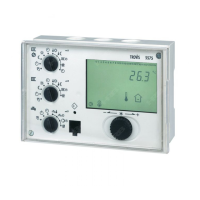
TROVIS 5575-000x and TROVIS 5575-001x
Controller with standard housing base: 144 x 98 x 60
TROVIS 5575-002x
The controller can be fitted with a standard housing base or a high base.
Controller with standard housing base: 144 x 98 x 60
Controller with high base: 144 x 98 x 81
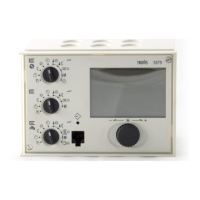
The controller consists of the housing with the electronics and the housing base with the ter
-
minals. It is suitable for panel, wall and top hat rail mounting (Fig. 12).
Panel mounting
1. Remove both screws (1).
2. Pull apart the controller housing and the base.
3. Make a cut-out of 138 x 92 mm (W x H) in the control panel.
4. Insert the controller housing through the panel cut-out.
5. Insert one mounting clamp (2) each at the top and bottom or at the side. Screw the
threaded rod towards the panel with a screwdriver so that the housing is clamped
against the control panel.
6. Install the electrical connections at the back of the base as described in section 11.
7. Fit the controller housing.
8. Fasten both screws (1).
Wall mounting
1. Remove both screws (1).
2. Pull apart the controller housing and the base.
3. If necessary, bore holes with the specified dimensions in the appropriate places.
Fasten the base with four screws.
4. Install the electrical connections at the base as described in section 11.
5. Remount the controller housing.
6. Fasten both screws (1).
EB 5575 EN 93
Installation