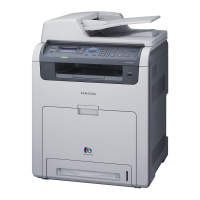
The temperature gets high in the vicinity of the fuser
replacing it, make sure that fuser unit has cooled.
et from the Scan Unit.
1. Open the Cover-Side.
unit. When replacing it, you may get burned. Before
2. Remove 2 fuser locking screws.
3. Remove the Fuser unit by holding the
handles [A].
The fuser unit weighs about 6 kg. When
removing it, be careful!.
When removing the fuser unit, please hold
both handles, If holding only one handle, it
may be damaged.
CAUTION
1. Before this disassembling the fuser unit,
remove the Bracket inlet guide [B]. If it is
damaged or bent, it may make a paper jam.
2. To remove Bracket inlet guide [B], remove 3
screws. When replacing it, be careful not to be
damaged to the belt/pressure roller.
NOTE
The shape or color of some parts can be
changed without notice.
SAMSUNG ELECTRONICS
 Loading...

