6 Installation of Options
137
CL4NX/CL6NX Service Manual
Print position adjustment
1 After you load the media and ribbon, close the print head and top cover. Then power
on the printer.
2 Adjust the pitch in the Factory menu. (refer to Tools > Test Print > Factory in Chapter
4 Operation and Configuration of the CL4NX/CL6NX operator manual)
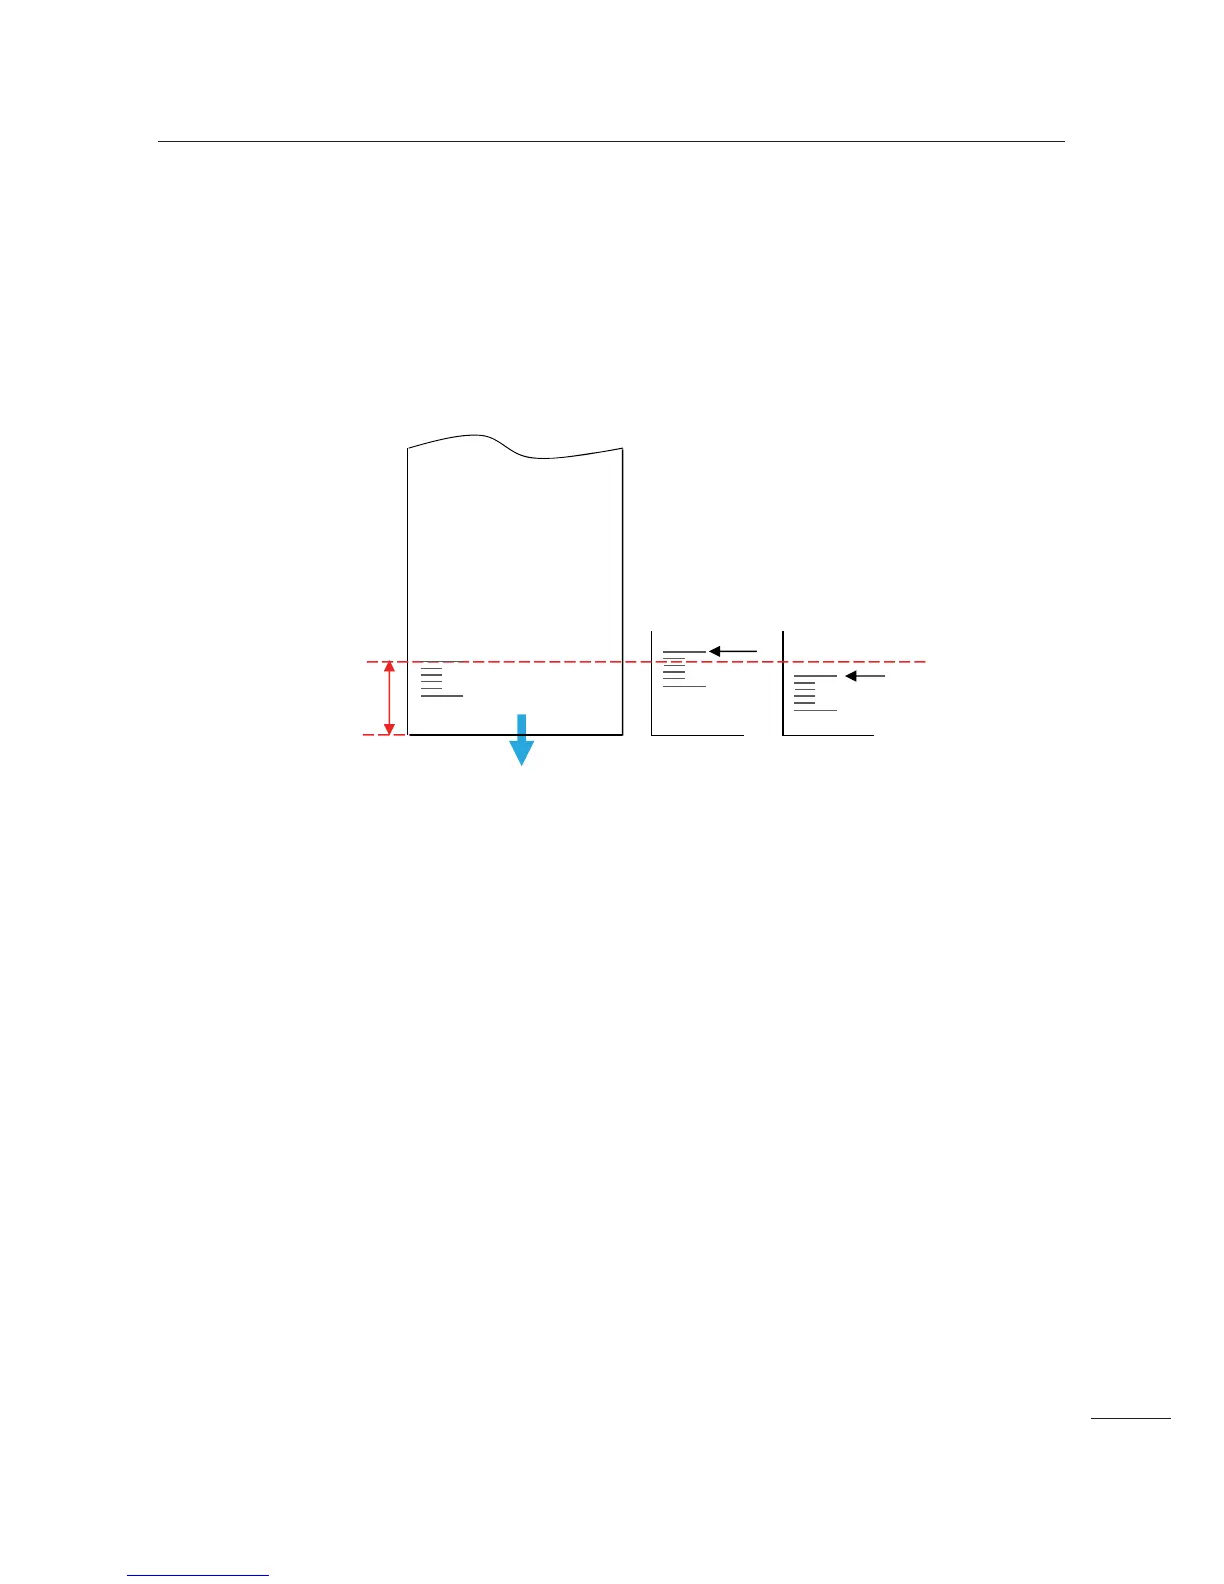
3 Perform a factory test print to check the print position.
4 If the print position is in the case of A, reduce the pitch. If the print position is in the case
of B, then increase the pitch.
5 After adjusting the pitch, perform a factory test print again.
6 Check the cutting position. If necessary, perform steps 2 through 5 until the cutting
position is correct.

 Loading...


