– 34 –
Scanreco – Service Manual G6 Radio Remote Control System
7. When the receiver is found its serial number will show on the
information center.
8. Make sure the serial number seen in the information center
matches the intended receivers' serial number found on the
product label.
a. If it does not match, find the receiver with the non-matching
serial number, and switch it o.
b. Then you will have to switch o the transmitter and switch it
on again. This will restart the pairing process from step one.
9. If the serial numbers match, press Confirm to continue pairing.
10. The pairing confirmation symbol will show for 2 seconds.
11. The OFF symbol will show.
12. Switch OFF the transmitter and power OFF the receiver.
13. Power ON the receiver and switch ON the transmitter.
14. The transmitter is now paired with the receiver.
4
7
4
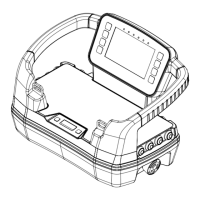
6.3.2. Color Display Setup
To upload graphics into the color display, follow the instructions below.
1. Switch o the transmitter.
2. Remove the programming connector lid on the back of the display.
3. Upload the graphics file into a USB flash drive.
a. Create a folder with the name “GUI”.
b. The graphics file in the folder shall be named “scanreco_main”.
4. Plug in the USB flash drive into the USB OTG adapter.
5. Plug in the USB OTG adapter into the programming connector.
 Loading...