B-21
© 2014 SeaStar Solutions Optimus 360 Installation Supplement, Rev. B
System
Check that the Number of
Engines and Number of
Gateways parameters match
the values entered into the
PCM. If they don’t, open the
PCM interface, make the
changes to the PCM
configuration, and cycle
power again. Do not try to
change the values in the
gateway interface because
they will be overwritten on
every power cycle.
Figure B-20. Gateway defaults.
B.6.1
LPS Calibration
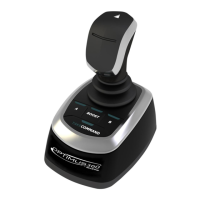
In this step you will you will run a calibration wizard that records the
output values from the lever position sensors (LPS) on the control
head. In the course of the calibration you will move both control
levers to the following prompted positions:
•ForwardWOT(wideopenthrottle)
•Forwarddetent(engineatidle,forwardgearengaged)
•Neutral
•Reversedetent(engineatidle,reversegearengaged)
•ReverseWOT
You can abort the calibration wizard at any time by clicking Abort
LPS Calibration. All values will return to their defaults. The
calibration will automatically abort if an engine is started during
calibration.
1. Click Start LPS Calibration with the engines keyed on but not
running. Click Yes to acknowledge the Warning dialog. See
figure B-21.
B.6.2
 Loading...

