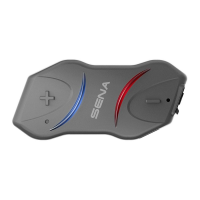
10R
16
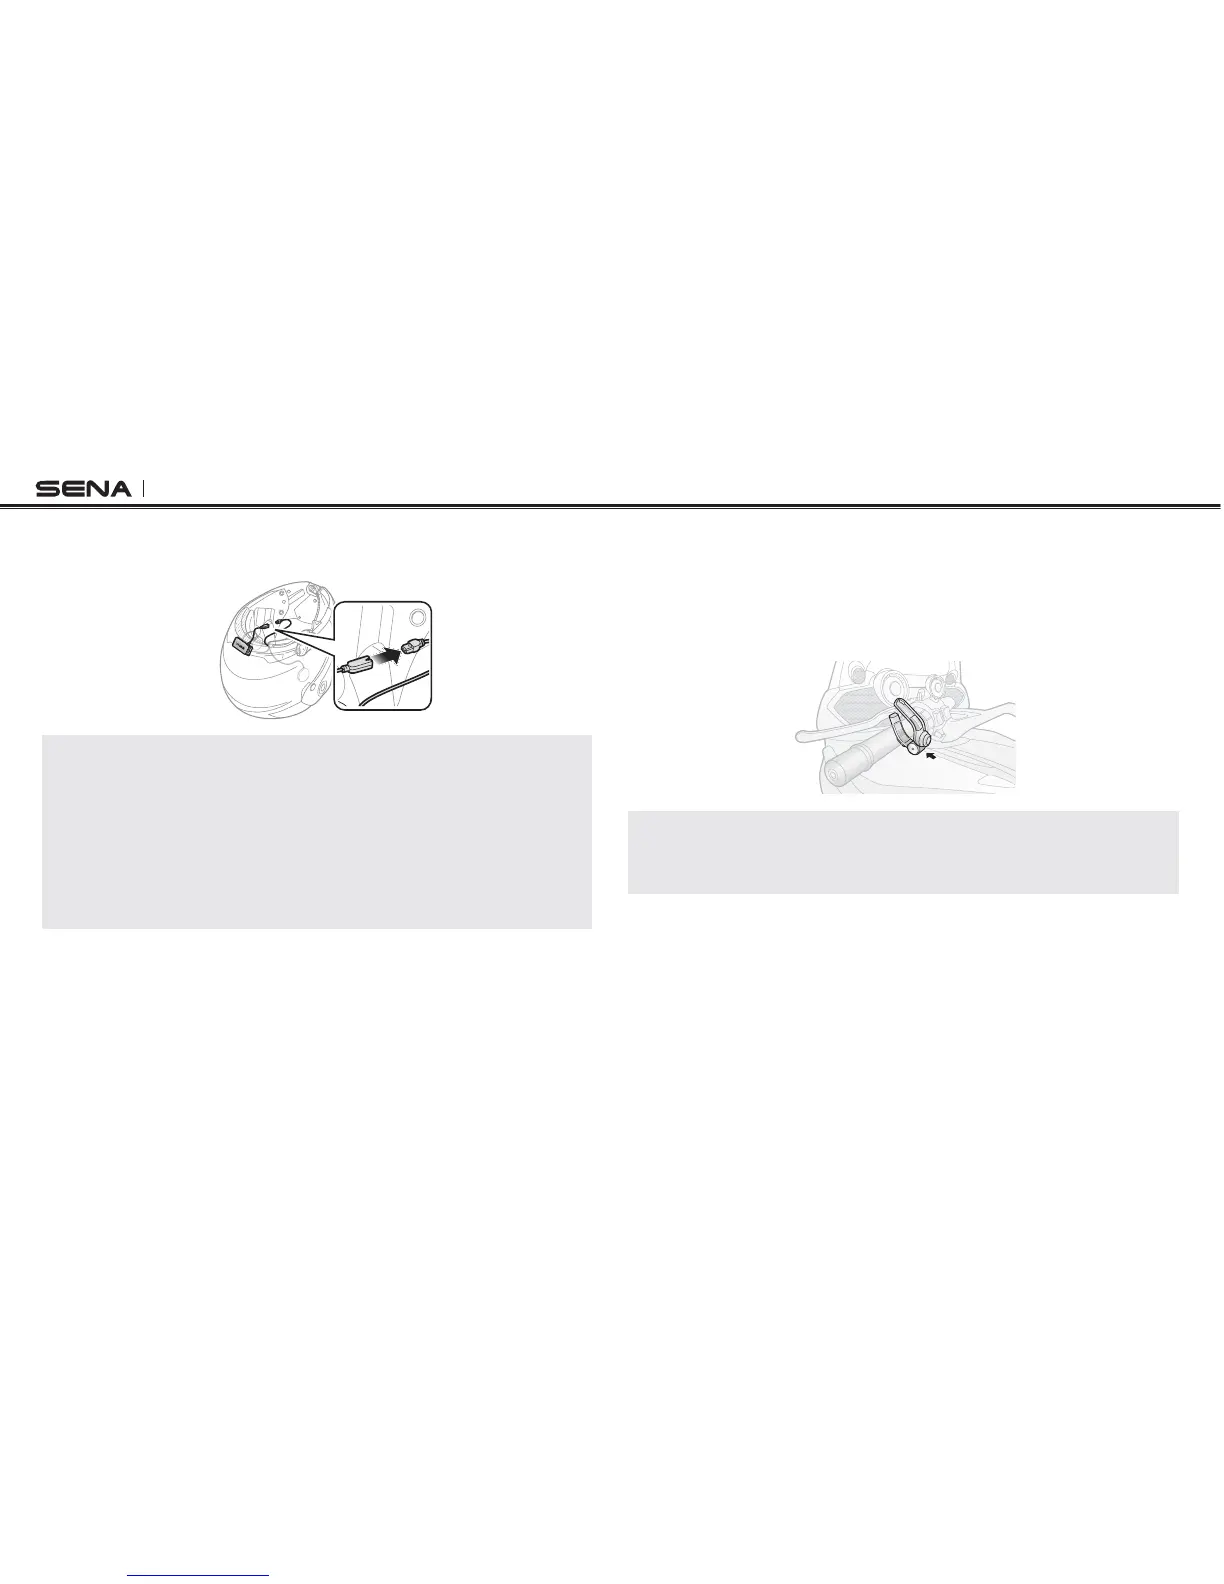
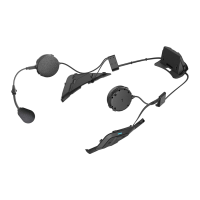
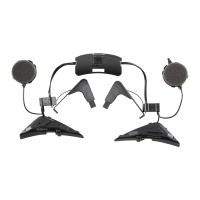
6. Align the arrows on the main unit and battery pack cables and
insert the battery pack cable into the battery pack connector.
Note:
1. Three cables connect to the main unit. The longest is the cable for the
speakers. The second longest cable has a male connector and is for the
battery pack. The shortest cable is for the microphone.
2. To remove the battery pack from the battery pack holder, slide the battery
pack upward.
3. After connecting all the cables, store any excess cable behind the
internal padding of the helmet to prevent wires from becoming damaged.
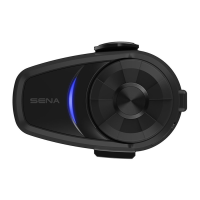
3.5 Installing the Handlebar Remote
1. Separate the two ends of the Handlebar Remote carefully.
2. Clip the Handlebar Remote on the left handlebar of your
motorcycle. Make sure you can comfortably control the Joystick
with your left thumb.
Note:
If the handlebar requires better grip for holding the Handlebar Remote in
place, apply a single or double rubber band around the handlebar.