(15) / / key
When "Hold Setting for Received Data Print" or
"Received Data Image Check Setting" is enabled in the
system settings (administrator), this will appear when a
fax is received.
: Only "Hold Setting for Received Data Print" is enabled
: Only "Received Data Image Check Setting" is enabled
: Both settings are enabled
☞ PRINTING A PASSWORD-PROTECTED FAX (Hold
Setting For Received Data Print) (page 4-61)
☞
CHECKING THE IMAGE BEFORE PRINTING (page 4-62)
(16) This shows the currently selected fax reception
mode and the amount of free memory remaining.
☞ RECEIVING FAXES (page 4-58)
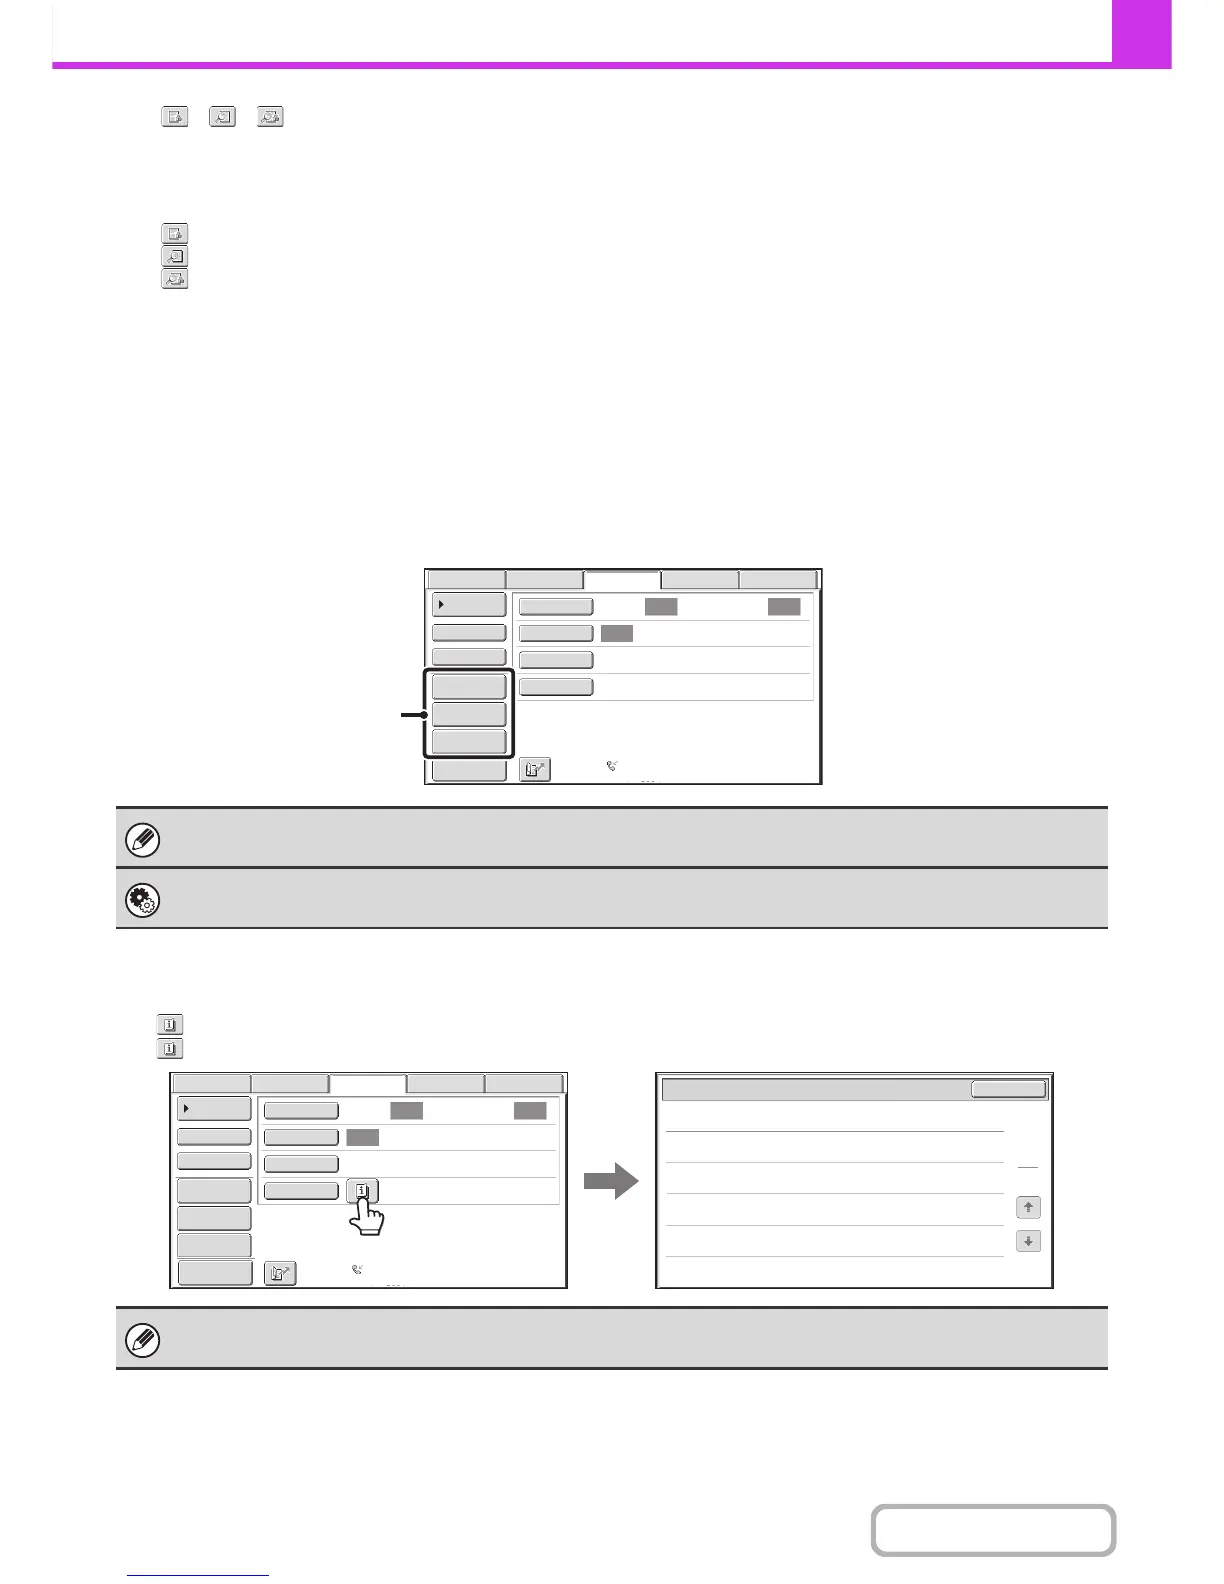
Customizing displayed keys
Special mode keys and other keys can be displayed in the base screen. You can assign frequently used functions to these
keys to access the functions with a single touch. To change the function that is assigned to a key, use "Customize Key
Setting" in the Web pages.
Example: When "Dual Page Scan", "Job Build", and "Mixed Size Original" are assigned to the customized keys.
Checking what special modes are selected
The key appears in the base screen when a special mode or 2-sided scanning is selected.
The key can be touched to display the selected special modes. To close the screen, touch the [OK] key.
Displaying a program key in the base screen will enable you to call up the program by simply touching the key.
☞ STORING FAX OPERATIONS (Program) (page 4-73)
System Settings (Administrator): Customize Key Setting
Registration is performed in [System Settings] - [Operation Settings] - "Customize Key Setting" in the Web page menu.
The special mode settings cannot be changed from the function review screen. To change a setting, touch the [OK] key to
close the function review screen and then touch the [Special Modes] key and select the setting that you wish to change.

 Loading...


