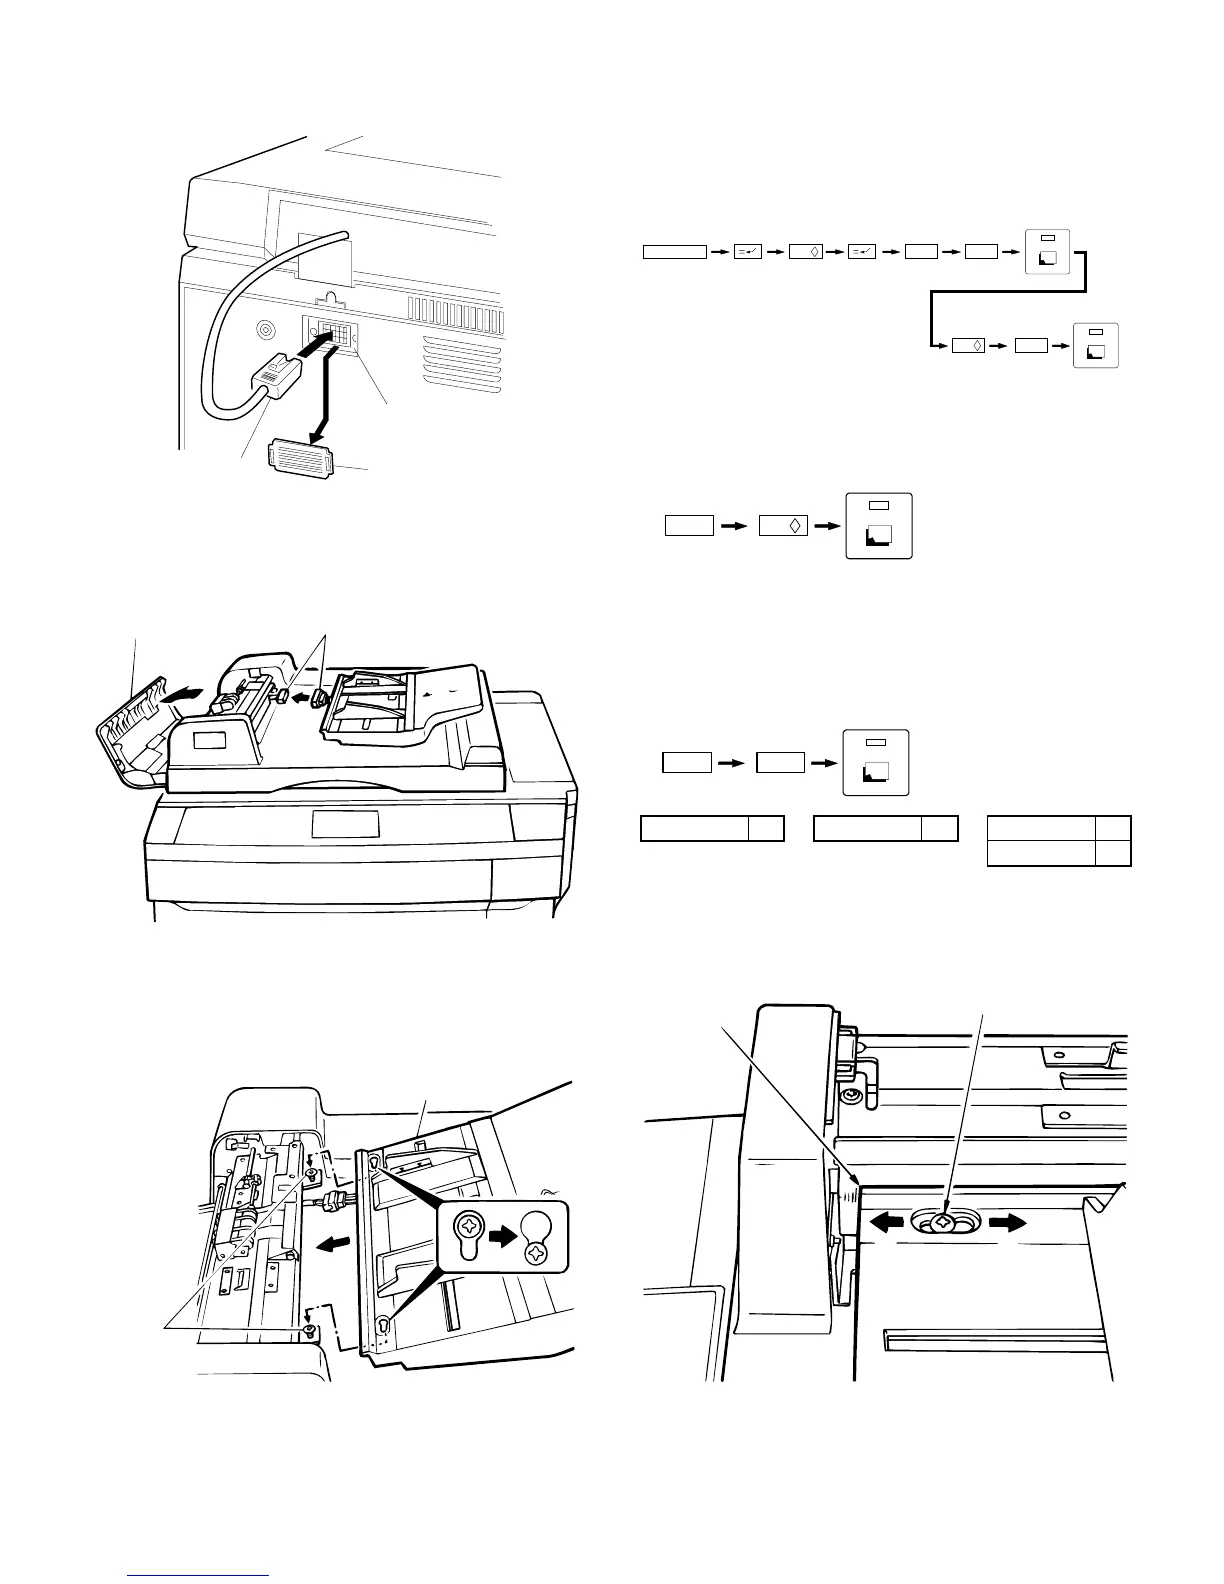
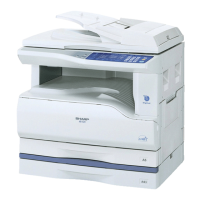
3. Connect the ADF connector.
Remove the connector cover from the copier’s rear cabinet panel.
Next, connect the ADF connector to the connector on the copier.
4. Connect the ADF tray connector.
Open the ADF cover and connect the ADF connector to the tray
connector.
5. Attach the tray.
Loosen the two mounting screws and secure the tray with the screws
as shown in the figure.
Close the ADF cover.
Plug the copier into a grounded outlet and turn the
power switch on.
Then, follow the procedure below.
6. Set the mode.
• Perform the following key operations on the copier to set the
mode.
Performing the above operation will cause the current setting to be
displayed.
• If only the SF-S53 is being set, continue by performing the follow-
ing key operation to complete the mode setting.
• If the mode is being set for a combination of options, add up the
numerical values of the options to be set (see the table below) and
input the total sum.
Example: When setting SF-S53 and SF-A55, the total sum of
their values is 11 (1 + 10). Therefore, perform the fol-
lowing key operations.
SF-A55 1 SF-D23 4 SF-S15 10
SF-S53 10
7. Adjust the center of the copy.
Set the original on the tray and make a copy. When the copy slips out
of the center as Fig. 1 or Fig. 2, open the ADF cover, loosen the two
mounting screws and adjust the tray to correct position.
Connector on copier
Connector coverADF connector
Connectors
ADF cover
Mounting
screws
Tray
C
0 /
6
2
1
0 /
0 /1
41
Mounting screw
Mark
A
B
5 – 11