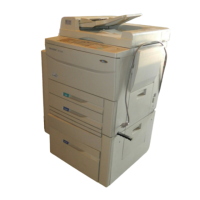
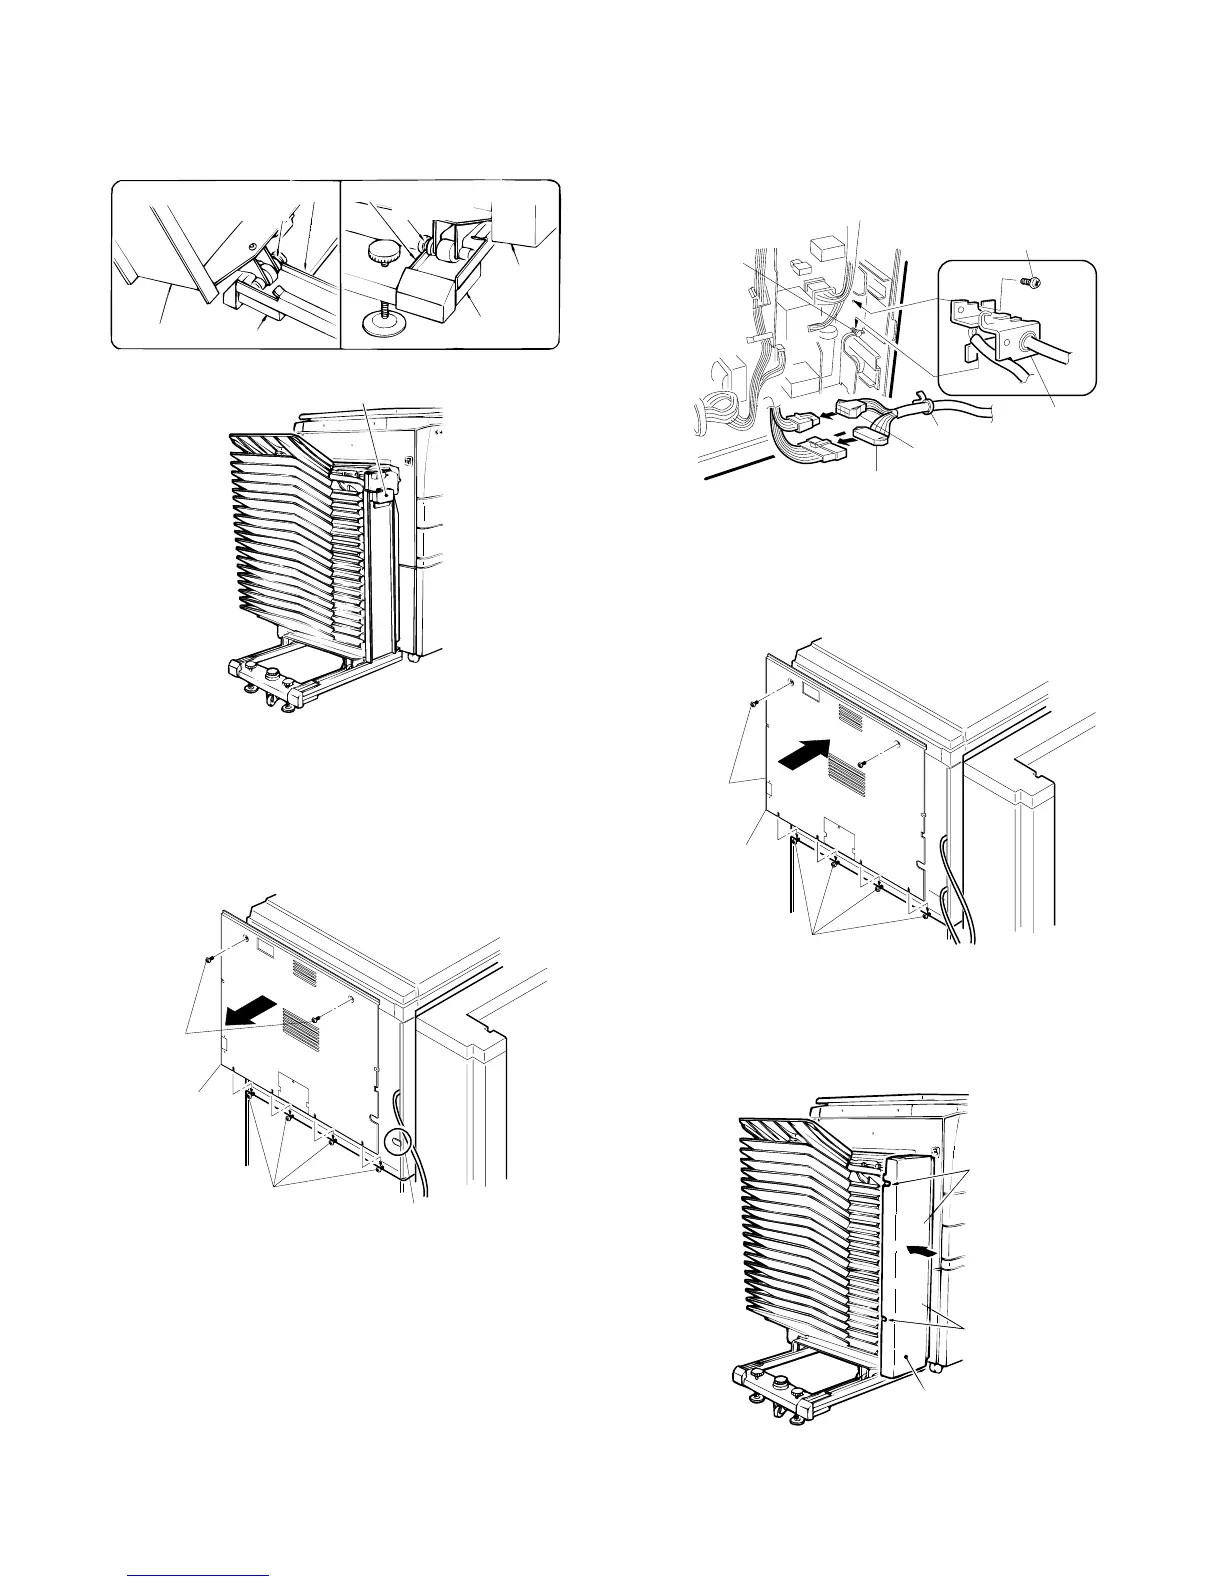
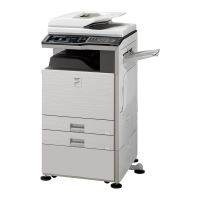
4. Place the sorter on the sorter seat.
While holding the handle, place the sorter on the sorter seat’s guide
rails and push it gently as far back as it will go.
When doing this, confirm that the rollers at the front of the sorter are
correctly seated on the sorter seat.
5. Remove the rear cabinet panel from the copier
and cut out the notch in the cabinet panel.
Remove the four screws which secure the rear cabinet panel of the
copier to remove the rear cabinet panel.
Cut out the notch (one location) in the cabinet panel.
6. Connect the sorter connectors.
Use the two bracket mounting screws to secure the bracket attached
to the sorter harness to the frame of the copier.
Connect the 6-pin and 10-pin sorter connectors to the 6-pin and
10-pin connectors of the copier and insert the tie band into the hole
under the board installation part.
7. Reattach the rear cabinet panel.
Use the four mounting screws to reattach the rear cabinet panel
removed in step (4) in its original position.
8. Reattach the front panel of the sorter.
Use the four mounting screws to reattach the front panel of the sorter
removed in step (3) in its original position.
Rear
Sorter
Sorter seat
Guide roller
Guide rail
Sorter seat
Guide rail
Guide roller
Sorter
Front
Handle
Mounting
screws
Mounting screws
Notch
Rear cabinet
panel
Bracket mounting
screws
Bracket
10-pin connector
6-pin connector
Tie band
Bracket
mounting
screws
Mounting
screws
Rear cabinet
panel
Mounting screws
Mounting
screws
Front panel
of sorter
Mounting
screws
5 – 20