4. Adjustment of Copy Density
1. When must the copy density be adjusted ?
• When doing maintenance;
• After adjusting the output current of the main charger and transfer
charger, the bias voltage of the separation charger and the grid
voltage (After replacing the charger unit and/or the high voltage
unit);
• After adjusting the developing bias;
• After replacing parts in the AC PWB unit;
• After replacing the automatic exposure sensor;
• After replacing the copy lamp;
• After replacing the optical unit;
• After disassembling, repairing and/or adjusting the optical unit;
• After moving the exposure control plate;
• After replacing the drum;
• After replacing the main substrate
2. Notes on adjustment of copy density
Before adjusting the copy density, do the followings:
1 Clean the optical system(original glass plate, lens, mirror, copy
lamp, reflector).
2 Clean the automatic exposure sensor (clean the surface of the
photosensor with a soft cloth soaked with alcohol or water).
(Note: The use of dry cloth will cause dust adhesion on the sur-
face of the sensor due to static electricity).
3 Clean the (transfer and separation) charger wire and the screen
grid.
4 Clean the blank lamp and the separation lamp around the drum
holder unit.
5 Clean the drum cleaning blade. (After cleaning, always apply pow-
der on the blade).
Note: Perform the manual-exposure density adjustment first, and
then perform the auto-exposure density adjustment.
Note: • This machine automatically performs the correction to
the optical system dirt.
When Simulation 46-01 is performed, each mode cor-
rection is initialized. When performing Simulation 46-01,
perform the adjustments of all modes.
• This machine automatically performs the correction to
the sensitivity due to photoconductor aging. When a
copy is made in Simulation 46-01, the correction state
will be initialized.
3. Procedure for copy density adjustment
(1) Initial setting of auto-exposure density level (User
adjustment)
1 Enter the key operator code.
2 Execute simulation No. 20.
3 Select "3" with the ten key.
The following message is displayed on the LCD.
P.20: AUTO EXPOSURE ADJUSTMENT
1. LIGHTEST 2. LIGHTER 3. NORMAL
4. DARKER 5. DARKEST
4 Press CA key to cancel the set mode.
(2) Initial setting of TSM mode (User adjustment)
1 Execute simulation 26-18.
0: Cancel, 1: Setting
2 Select "0" with the 10 key pad.
"1": TSM mode valid
"2": TS mode invalid
3 Cancel the setting mode with CA key.
(3) Adjustment of AE sensor level
1 Perform Simulation 47. (The mirror base makes scanning motion
and stops at AE sensor level measuring position).
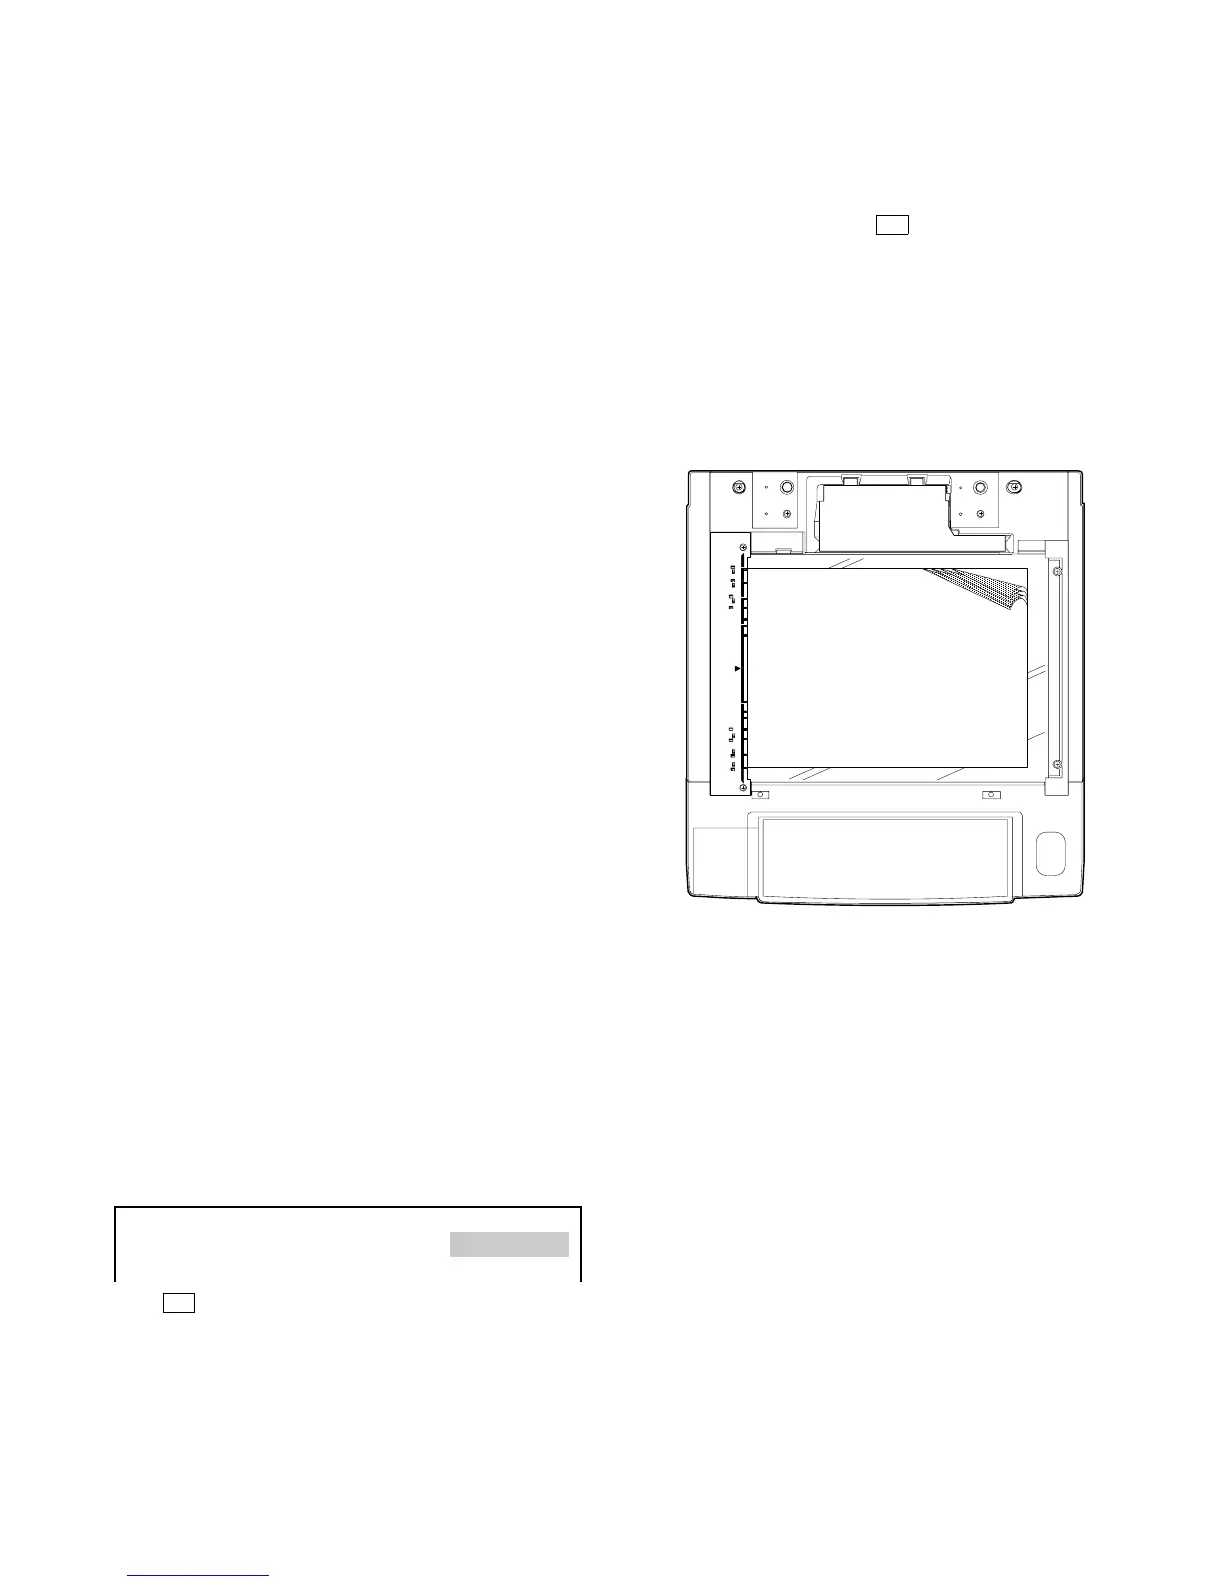
2 Place four or five A3-size (or 11" x 17") papers one upon another
on the original table.
3 Press the print switch again. The copy quantity indicator shows
the AE sensor output level for blank paper, which is stored in
memory.
(4) Setting of drum sensitivity
1 Perform Simulation 26-07 and check that the first digit of the
4-digit drum number printed on the front-frame sided drum flange
is shown on the copy quantity indicator.
2 If the indicated number differs from the drum number, press the
copy quantity key to change the setting.
Note: If the setting is done with the copy quantity key, the indi-
cated number is limited to 1, 2 or 3.
7 – 18