Shini Group
Technology & Marketing Dept
Issued by department: Date: Language: Document Name: Revision: Page:
Shini/CSC-TM
2013-11 zh-cn Shini product repair manual.doc
1.0 61 (62)
Catalog:
template:Standard_CN.dot; filename: Shini product repair manual; Printdate: 8/1/2014 1:58:00 PM; savedate: 8/1/2014 1:58:00 PM
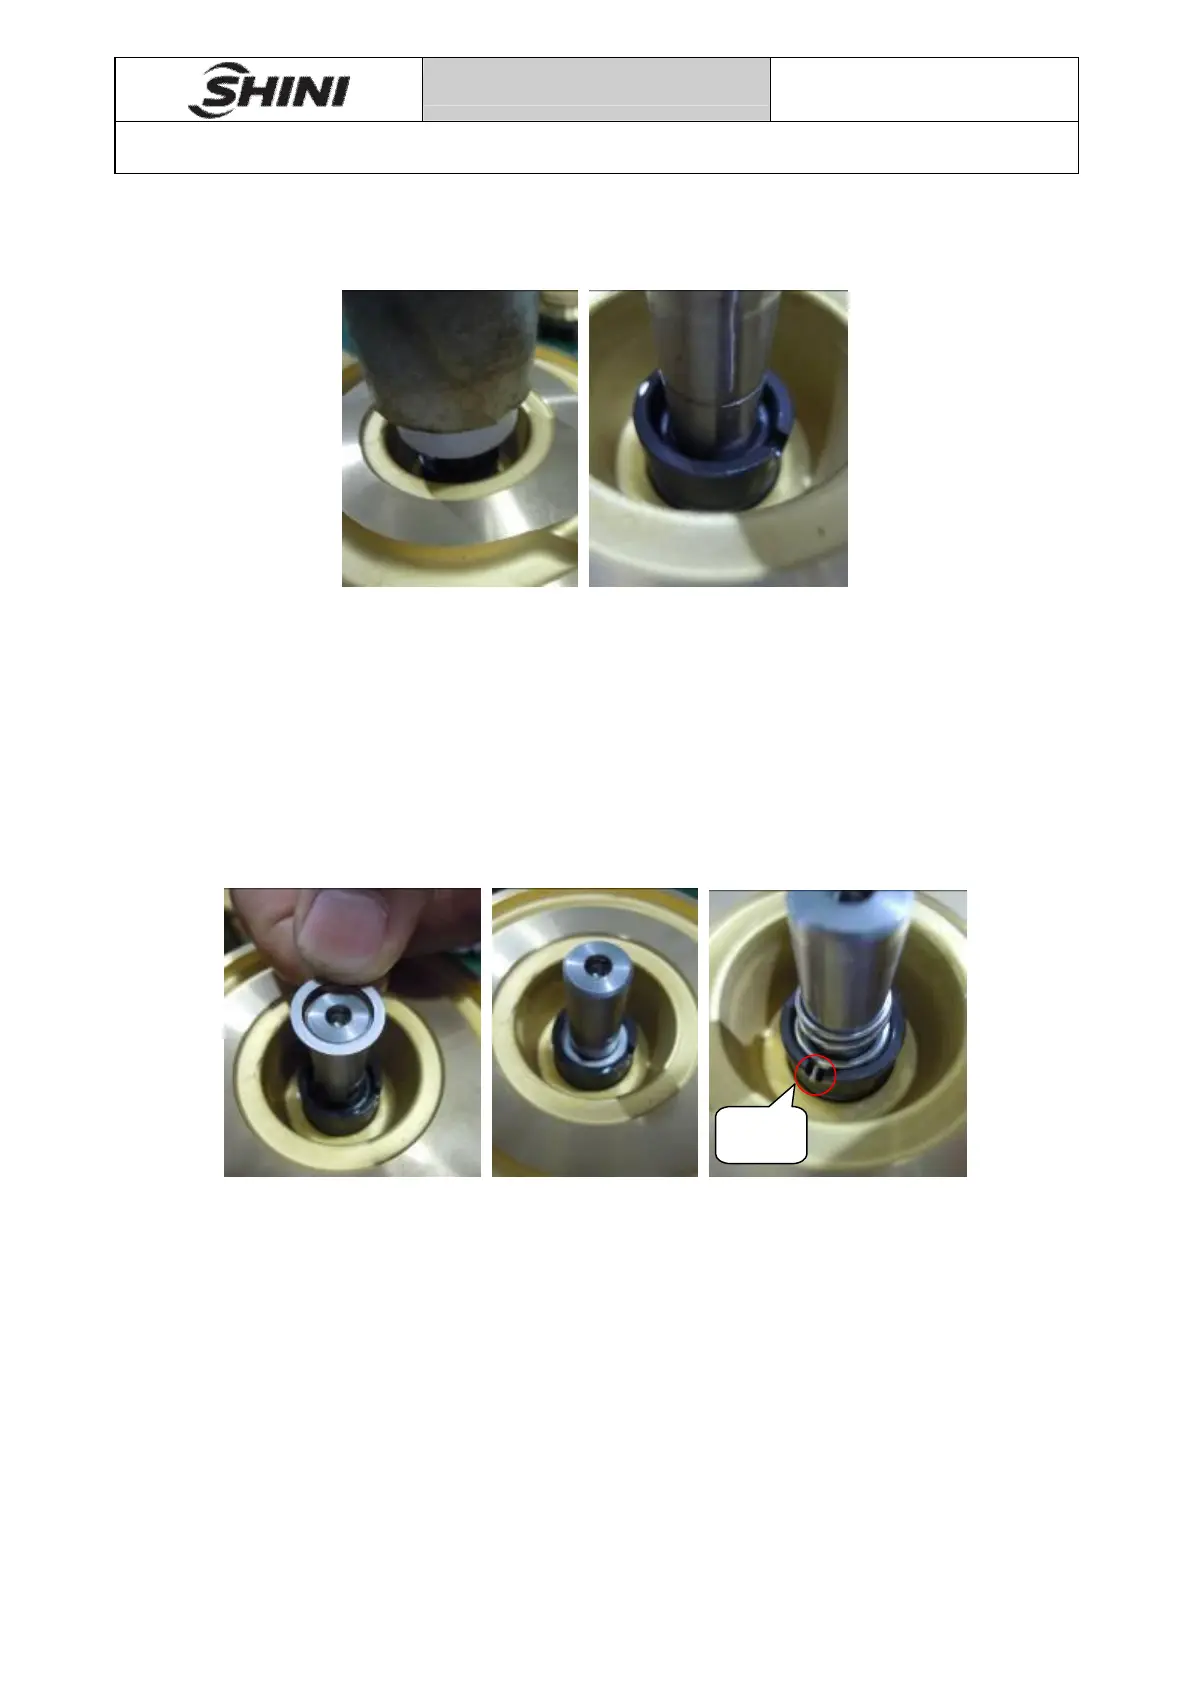
6) Use special tooling to flatten ring into seal groove, check weather the seal
assembly in place, as shown in the figure below.
Pic 20-6
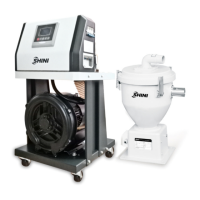
7) Remove the O-ring of pump seal, check whether there are burrs and other
problem, the O-ring place into seal with the smooth side down and check whether
the assembly in place, remove spring of pump seal and mount it on seal (note:
Protruding end of the spring must be installed into the seal gaps in the alignment),
as shown in the figure below.
Pic 20-7
gap