Mounting
5.2 Mounting on the switching panel
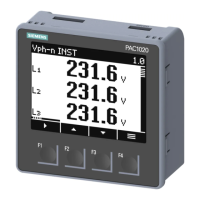
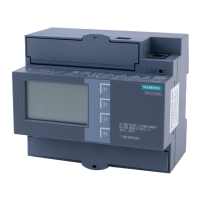
SENTRON PAC3100
Manual, 07/2009, A5E02385159B-01
33
3. Insert the device into the cutout from outside (Fig. "Installation cutout A").
4. Carry out all other installation steps from the inside of the switching panel.
5. Clamp the device to the switching panel with the two brackets provided (Fig. "Installation
step B"). To do this, proceed as follows:
– Hold the device firmly with one hand
– Hang the brackets onto the left and right sides of the housing.
To do so, insert the lugs of the bracket (2) into the slot on the housing (1).
– Tighten the locking hook.
To do so, place your index finger and middle finger on the support arms as shown in
the Fig. "Installation step C" and engage the locking hook with your thumb.
The engage mechanism of both brackets enables the installation engineer to secure
the device in the switching panel quickly and without tools.
To achieve degree of protection IP65, the four screws in the supports must be
additionally tightened.
6. Tighten the 4 screws evenly in the two brackets; tightening torque 0.5 Nm (Fig.
"Installation step D"). The front of the switching panel is fully sealed with the standard,
integrally extruded seal.
7. When using the RS 485 interface:
Ensure strain relief for the connected RS 485 lines.
Secure the RS 485 cable to the panel for this purpose. Fix the cable in position as shown
in the Fig. "Installation step E" at location (3) using a self-adhesive cable clamp or other
suitable small installation accessory.
Installation is complete.
NOTICE
Ensure that no tools or other potentially hazardous objects have been left at the installation
location.

 Loading...