Maintenance
14.3 Replacement of I/O modules and front connectors
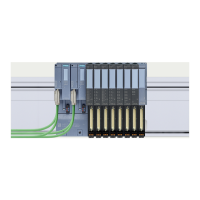
Automation system
System Manual, 01/2023, A5E03461182-AK
307
Procedure
To replace the I/O module, follow these steps:
The I/O module to be replaced is uninstalled.
You can find information on removing the I/O module in section Installing I/O modules
(Page 146).
1. For a new I/O module, use a screwdriver to break out the half of the mechanical coding
element that is designated for the front connector.
The arrangement of the mechanical coding element depends on the module type: First,
check the position of the coding element on the front connector before you break out the
matching half from the I/O module.
For a new fail-safe module you must also remove the electronic coding element from the
F-module.
Figure 14-7 Breaking the coding element out of the I/O module
2. Insert the existing front connector into the new I/O module (same module type) until your
hear it click into place.
14.3.3 Replacing a front connector
Introduction
• When the front connector is first inserted into the I/O module, a part of the mechanical
coding element engages on the front connector.
• In the case of fail-safe modules, the electronic coding element with the PROFIsafe address
of the F-module also engages completely in the front connector.
When you replace a defective front connector with a new front connector, you must transfer
the coding element(s) to the new front connector.

 Loading...