Installation
2–11
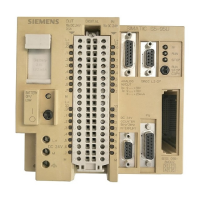
IP244
C79000–B8576–C859–02
2 Installation and Operation
Please pay particular attention to the warnings in this section!
2.1 Inserting and Removing the Module
The module must only be inserted or removed when the central controller, the expansion
unit and the transmitters are switched off.
Data buffered on the module is lost.
2.2 Connecting Signal Lines and the Power Supply
The signal lines are connected via the connectors on the front panel of the module. If you use
screened cables, the braided screen must be connected to the metallized part of the connector
cap. The screen must make large area contact with the screen bar in the cabinet.
For preassembled connecting cables for analog inputs and digital outputs, refer to the spare
parts. The 24 V supply is connected by means of a push-on sleeve B2.8 - 1 DIN 46247.
2.2.1 Analog Inputs (Plug Connector X3)
!
U
The assignment of inputs to outputs is made according to the selected controller structure
beginning at digital output 17.
 Loading...


