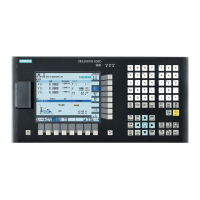
6. All of the identified interchangeable drives are displayed, here in the example, the
CompactFlash Card is identified as drive F:\.
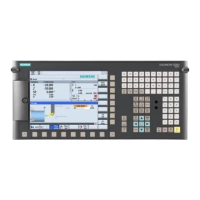
7. Confirm the selection of the target drive with "OK". By pressing the "Write" button, the image
is transferred to the target drive.
Note
While the data is being transferred, do not switch-off the PC and do not remove the
CompactFlash Card.
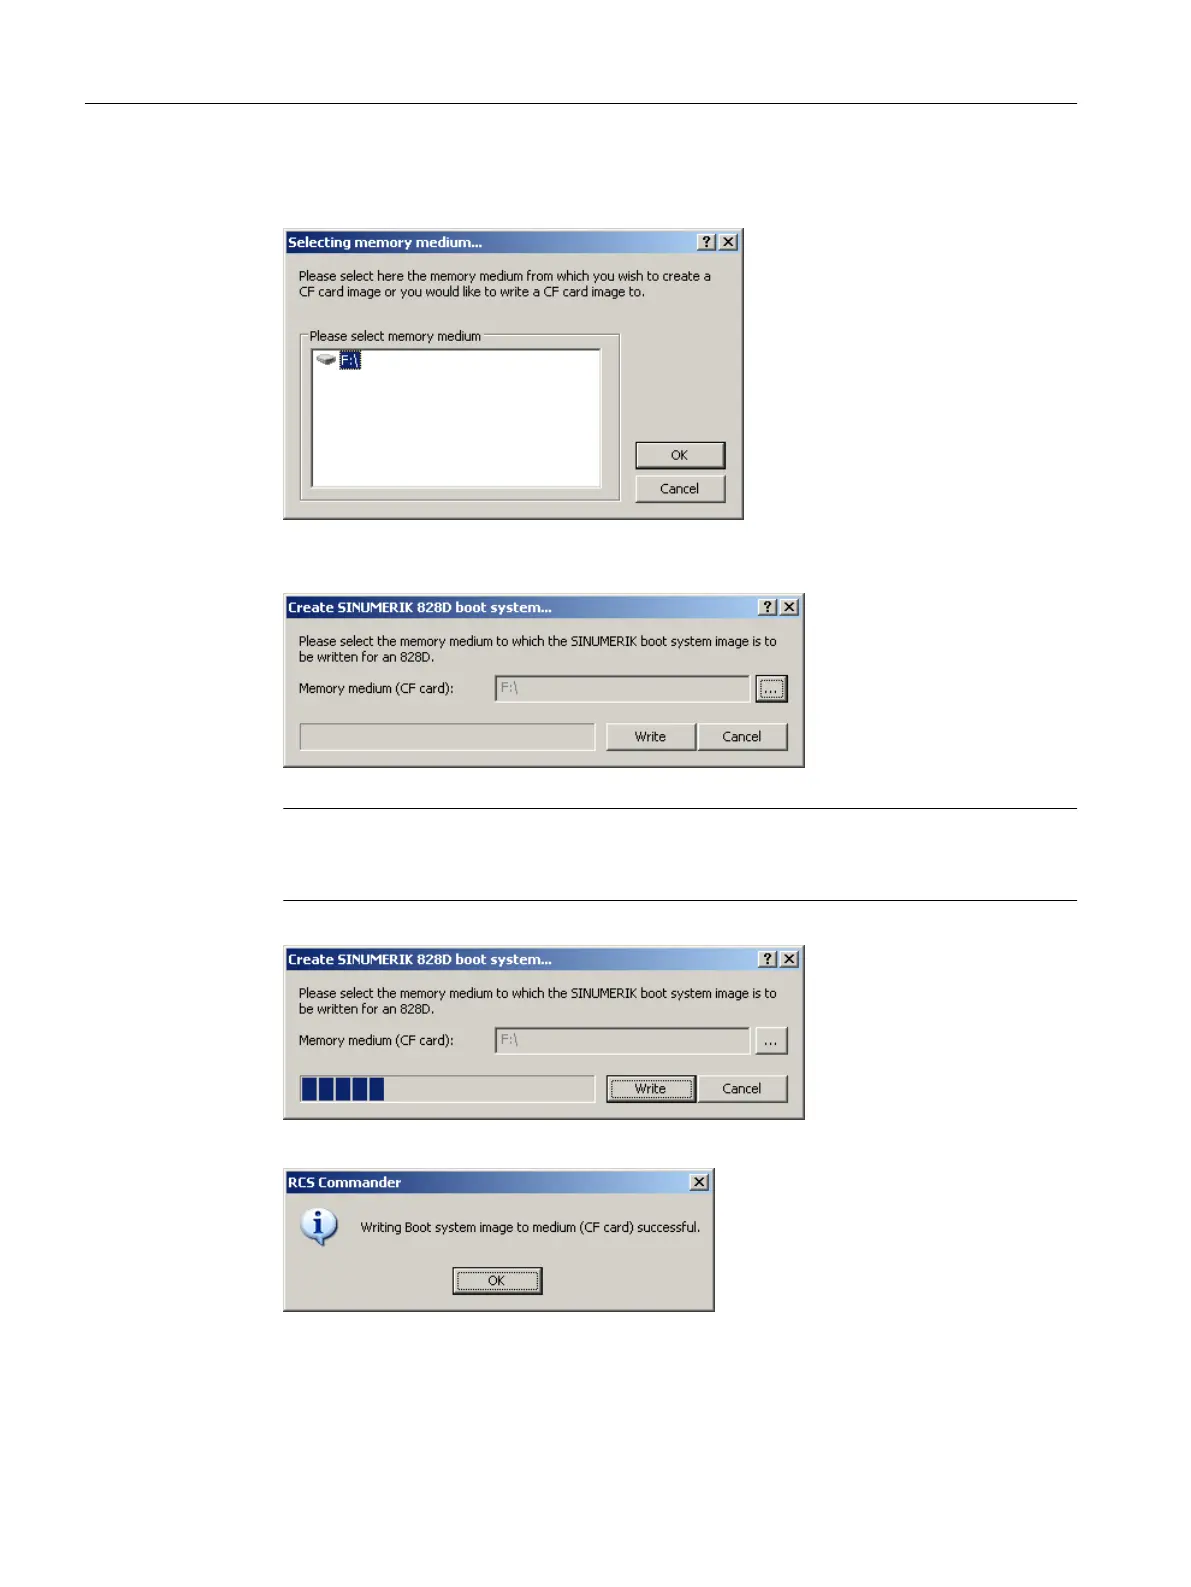
Data transfer is displayed using a progress bar:
8. The following message is output if data transfer was successfully completed:
9. In order to ensure that there are no read and write access operations to the
CompactFlash Card, when you remove the CompactFlash Card from the interchangeable
drive, select the Windows function "Safely remove hardware".
Service cases - software
3.5 Generating a boot system on the CompactFlash card
Software and hardware
58 Service Manual, 08/2018, 6FC5397-5DP40-6BA1
 Loading...