Routine Checks and Maintenance
9-117SA522 Manual
C53000-G1176-C119-2
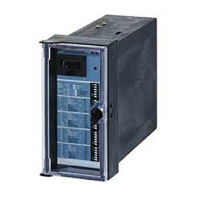
Figure 9-5 Power supply mini-fuse on the input/output printed circuit board I/O–1
o Install the new fuse into the holder.
o Carefully install the I/O board I/O-1 in the case. The insertion locations are indicated
in Figures 8-7 and 8-8 in Sub-section 8.1.3.
Reassembling the
Device
To reassemble the device:
o Connect the ribbon-cable between the I/O board and the CPU board. Be especially
careful not to bend any of the connector pins! Do not use force! Be sure the connectors
latch.
o Connect the ribbon-cable between the CPU board and the front panel. Be especially
careful not to bend any of the connector pins! Do not use force! Be sure the plug con-
nectors latch.
For a model with detached operator panel, first connect the ribbon-cable from the 68-
pin connector on the back of the device to the CPU board. Then attach connector X16
under the D-subminiature port on the CPU board. The X16–connector can be plugged
in either direction.
o Carefully replace the front panel being mindful of the ribbon-cables. Fasten the front
panel to the case with the screws.
o Replace the covers.
The following steps are not applicable for the surface mount version:
Table 9-1 Assigning of the mini-fuse rating to the device auxiliary voltage rating
7SA522∗ Version Rated Auxiliary Voltages Fuse Type
–2∗∗∗∗–∗∗∗∗ 24 V to 48 V— T4H250V
–4∗∗∗∗–∗∗∗∗ 60 V to 125 V— T2H250V
–5∗∗∗∗–∗∗∗∗ 110 V to 250 V—, 115 V
∼ T2H250V
–6∗∗∗∗–∗∗∗∗ 220 V to 250 V—, 115 V
∼ T2H250V
F1
B30 B40 T2H250V
B20 T4H250V
C53207-A324-B20-
234
C53207-A324-B30-
C53207-A324-B40-

 Loading...