59
RECORDING QUALITY SETTING
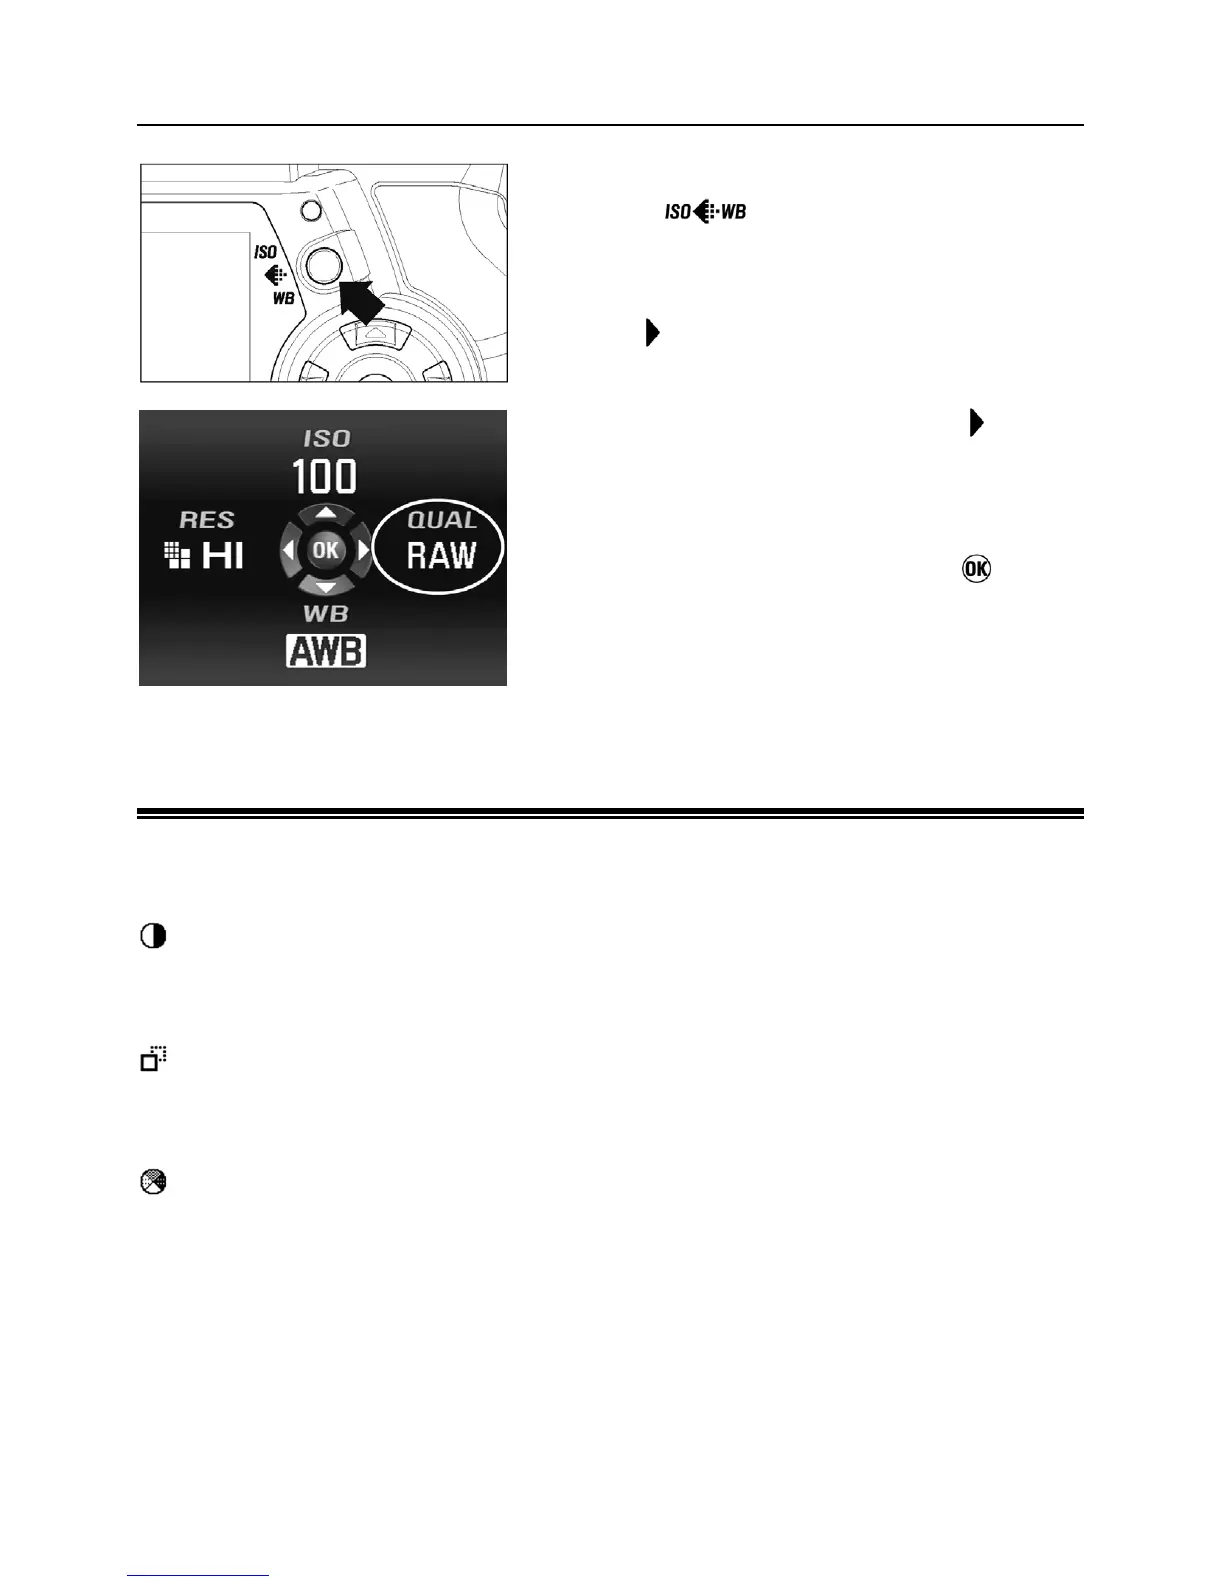
1
Press the button on the back of the
camera to open the Image Setting Menu.
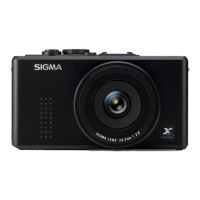
2
Use the button on the 4-way controller to
select the desired recording quality. (The
quality can be changed; RAW → FINE →
NORM → BASIC by pressing the
button.
The recording quality turns yellow, during
recording.)
3
Press the shutter button halfway or button
to apply the setting. Then you can take the
picture.
IMAGE PARAMETER AND COLOR SPACE
It is possible to adjust the recording image parameter (contrast, sharpness and
saturation) and select
the color space.
Contrast
Contrast can be increased by moving the cursor to + side or decreased,
preserving image detail, by moving the cursor - side.
Sharpness
It is possible to make the pictures appear sharper, by moving the cursor to + side,
or softer by moving the cursor to – side,.
Saturation
It is possible to increase saturation thus making pictures appear vivid, if the
cursor is moved to + side. Moving the cursor to – side, decreases saturation and
makes images less vivid.
Color space
It is possible to select sRGB, which is a common color space or Adobe RGB,
which is mainly used for commercial printing, and other industrial purposes.