Installation procedure
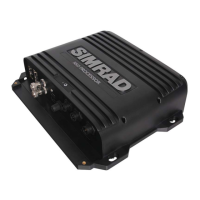
This procedure describes the installation process of the MK 6.0 Radar Interface box for a
system with ECDIS900 or Radar2014 installed.
1. Perform all connections on the board ("Synchronization signals" on page 10, "The radar video signal"
on page 10, "Power" on page 7)
2. Run the Installer from the CD ("Installer" on page 15)
3. Connect the board to a PC ("Connection to PC" on page 13)
4. Configure the PC IP address ("Connection to PC" on page 13)
5. Power the board
6. Verify that the LED status indication is correct ("Indication of the status with LEDs" on page 7)
7. Configure the board using the web interface ("Settings" on page 16)
8. Run Extractor/Tracker ("Extractor/Tracker" on page 31)
9. Press the "MK6 status" button to verify that communication exists
10. Press the Radar display button to open the VarpPCI GUI
11. Verify that radar video is received. Correct the Gain and Sea values if necessary.
12. Verify that course, speed, and heading are received.
13. Run ECDIS900 or Radar2014, open VarpPCI, select the Settings tab, and justify the Sync
Delay and Heading Line Skew values that adjust radar video to charts.
14. Restart the PC and verify that all applications (Extractor/Tracker, ECDIS or Radar2014, Sensor
Monitor) start automatically, all settings are saved and radar video is adjusted to charts.
2
6
Installation procedure | MK 6.0 Installation Manual