Getting
Started
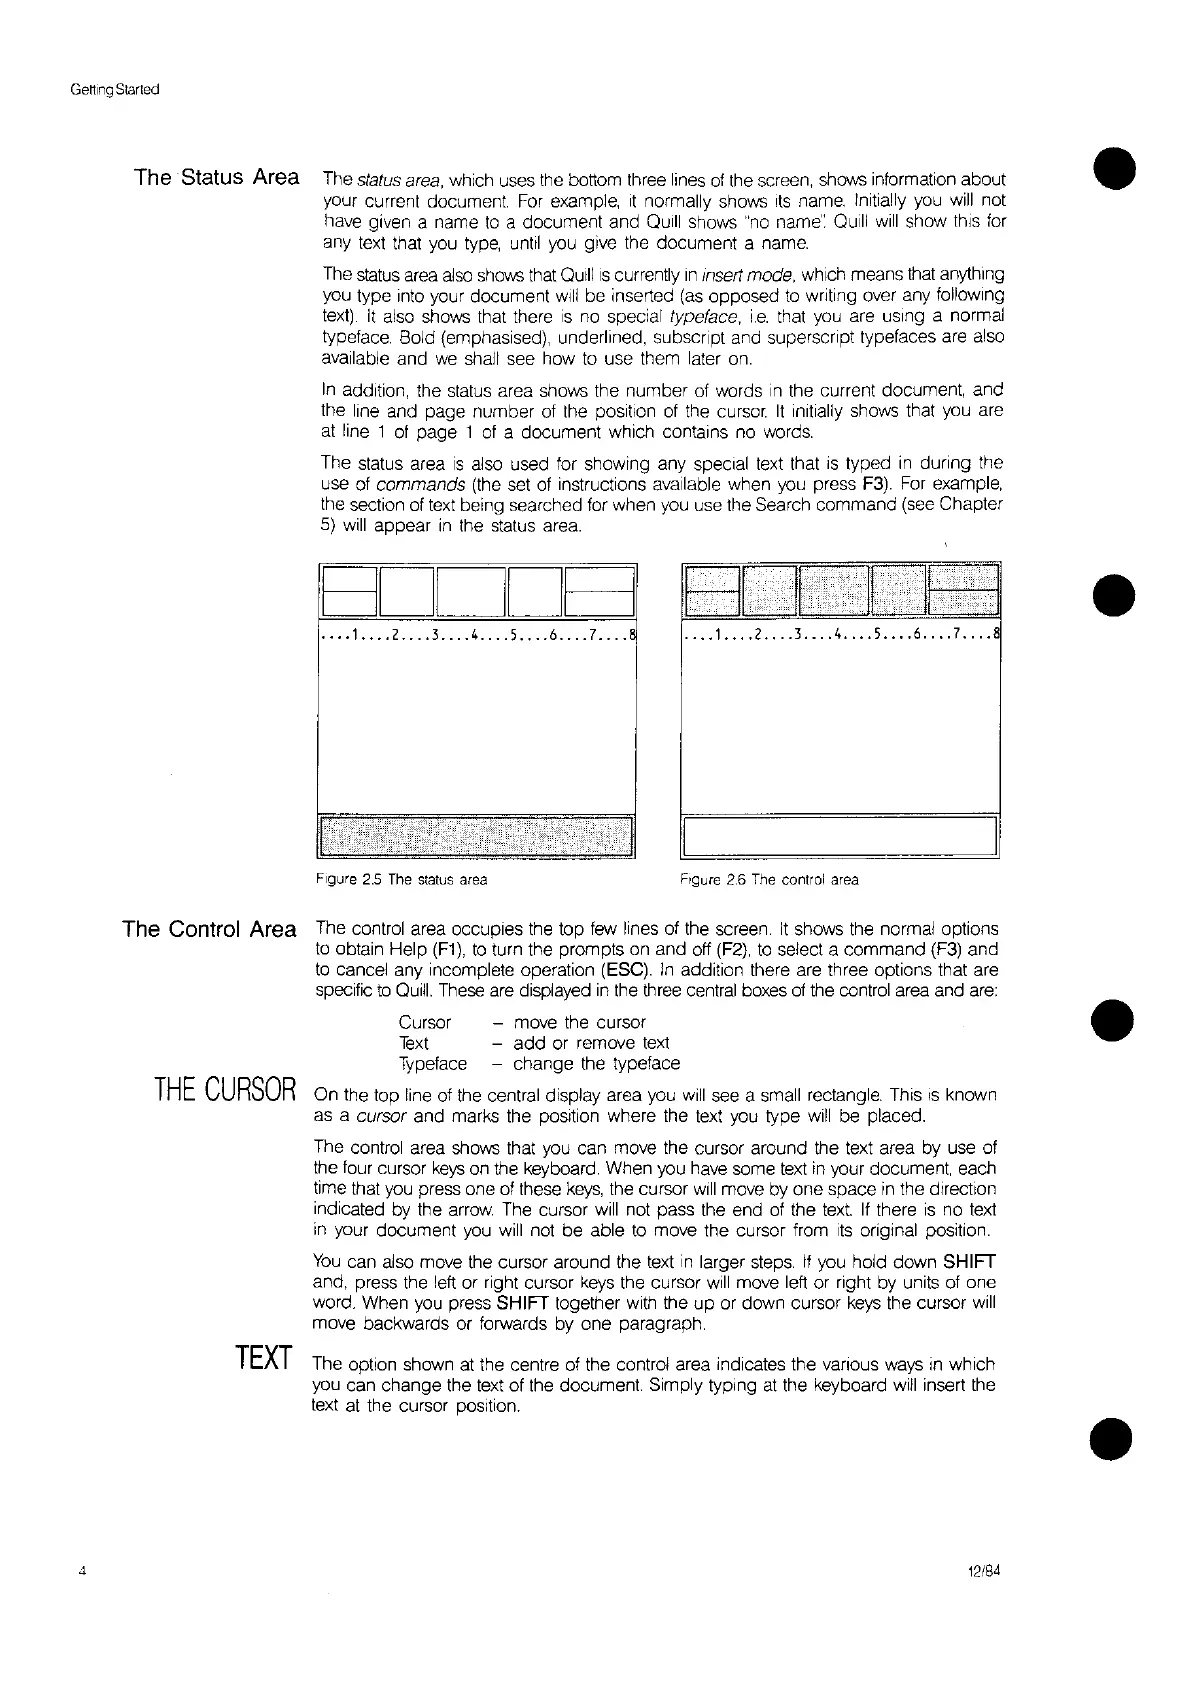
The'Status Area The status area, which uses the bottom three lines
of
the screen, shows
informatIOn
about
your current document
For
example,
it
normally shows
Its
name. Initially
you
will
not
have given a name
to
a document and
QUill
shows
"no
name': Quill
will
show this
for
any
text
that you
type,
until
you
give the document a name.
The
status
area
also
shows
that
QUill
IS
currently
In
Insert mode, which means that anything
you type into your document
will
be inserted
(as
opposed
to
writing over any following
text).
It
also shows that there
IS
no special typeface,
i.e.
that
you
are
uSing
a normal
typeface. Bold (emphasised), underlined,
subscript and superscript typefaces are also
available and
we
shall see how
to
use them later
on.
In
addition, the
status
area shows the number of words
,n
the current document, and
the line and page number of the position
of
the cursor
It
initially shows that
you
are
at
line 1
of
page 1
of
a document which contains no words.
The status area
is
also used for showing any
speCial
text
that
IS
typed
in
during the
use
of
commands
(the set of instructions available when you press
F3).
For
example,
the section of
text
being searched for when you use the Search command (see Chapter
5)
will
appear
in
the status area.
BDDDB
•
•
•.••
1
•••.
2
....
3
....
4
....
5
•...
6
....
7
....
Figure
2.5
The
status
area
..••
1
••..
2
•...
3
....
4
..•.
5
••..
6
..•.
7
....
8
Figure
2.6
The
control
area
4
The
Control
Area The control area occupies the top
few
lines of the screen.
It
shows the normal options
to
obtain Help
(F1).
to
turn the prompts on and off
(F2),
to
select a command
(F3)
and
to
cancel any incomplete operation (ESC).
In
addition there are three options that are
specific
to
Quill.
These
are
displayed
in
the three central boxes
of
the oontrol area and
are:
Cursor - move the cursor
Text
-
add
or remove
text
Typeface - change the typeface
THE
CURSOR
On the top line of the central display area you
will
see a small rectangle. This
IS
known
as a
cursor and marks the position where the
text
you type
will
be placed.
The control area shows that you can move the cursor around the text area by use of
the four cursor
keys
on
the keyboard. When you have some
text
in
your document, each
time that you press one of these
keys,
the cursor
Will
move by one space
in
the direction
indicated by the arrow The cursor will not pass the end of the text
If
there
is
no text
in
your document
you
will not be able
to
move the cursor from
ItS
original position.
You
can also move the cursor around the text
in
larger
steps.
If
you hold down SHIFT
and. press the left or right cursor
keys
the cursor
will
move left or right by units of one
word. When
you
press SHIFT together with the
up
or down cursor
keys
the cursor
will
move backwards or forwards by one paragraph.
TEXT
The option shown at the centre of the control area indicates the various
ways
in
which
you can change the
text
of the
document
Simply typing
at
the keyboard will insert the
text at the cursor position.
12/84
•
•