EasyManuals Logo

SolaX Power X3-ULTRA Series User Manual

SolaX Power X3-ULTRA Series
164 pages
To Next Page IconTo Next Page
To Previous Page IconTo Previous Page
Page #52 background imageLoading...
Page #52 background image
44
Electrical Connection
Remove
2
3
4
1
Figure 7-9 Disassembling the AC connector
Step 3: Thread the Grid cable through swivel nut and connector enclosure in sequence.
Figure 7-10 Threading the Grid cable
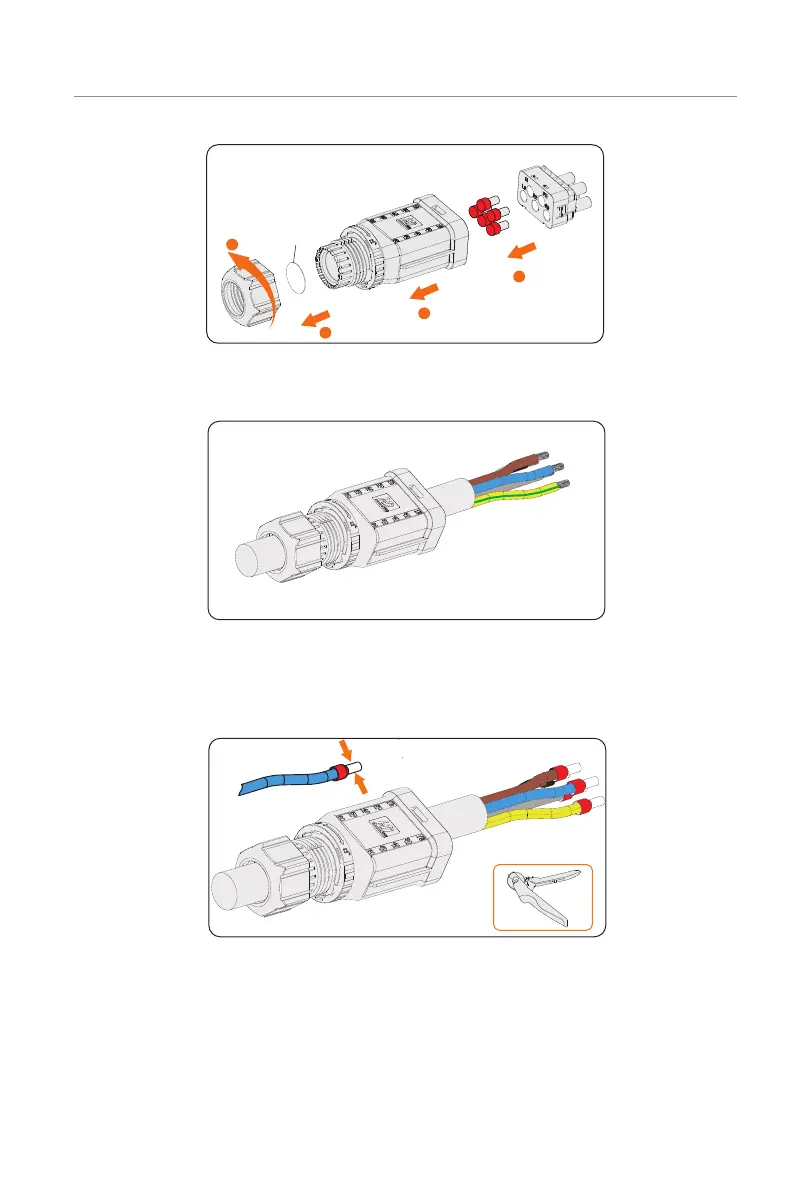
Step 4: Insert the conductors L1, L2, L3, N, and grounding conductor into the ferrules.
Use crimping tool for ferrules to crimp it. Make sure the conductors are correctly
assigned and firmly seated in the ferrules.
Figure 7-11 Striping the end of cable and crimping it

Table of Contents

Questions and Answers:

Question and Answer IconNeed help?

Do you have a question about the SolaX Power X3-ULTRA Series and is the answer not in the manual?

SolaX Power X3-ULTRA Series Specifications

General IconGeneral
BrandSolaX Power
ModelX3-ULTRA Series
CategoryInverter
LanguageEnglish

Related product manuals