ILCE-9
d-830-100-11 (1)
C:\d830100111\d830100111ILCE9UC2\01GB-ILCE9UC2\030BAS.indd
2019/02/19 10:01
GB
70
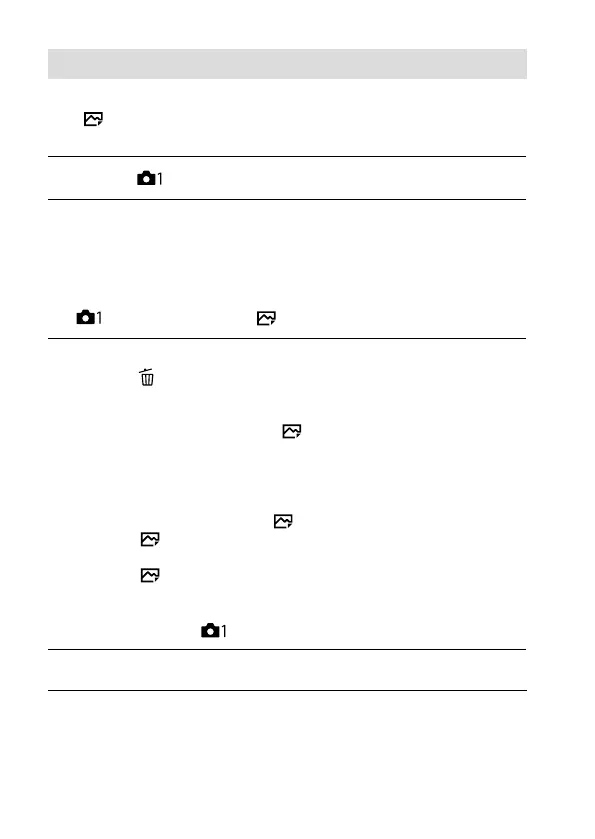
Focus Magnifier
You can check the focus by enlarging the image before shooting. Unlike
with [
MF Assist], you can magnify the image without operating the
focus ring.
1
MENU (Camera Settings 1) [Focus Magnifier].
2
Press the center of the multi-selector to enlarge the image and
select the area you want to enlarge by pressing the multi-
selector up/down/left/right.
• Each time you press the center, the magnification scale will change.
• You can set the initial magnification by selecting MENU
(Camera Settings 1) [ Initial Focus Mag.].
3
Confirm the focus.
• Press the (Delete) button to bring the magnified position into the
center of an image.
• When the focus mode is [Manual Focus], you can adjust the focus
while an image is magnified. If [
AF in Focus Mag.] is set to [Off],
the [Focus Magnifier] function is canceled when the shutter button is
pressed halfway down.
• When the shutter button is pressed halfway down while an image
is magnified during the auto-focusing, different functions are
performed depending on the [
AF in Focus Mag.] setting.
– When [
AF in Focus Mag.] is set to [On]:
Auto-focusing is performed again.
– When [
AF in Focus Mag.] is set to [Off]:
The [Focus Magnifier] function is canceled.
• You can set how long the image is to be shown magnified by
selecting MENU
(Camera Settings 1) [Focus Magnif. Time].
4
Press the shutter button fully down to shoot the image.