The live screen for shooting operations appears. Continue to configure the basic operation of the unit according to the
operation mode.
Hint
In some cases, such as when using the unit with a tablet as a pair, it may be easier to use a fixed IP address for the unit.
To set a fixed IP address, first turn off [Network] – [Wired LAN] – [DHCP] (slider switch in the left position) in the web menu.
Symbols (!$%`*+-./<=>?@[]^_{|}~)
Your web browser will reload and you will be prompted to enter the user name and password.
Enter the user name and password that were configured in step 2.
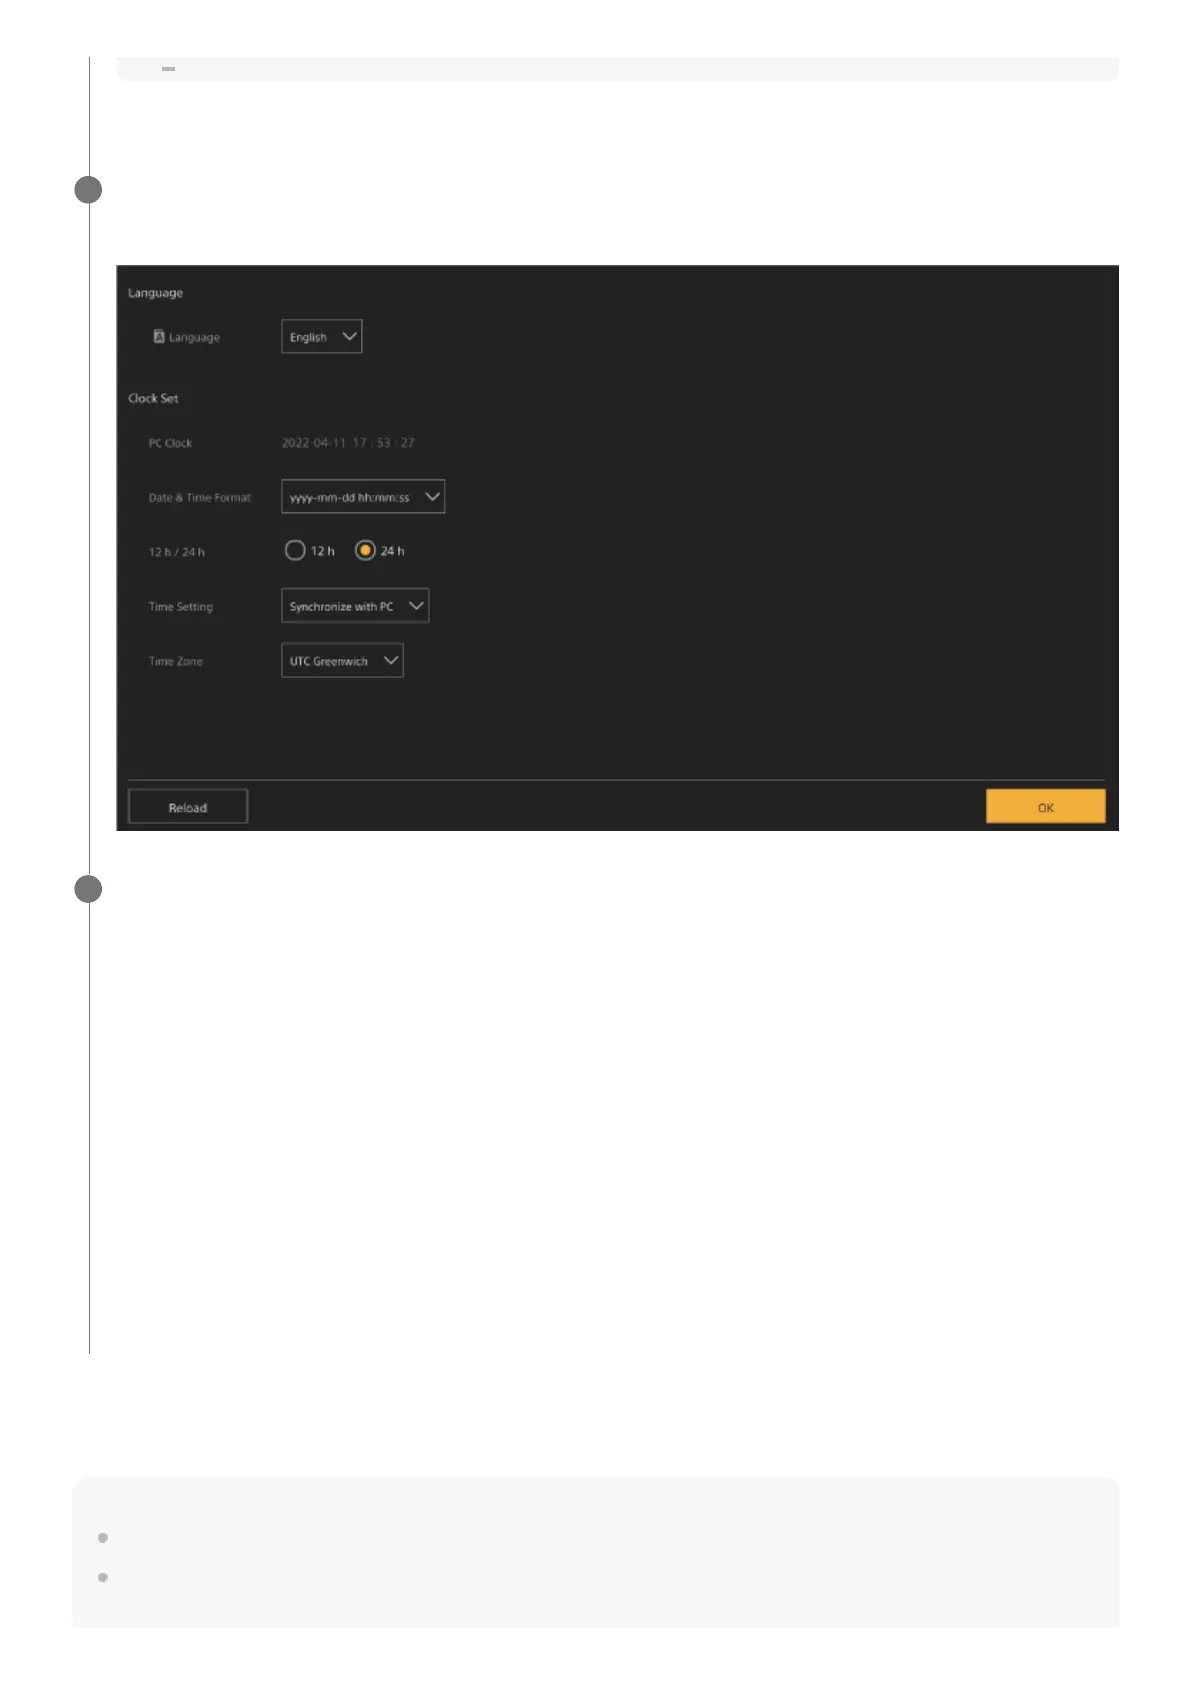
The language and clock setup screen appears.
3
Specify the following items and press the [OK] button.
[Language]
Select the language to use for the Web App and camera screen display. Changing the language will change the Web
App display language.
[Date & Time Format]
Select the display format for the date and time from the following options.
[yyyy-mm-dd hh:mm:ss], [mm-dd-yyyy hh:mm:ss], [dd-mm-yyyy hh:mm:ss]
“yyyy” indicates the year, “mm” indicates the month, “dd” indicates the day, “hh” indicates the hour, “mm” indicates the
minute, and “ss” indicates the second, respectively.
[12 h/24 h]
Select [12 h] (12-hour clock) or [24 h] (24-hour clock) for the time display.
[Time Setting]
Select the method for setting the date/time.
[Synchronize with PC]: Synchronize to the date/time of the computer or tablet.
[Manual setting]: Set manually. When this method is selected, entry fields for the date and time appear.
[Time Zone]
Select the time zone.
4
 Loading...