124
Executing a Transition
Chapter 3 Signal Selection and Transitions
2
Press the [LIMIT SET] button.
This sets the current fader lever position as the pattern limit.
Setting the pattern limit by a menu operation
1
When a wipe is selected as the transition type, in the M/E or PGM/PST
menu, select first VF5 ‘Wipe,’ then HF4 ‘Edge/Direction.’
When a DME wipe is selected as the transition type, in the M/E or PGM/
PST menu, select first VF6 ‘DME Wipe,’ then HF4 ‘Edge/Direction.’
The Edge/Direction menu appears.
2
Press the [Pattern Limit] button, turning it on.
3
Turn the knobs to adjust the following parameters.
a) 0.00%: Executing the transition does not change the video output at all.
b) 100.00%: The transition is the same as when no pattern limit is set, but the cross-point
button selections of the background A and B buses do not interchange when the transition
completes.
Executing a pattern limit transition
1
Press the [PTN LIMIT] button, turning it on.
The button you pressed lights amber.
2
Carry out the transition.
The transition progresses as far as the set pattern limit. Even if the
transition completes, the cross-point button assignments of the background
A and B buses do not interchange.
3
Carry out the transition once again.
The status before the previous transition is restored.
To cancel the pattern limit
To cancel the pattern limit after completion of step 3 in the previous procedure,
press the [PTN LIMIT] button, turning it off.
If after carrying out step 2 in the previous procedure, the pattern limit has been
reached, carry out the following procedure.
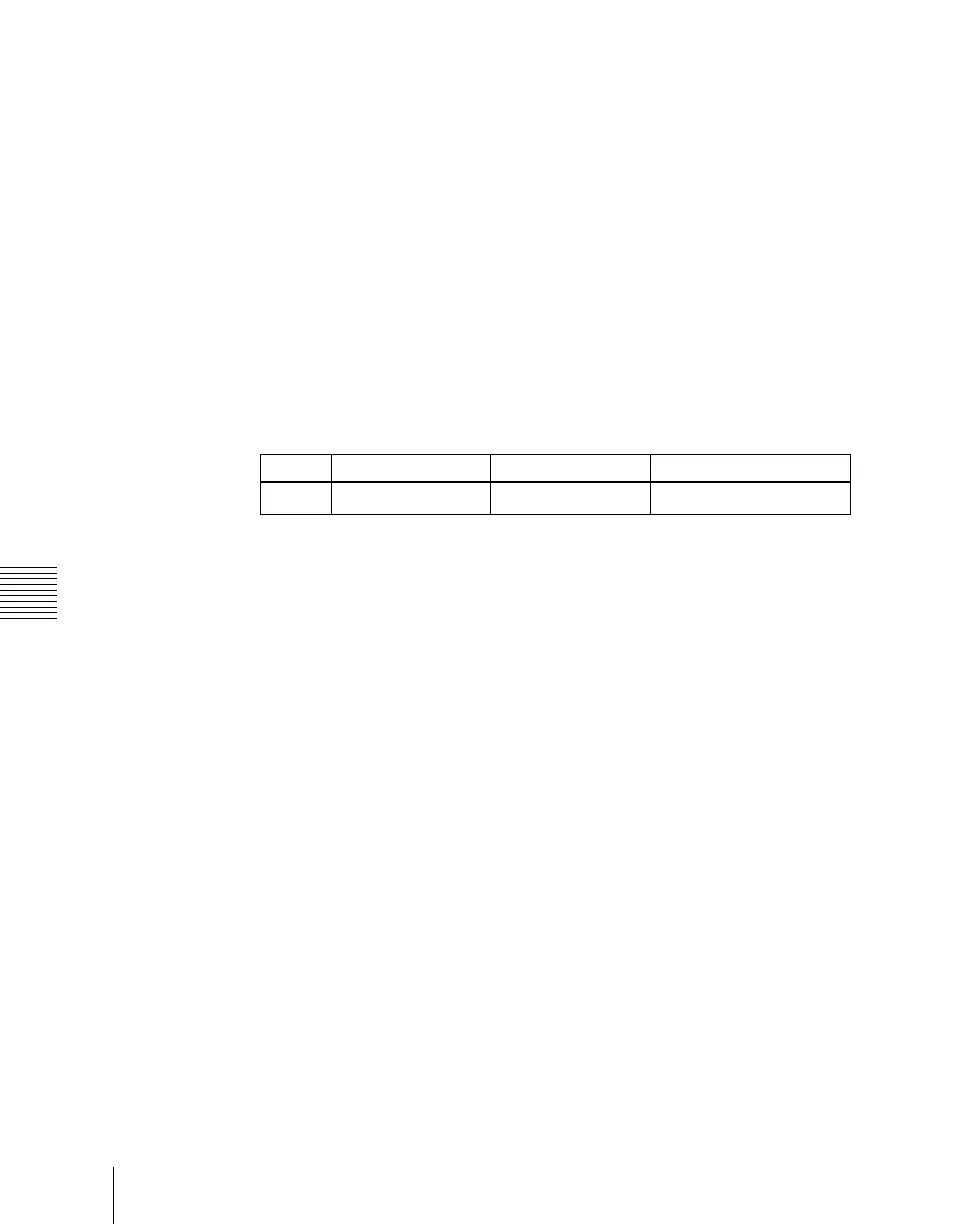
Knob Parameter Adjustment Setting values
1 Pattern Limit Pattern limit
0.00
a)
to 100.00%
b)