Testing the Two-wire Path
Procedure 7.2. Running the short finding test
1. Scroll sideways to the Main menu, then scroll down to the Tests menu, and press ENTER.
2. Scroll down to the Short Finding command, and press ENTER.
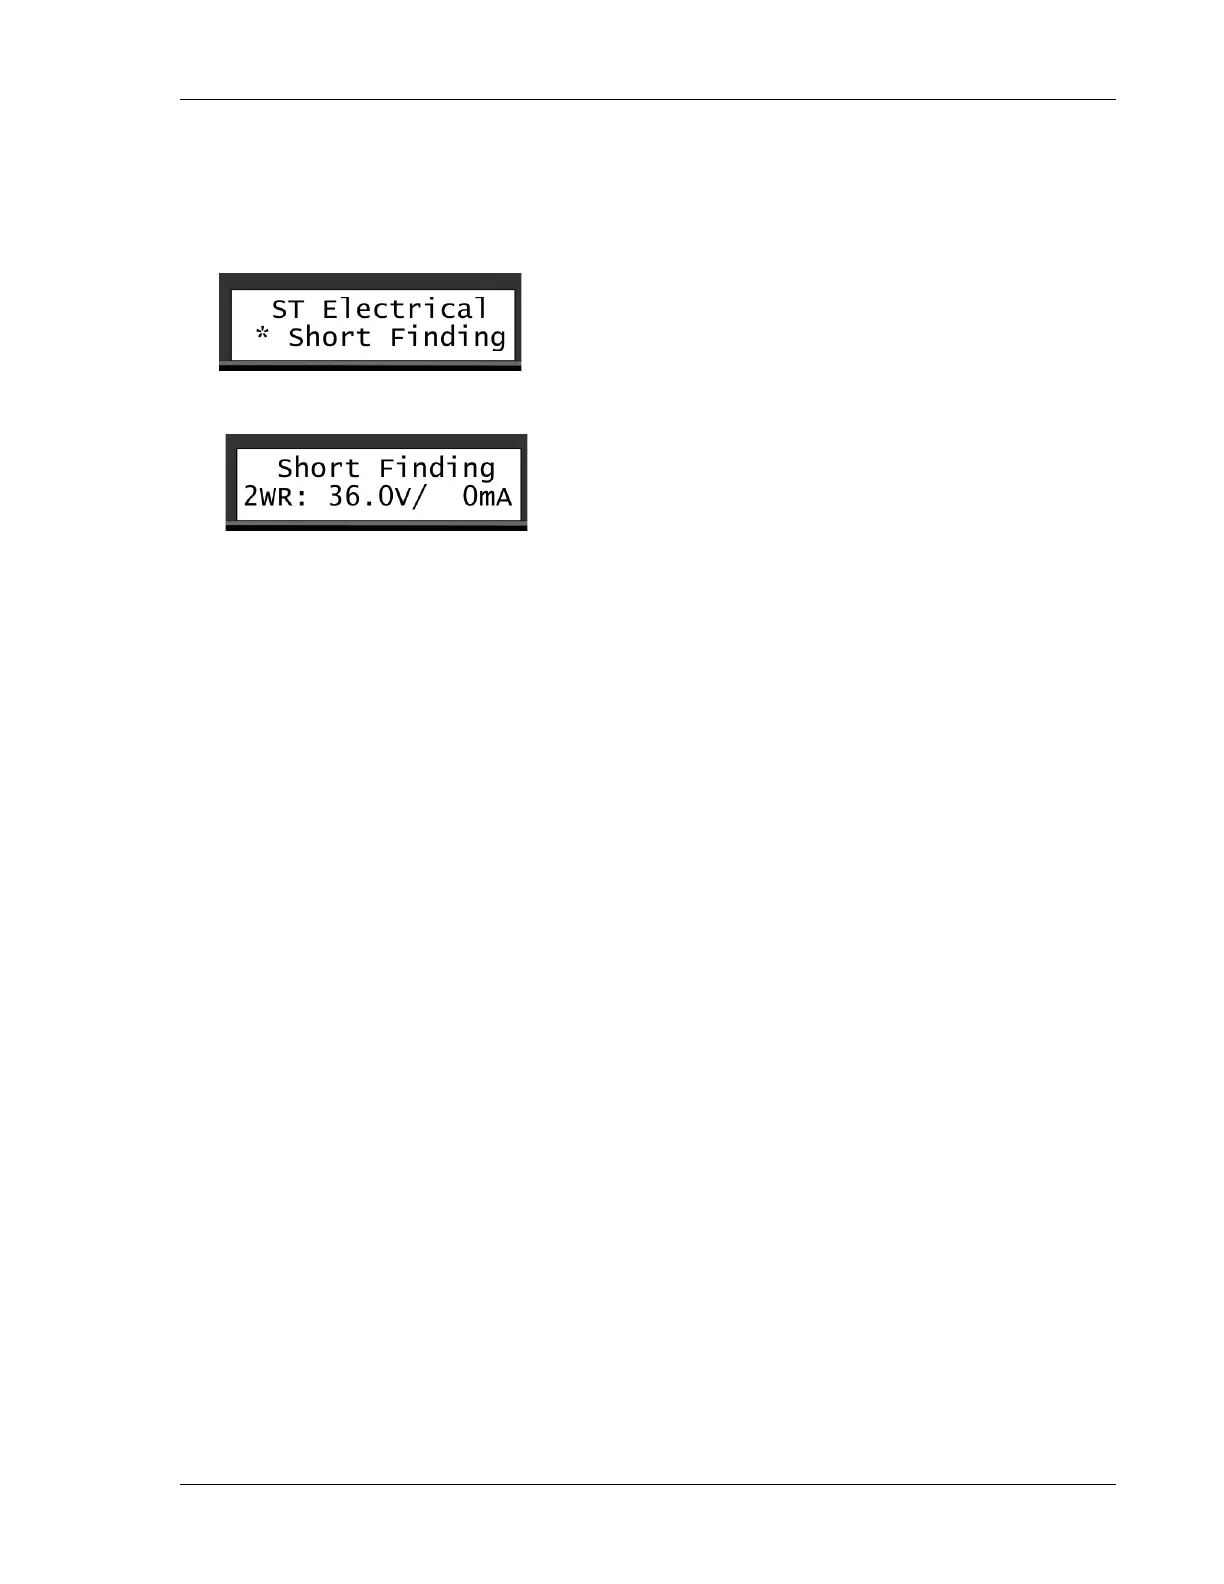
3. Inspect the measurements in the display:
• If the two-wire is OK, the voltage will be relatively high (34-36V), and the current (mA) relatively low.
In a test setup this is what it looked like:
The voltage is 36V and the current is 0mA.
In addition, both Red and Green Line Out LEDs will be lit.
• If there is a short somewhere in the system, you'll usually see a relatively high current and lower
voltage instead:
Now the voltage is 0V and the current is 229mA - something is causing the system to "eat up" a lot
of current.
In addition, if the voltage is very low, the Line Out LEDs will both be out.
• If the voltage is just slightly lower than normal (31-35V), consult the table in Section 8.1, “Checking
Power and Current Readings” [43].
If you find that there's a short in your system, you should try to locate it, using a clampmeter. (See
Section 8.4.1, “Using a Clampmeter” [51]).
7.2.
Testing the Two-wire Path
The first indication that you might have a short or a fault somewhere on the two-wire path is that the Line
Out indicators (the green and red LEDs on the Ranger Converter 3000) will flicker very quickly, or be not lit
at all.
If the Ranger Converter 3000 senses an electrical leak somewhere, the two-wire path will change to 50Hz
mode, meaning that the LEDs may both be lit . After a while you'll see an indication in the lower part of the
display that a short occurred.
If the leak is severe (current more than 600-650mA), the LEDs will turn off due to the loss of power. However,
current will still be running on the two-wire.