35TS 410, TS 420
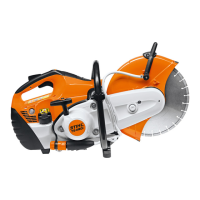
: Connect the suction hose (1) of
the pump 0000 850 1300 to the
nipple (arrow).
: Slide ring (1) to the left.
: Operate lever (2) until the
pressure gauge (arrow) indicates
a vacuum of 0.5 bar.
If the vacuum reading remains
constant, or does not decrease
by more than 0.3 bar within
20 seconds, it may be assumed that
the oil seals are in good condition.
If the vacuum in the crankcase is
reduced further, the oil seals must
be replaced, b 7.3.
– After testing, slide the ring on the
pump back to the right to vent the
pump.
– Continue with pressure test,
b 7.2.3.
1
370RA093 TG
2
1
370RA094 TG
7.2.3 Pressure test
The same preparatory steps are
required as for the vacuum test,
b 7.2.2.
– Test under vacuum before
starting the pressure test,
b 7.2.2.
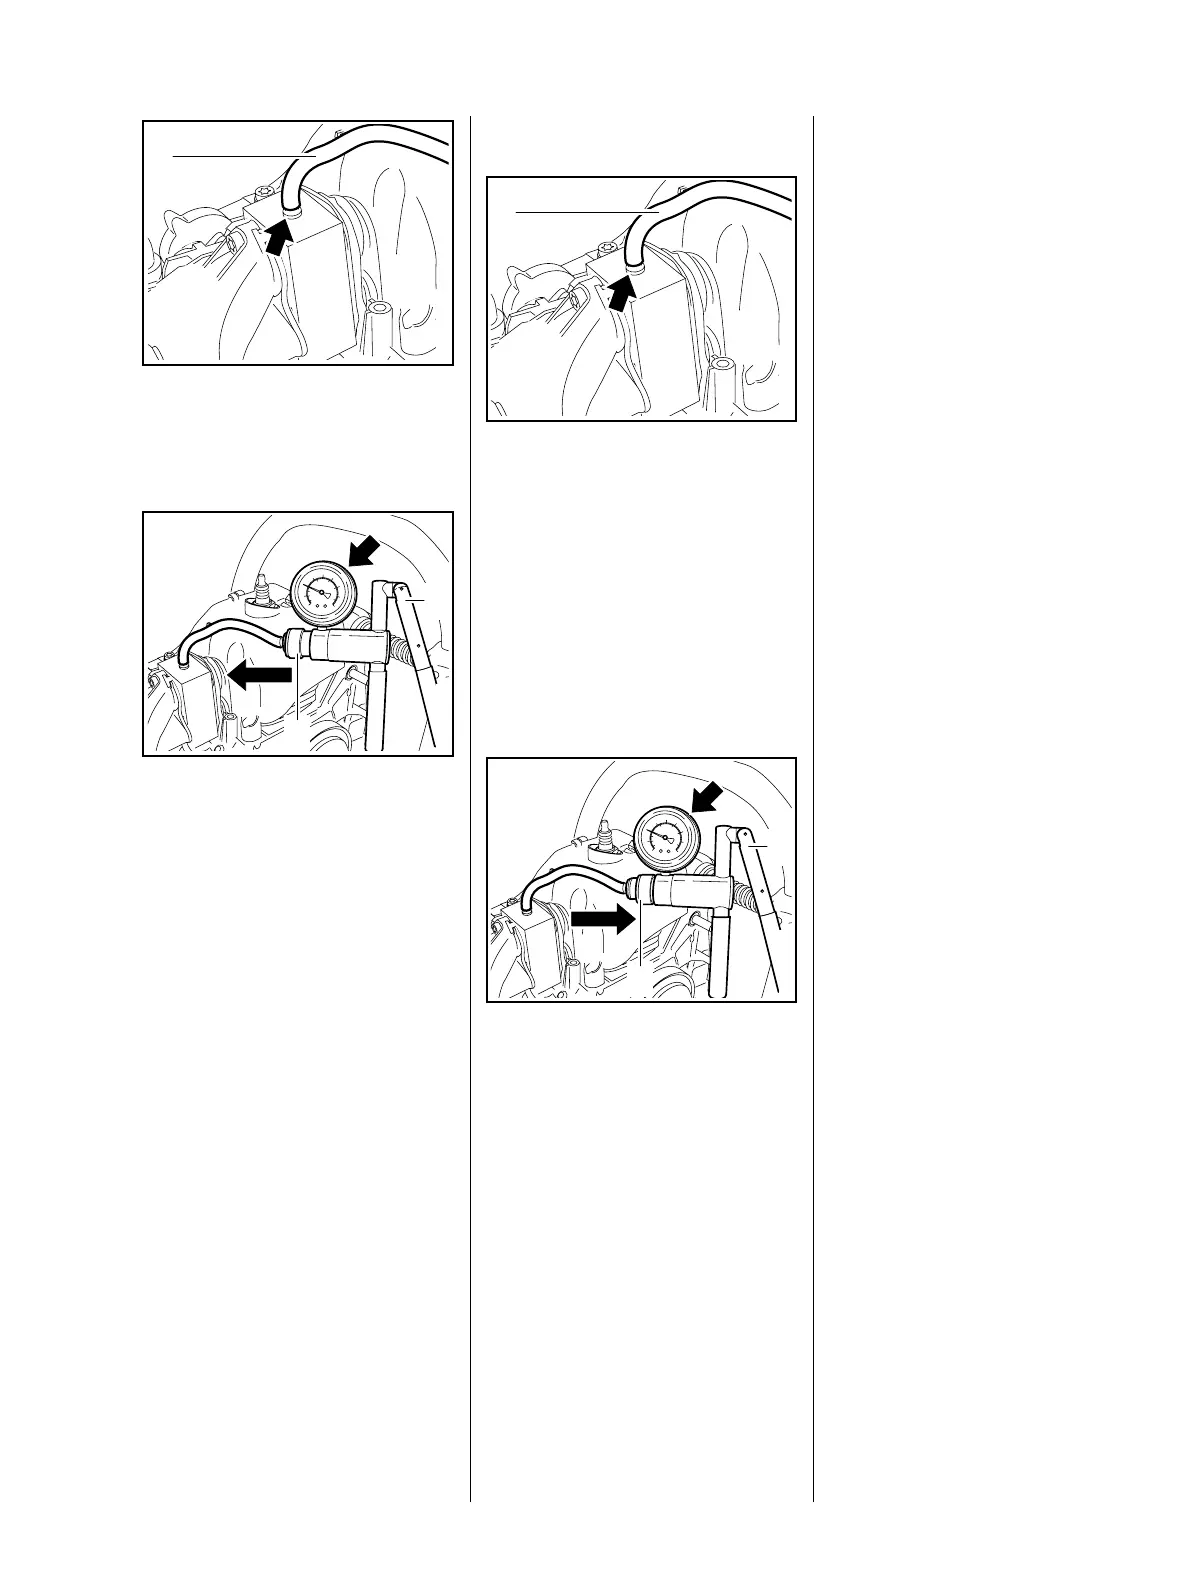
: Connect the delivery hose (1) of
the pump 0000 850 1300 to the
nipple (arrow).
: Slide ring (1) to the right.
: Actuate the lever (2) until the
pressure gauge (arrow) shows
a pressure of 0.5 bar. If this
pressure remains constant for at
least 20 seconds, the crankcase
is airtight.
– If the pressure drops, the leak
must be located and the defective
part replaced.
1
370RA093 TG
2
1
370RA095 TG
To find the leak, coat the suspect
area with soapy water and
pressurize the crankcase. Bubbles
will appear if a leak exists.
– After testing, slide the ring on the
pump to the left to vent the pump;
disconnect the hose.
– Remove the flange.
– Install the carburetor, b 12.2.
– Release the muffler and pull out
the sealing plate.
– Tighten down the muffler.
– Reassemble remaining parts in
reverse order.
– Tightening torques, b 3.5.

 Loading...