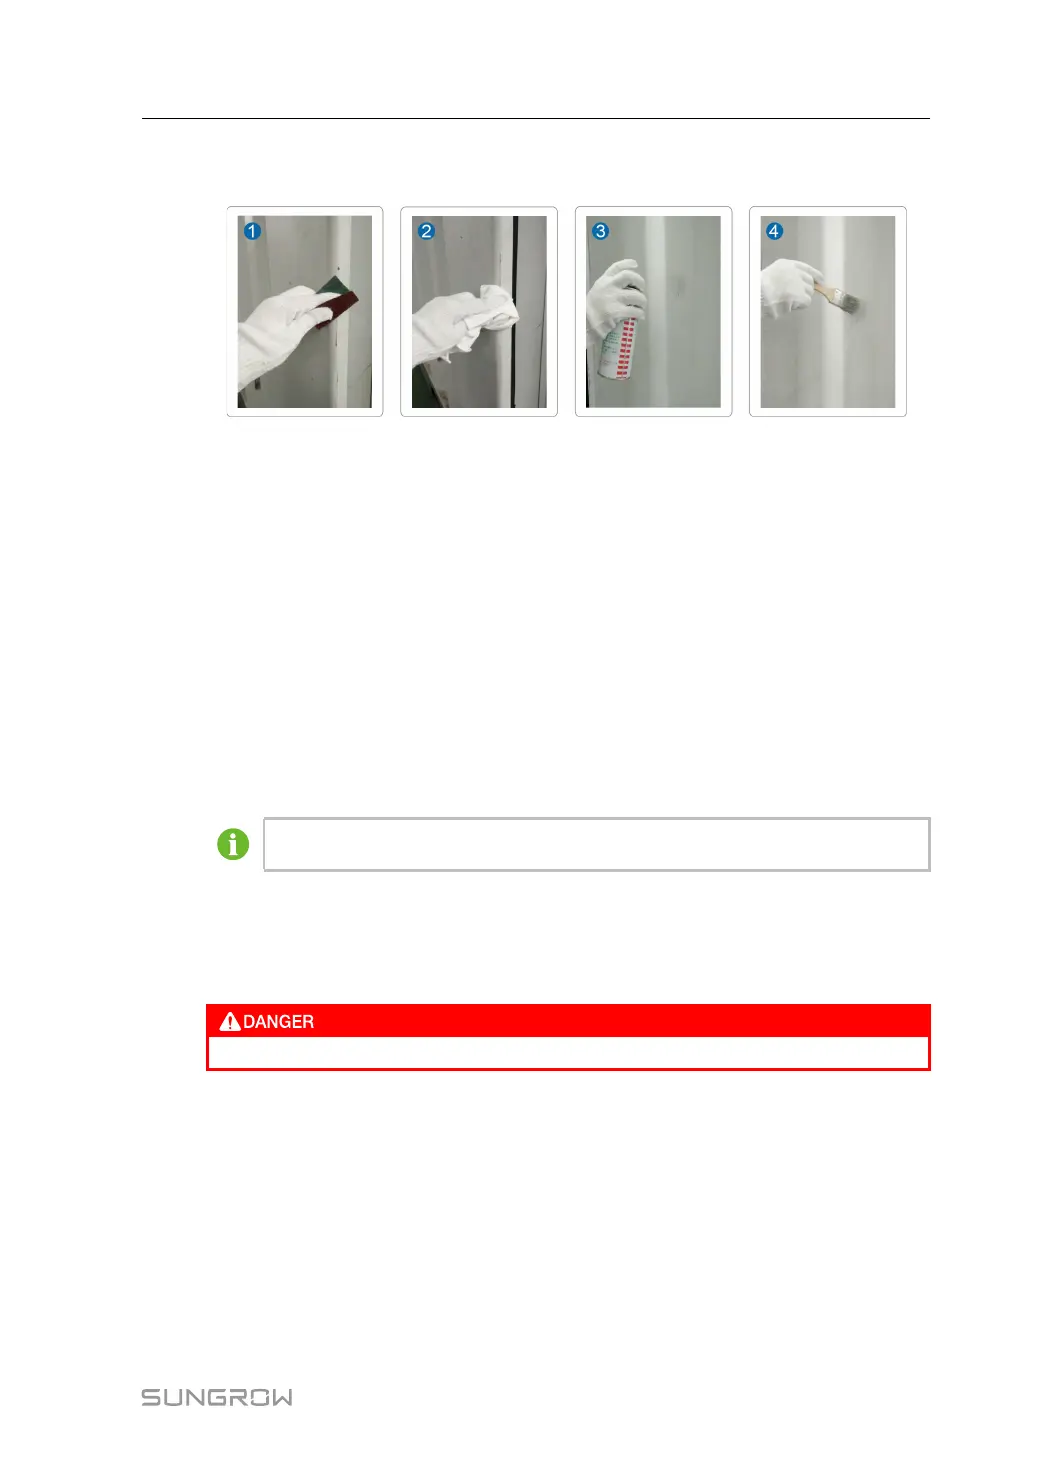
87
Step 4 Perform paint repair for the damaged parts with a soft brush after the primer is dried, and
brush the paint uniformly.
- - End
11.3.6 Checking Door Locks and Hinges
Check if the door locks and hinges of the inverter can be used normally after cleaning. Lubri-
cate the door lock holes and hinges properly if necessary.
11.3.7 Checking Sealing Strips
If the sealing strip is in good condition, it can effectively prevent water seepage inside the
product. Therefore, carefully check the sealing strip and replace it immediately if there is any
damage.
11.4 Replacing Fuse
Before replacing the fuse, ensure that the product is de-energized.
11.4.1 Replacing DC Side Fuse
Step 1 Power off the product according to the normal shutdown steps, refer to"7.5.1 Planned
Powering Down".
Make sure the PVS is disconnected from the inverter unit.
Step 2 Wait for 5 minutes for the internal capacitors to be completely discharged.
Step 3 Unlock the DC cabinet door and remove the protective cover on the DC fuse.
Step 4 Use a multimeter with a range of 1500 Vdc to measure the DC side voltage of the inverter.
Check and ensure that the positive voltage, negative voltage, positive to ground voltage,
and negative to ground voltage are all zero.
Step 5 Use a multimeter to measure each DC input voltage and ensure that the terminals are
uncharged before performing the next operation.
System Manual 11 Routine Maintenance
 Loading...