SWE90UF-2PB Operation & Maintenance Manual
side of crawler, then turn the lifted crawler to clean out the
attached silt. In order to reduce the force of boom and arm, the
angle between boom and arm should be in the range of
90--110.
(8) When working in water, the water depth only can
be at the middle part of the track roller or below. Don’t
dip the rear part of the machine in the water. If the
lubricating parts stay a long time in water, the lubricating
oil should be replaced till the old oil has been drained;
never soak the slewing bearing or main body in water or
sand. If you have to do so, please contact our dealer or
technicians to confirm that.
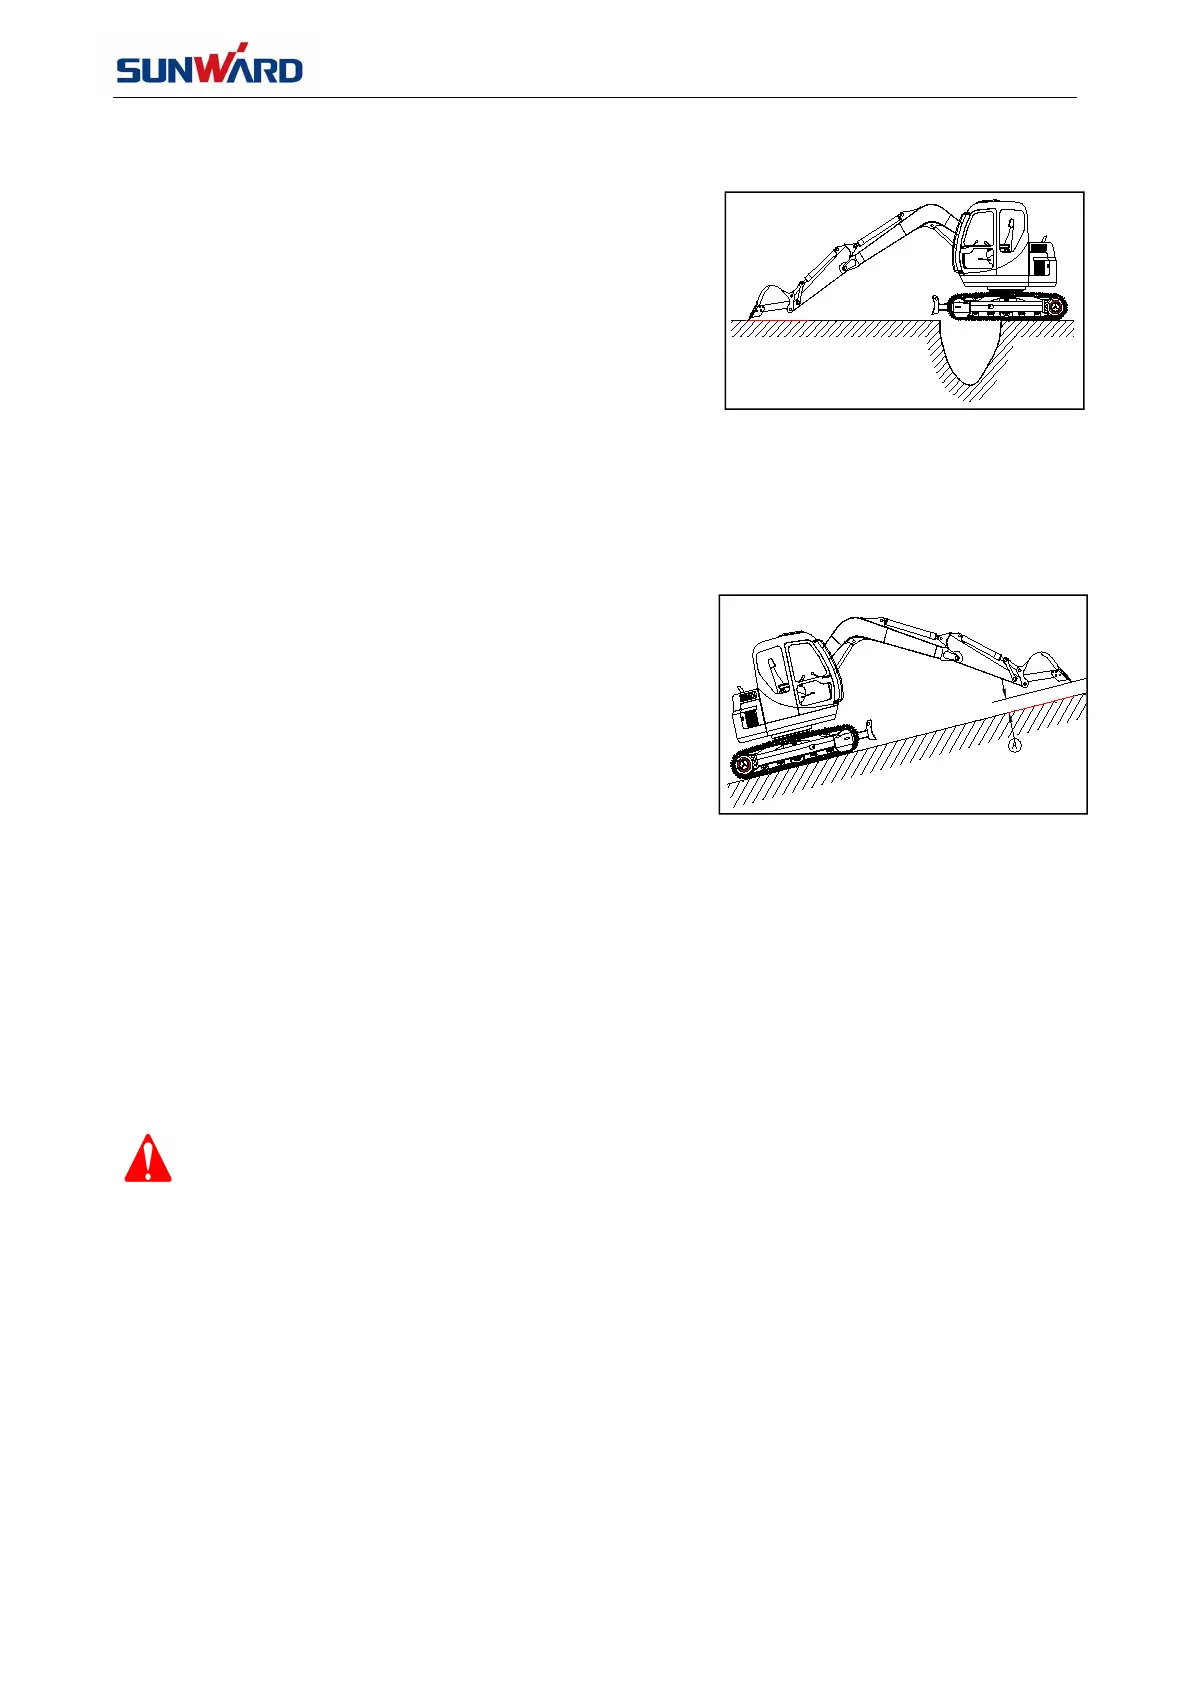
(9) When the machine gets into wallow or passing
raceway, arm and boom can be used to help the machine
passing (As figure 3.4.8).
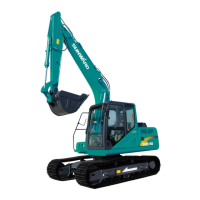
(10) When travelling on slopes, don’t exceed the
balance capacity of the machine. (Maximum gradeability is
20°, the lateral tilt angle is -10°). Extend arm and lower
bucket to keep it 0.5m above ground when travelling on
slopes (As figure 3.4.9). Travel downhill slowly by
controlling the adjustment of engine accelerator and pilot
valve imperceptibly to prevent slippery accidents. If the
machine slips on a slope, put down the bucket to brake.
Attention should be paid when the machine climbs uphill,
if the diesel engine stops, bucket should be lowered to
brake at once, make every control lever to neutral position,
and then start the engine again.
Note
(1) When traveling downhill, the brake will be enabled if
the control lever returns to the neutral position;
(2) When travelling uphill and slipping, the boom can be
used to climb;
(3) If the machine is shut down suddenly when travelling
along a slope, set the control lever to the neutral position,
enable the brake, and support on ground with the dozer
blade, and then start the engine.