100
6.4 Network settings on solar inverter
The solar inverter is supplied with the fol
-
lowing, preset IP address:
192.168.30.50
On request you can assign your own IP
address to the solar inverter via the menu
«Settings».
In the default setting the solar inverter
does not support a DHCP (Dynamic Host
Configuration Protocol). Therefore, no
automatic assignment of the IP address
takes place. It is possible to activate the
DHCP protocol via the menu
«Settings».
IP addresses may not be assigned twice
within the network!
1. Open the menu «Settings
– Login».
2. Enter the default password (********)
or the password you have assigned
here.
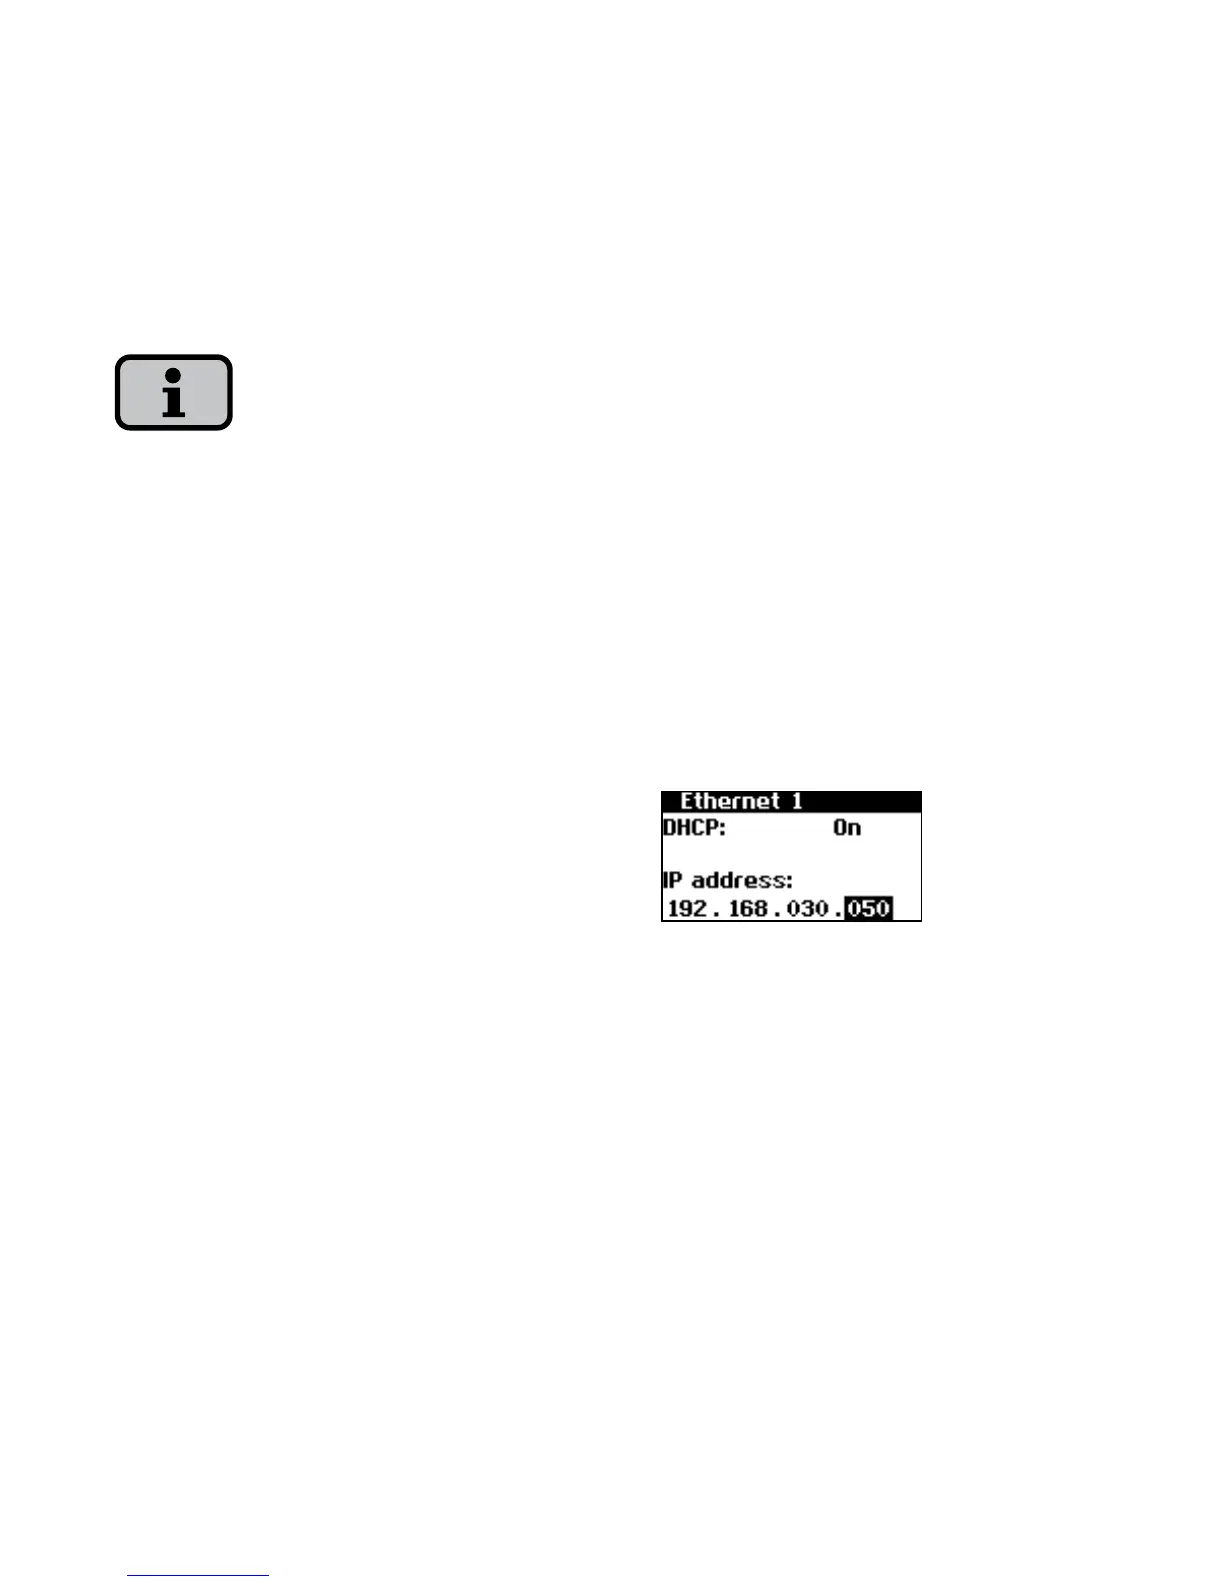
3. Open the menu «Settings – Network
– Ethernet».
4. Enter an IP address suitable for use
with your PC. This means the first
three number blocks must be identical,
and the last number block different.
Example:
If your PC has the IP address
192.168.1.1, then you assign the solar
inverter the IP address 192.168.1.2