EasyManuals Logo

Tektronix TAS 200 User Manual

Tektronix TAS 200
45 pages
To Next Page IconTo Next Page
To Previous Page IconTo Previous Page
Page #28 background imageLoading...
Page #28 background image
 
22
This procedure provides instructions on how to attach the front ends of the
slideĆout tracks to the equipment rack.
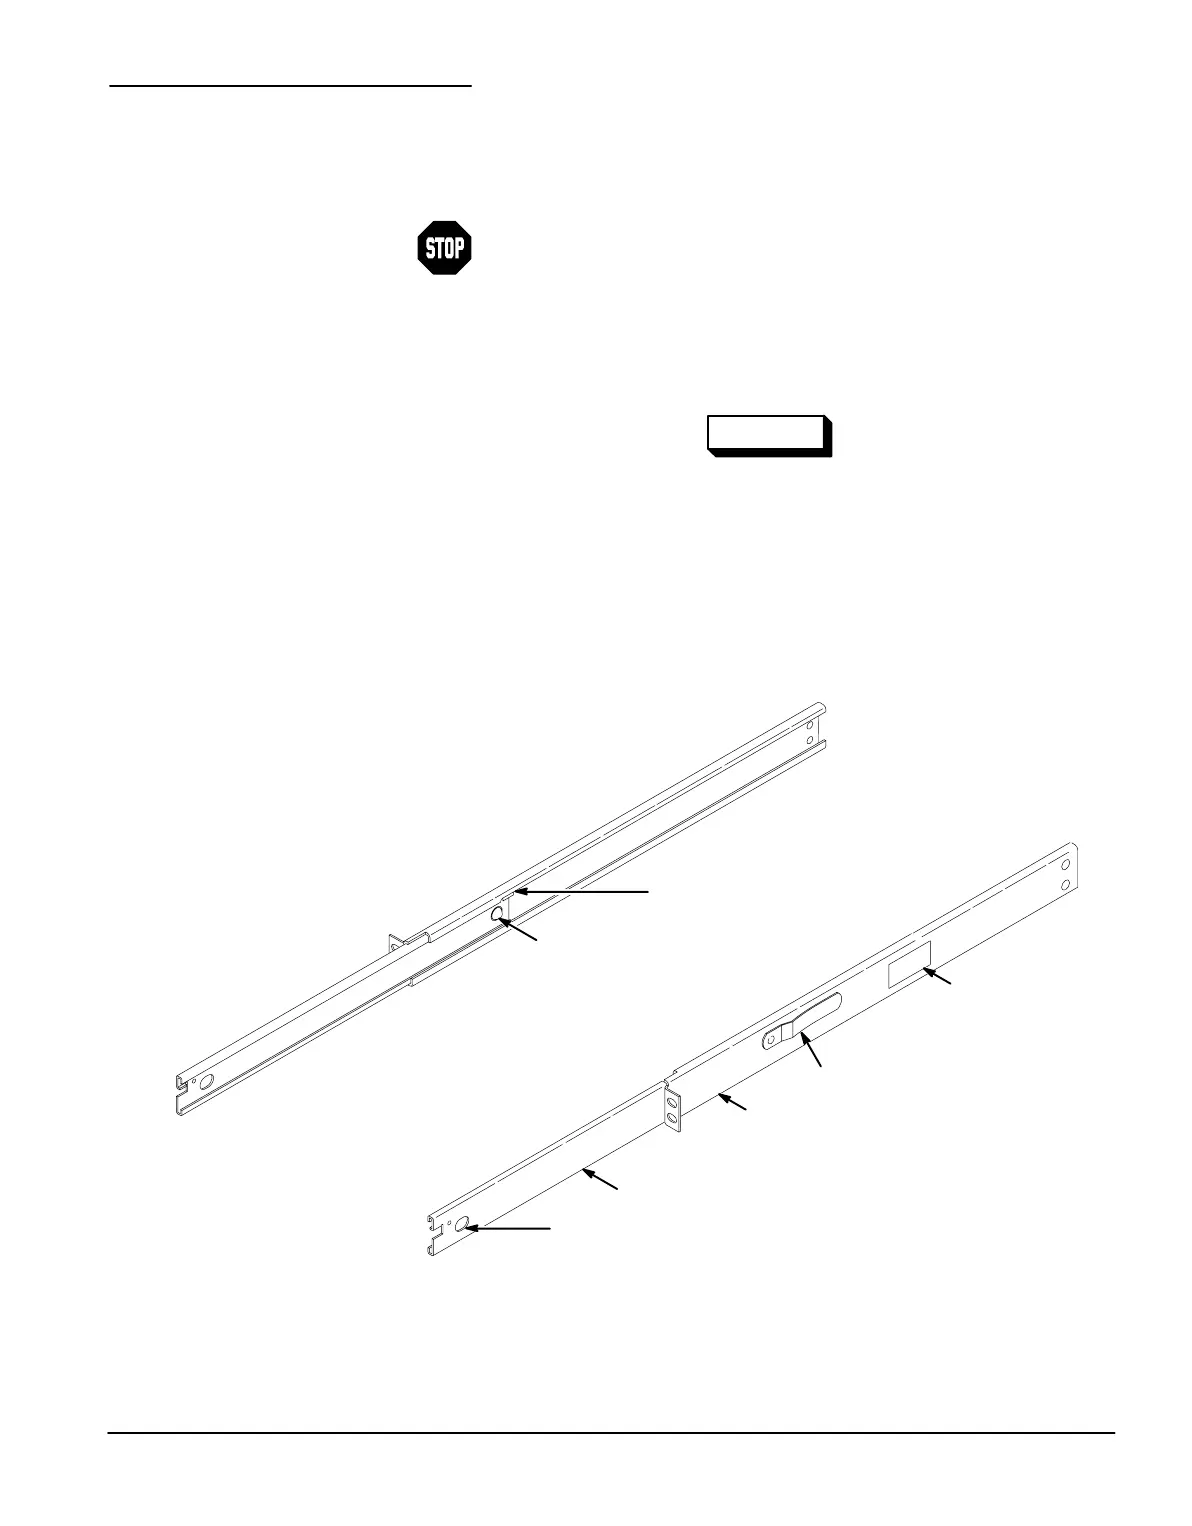
1. Identify the left and right slideĆout tracks.
Identify the left and right slideĆout track assemblies by locating the
label on each track assembly. The label has a date code and the last
two characters indicate whether the assembly is the rightĆhand (RH)
or leftĆhand (LH).
Left and right is defined while viewing from the front of the rackĆ
mount assembly. Figure 17 shows the left and right tracks.
WARNING
       
         
         
           
  
Automatic Latch
Stop Latch Hole
Mechanical Stop
Stationary Section
Intermediate Section
Automatic Latch Hole
Left Side Assembly
Right Side Assembly
Date Code
Label
  
   
  


Table of Contents

Questions and Answers:

Question and Answer IconNeed help?

Do you have a question about the Tektronix TAS 200 and is the answer not in the manual?

Tektronix TAS 200 Specifications

General IconGeneral
BrandTektronix
ModelTAS 200
CategoryRacks & Stands
LanguageEnglish

Related product manuals