32
1. Measure the distance between the front and rear rails of the equipment
rack.
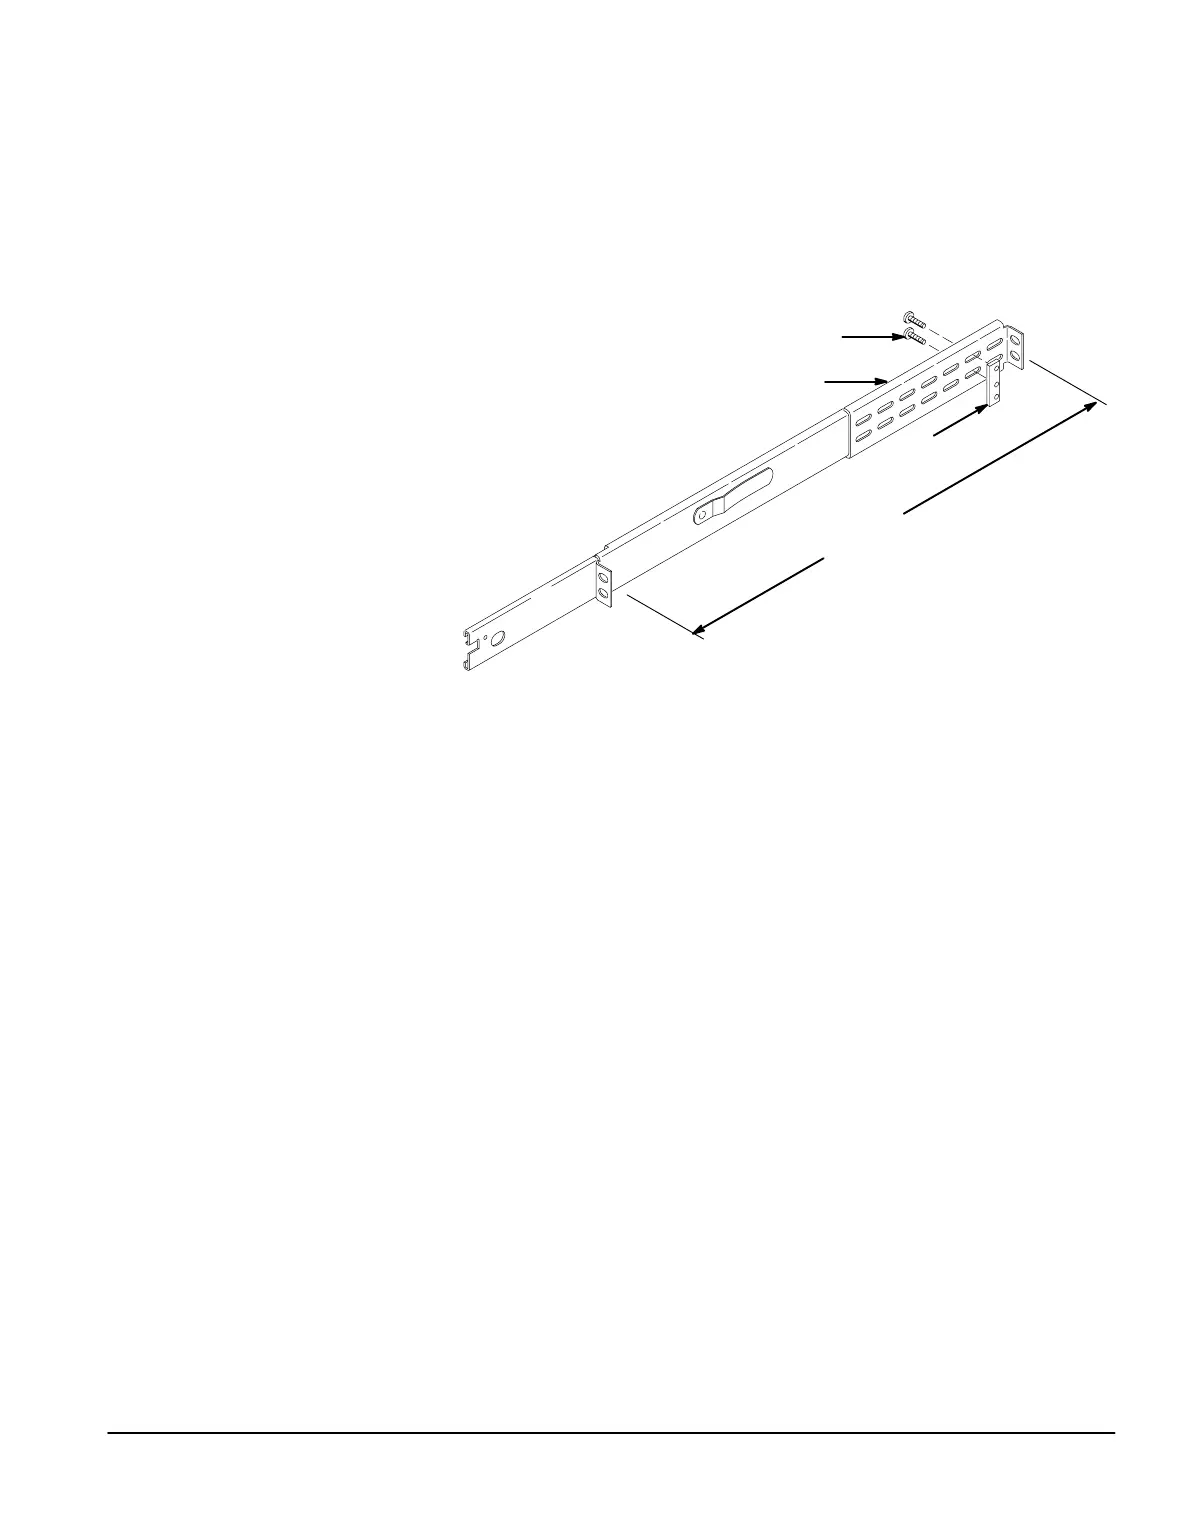
2. Attach the extension brackets to the slideĆout tracks. See Figure 26.
a. Align the extension brackets to the right and left slideĆout tracks as
shown in Figure 26 so that the flangeĆtoĆflange distance matches the
frontĆtoĆrear rail spacing measured in Step 1.
Bar Nut
10Ć32 Screw
Spacing Between Flanges Matches
FrontĆtoĆrear Rail Spacing
Extension Bracket
b. Loosely secure the extension brackets to the slideĆout tracks using
two screws (10Ć32) and a bar nut for each assembly as shown in
Figure 26.
3. Attach the rear of the slideĆout track assembly either in front of or behind
the rear rail of the equipment rack. Use the same method described for
attaching the frontĆend flanges beginning on page 22, steps 1
throughĂ3.
4. Secure the screws attaching the the extension brackets to the slideĆout
track assembly.
5. Insert the slideĆout tracks attached to the rack adapter chassis into the
stationary tracks mounted in the rack cabinet. Slide the rackĆadapted
instrument fully into the rack cabinet.
 Loading...

