34
1. Attach the power cord to the rear of the instrument, inserting the retainĆ
ing clip into the hole provided in the rear panel. See Figure 3 on
page 5.
2. If you are making a front panel BNC input connector accessible to other
equipment at the rear of the equipment rack (see the
section on page 20), connect the cable to the desired connector.
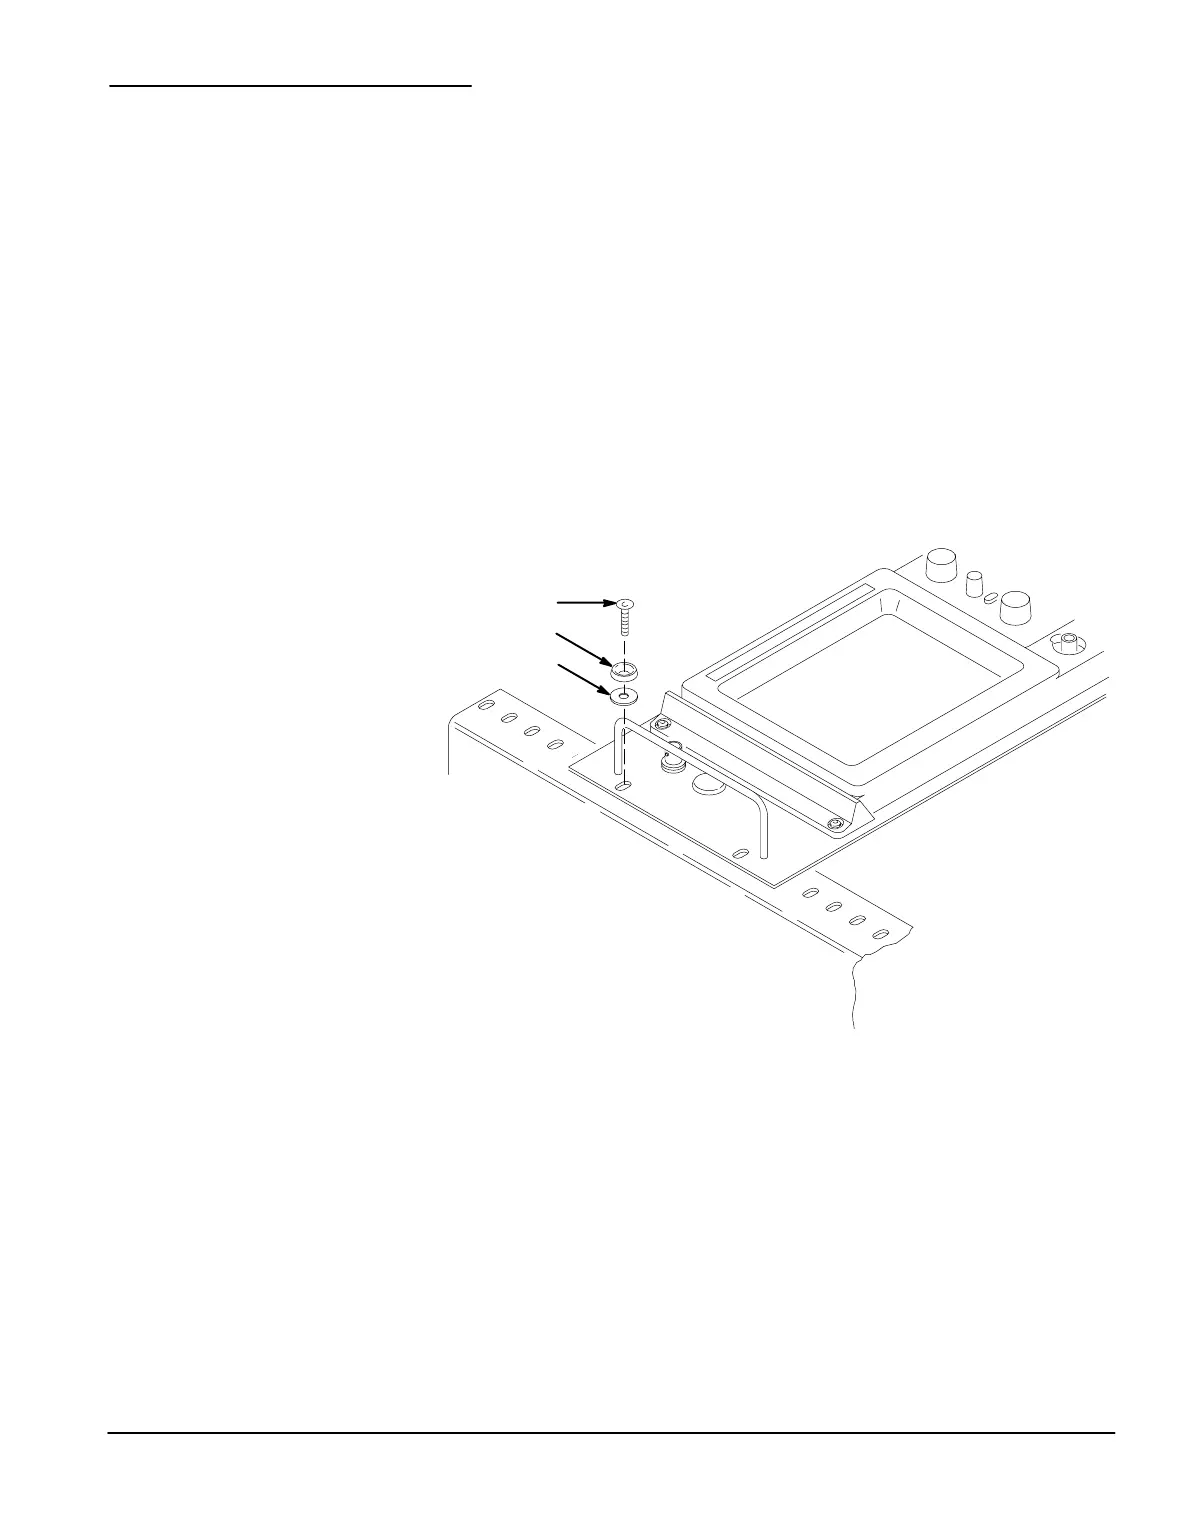
3. With the instrument pushed all the way into the rack cabinet, install and
tighten the mounting screws at the four corners of the rack adapter front
panel (see Figure 28). Use the following parts:
H four finish screws (three different sizes are provided in this kit to
accommodate most equipment racks)
H four countersunk finish washers
H four plastic washers
Finish Screw
Finish Washer
Plastic Washer
 Loading...

