BRAVO – Wireless Alarm Control Panel
20
4.3. Hardware reset
After hardware reset of the panel all default settings are
restored, the enrolled devices and the memory log
events are deleted.
To perform hardware reset:
1. Switch off the main and the back-up power
supply of the panel.
2. Set a jumper on the RESET terminals.
3. Switch on the main and the back-up power
supply of the panel – the zone LEDs (1-16) are
blinking in sequence in different colors –
signalization “chasing LEDs” type.
4. Remove the jumper from the RESET
terminals – the panel goes to normal operation
mode, as only the status LED is lighting on in
green.
Note: You can skip the chasing LEDs signalization test
as directly remove the jumper from RESET terminals
after switching on the mains and back-up power supply.
After the initial start-up and every resetting, the
panel goes through initialization procedure – the
status LED starts blinking for 10-15 seconds until
the system is established in normal operation
mode.
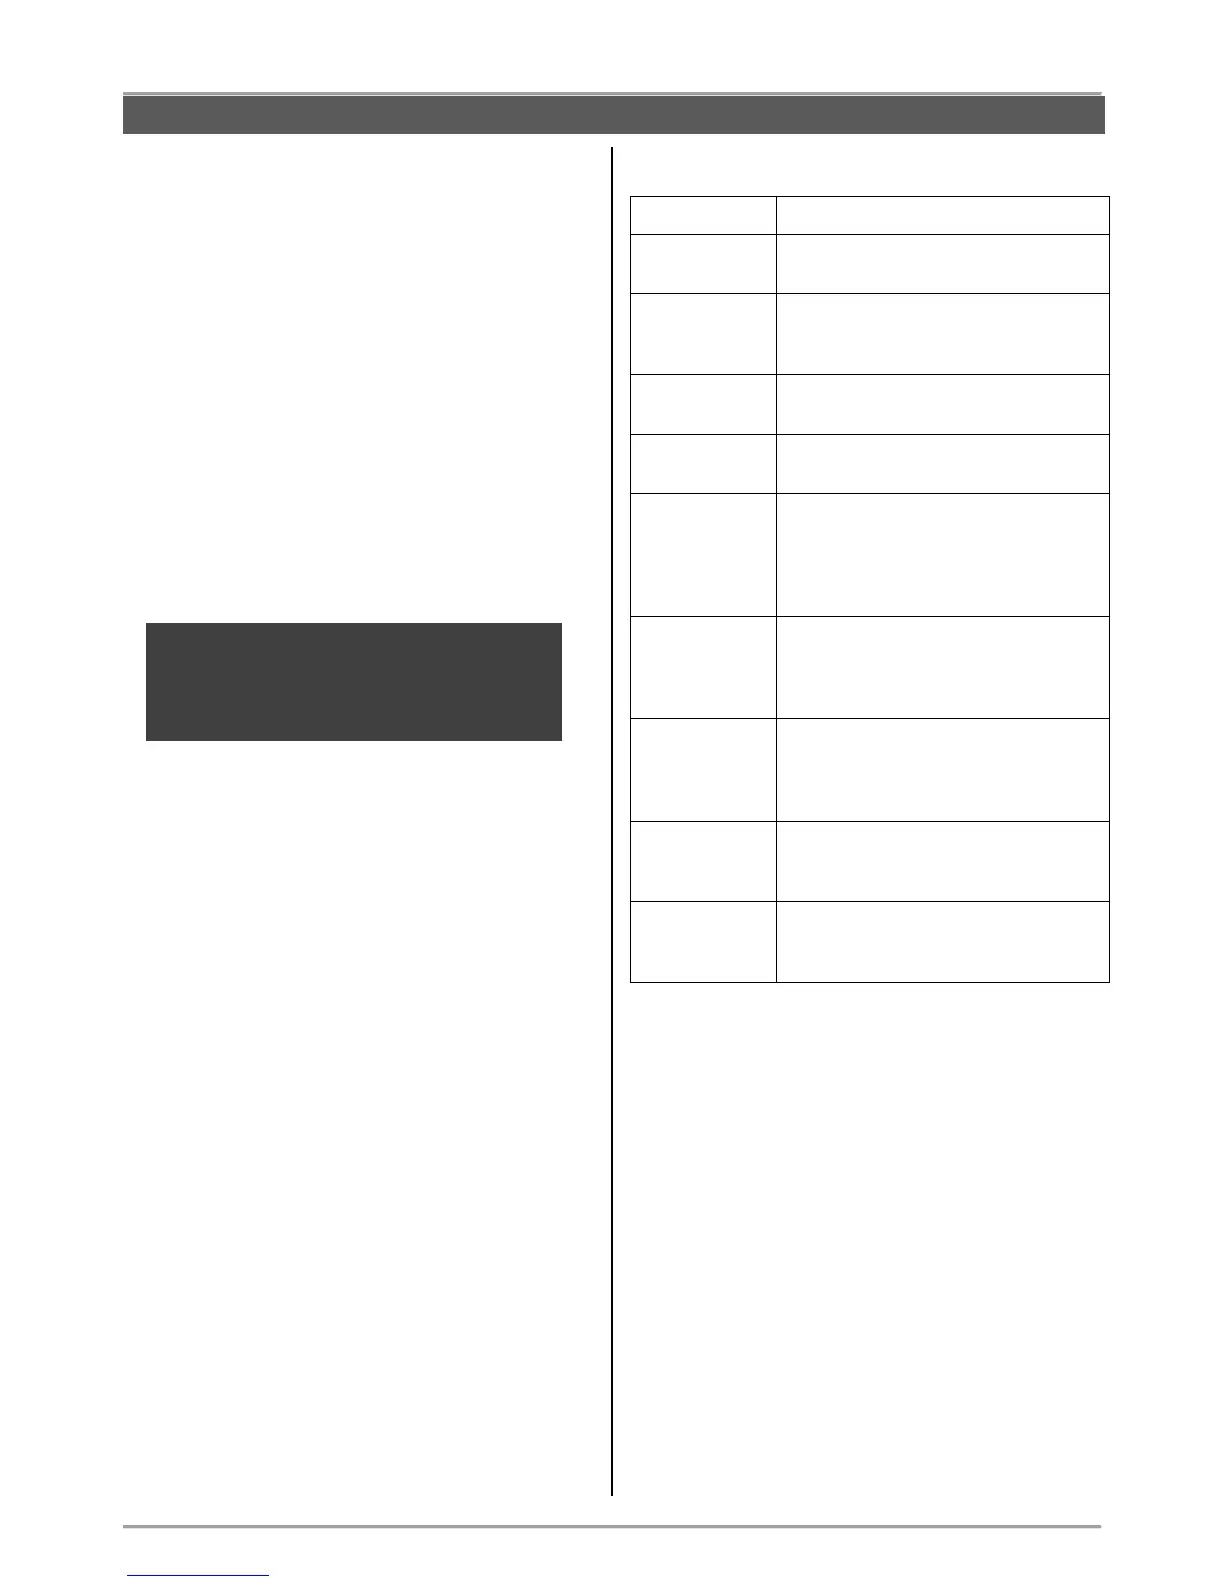
4.4. Sound signalization from the panel
Single short beep indicating the
pressing of a key.
Two long sound signals, indicating the
system confirmation for executed
operation.
A single long beep, indicating system
incorrectly executed operation.
Continuous beep, indicating intrusion
into an entrance zone.
Short beeps, indicating the system is
armed and the user is required to
leave the entrance zone. Ten seconds
before the exit time is over beep
frequency increases.
Two short beeps at every 20 sec,
indicating a technical trouble. To stop
the signalization - press the
ATTENTION button.
Short beeps with subsequently
increasing period, indicating intrusion
into a zone with an activated chime
option when the system is disarmed.
The dip-switch 4 is set in ON position.
Two short sound signals indicating
system ARMING.
The dip-switch 4 is set in ON position.
Three short sound signals indicating
system DISARMING.
* Note: The signalization can be disabled via specialized
ProsTE programming software – see item 7.9.