Use the buttons with arrows to select a number of a
free position – the number blinks in green.
Press random button of the key fob – the LED
(Info) blinks in red and after a short time interval
lights on in green. The panel confirms the successful
enrolment with a sound signal, and the selected
position number is blinking in red.
After exit from the “Device enrolment” mode the key
fob is ready for operation.
By default the button has no functionality. The
installer can program the functionality of the button
via ProsTE software, as the possible options are
described in item 7.9.
The functionality of the button can be set to be
different for every of the key fobs.
6.4. General steps for enrolling an outdoor
sounder
Prepare the siren for enrolment – remove the covers
to access the PCB and the battery terminals.
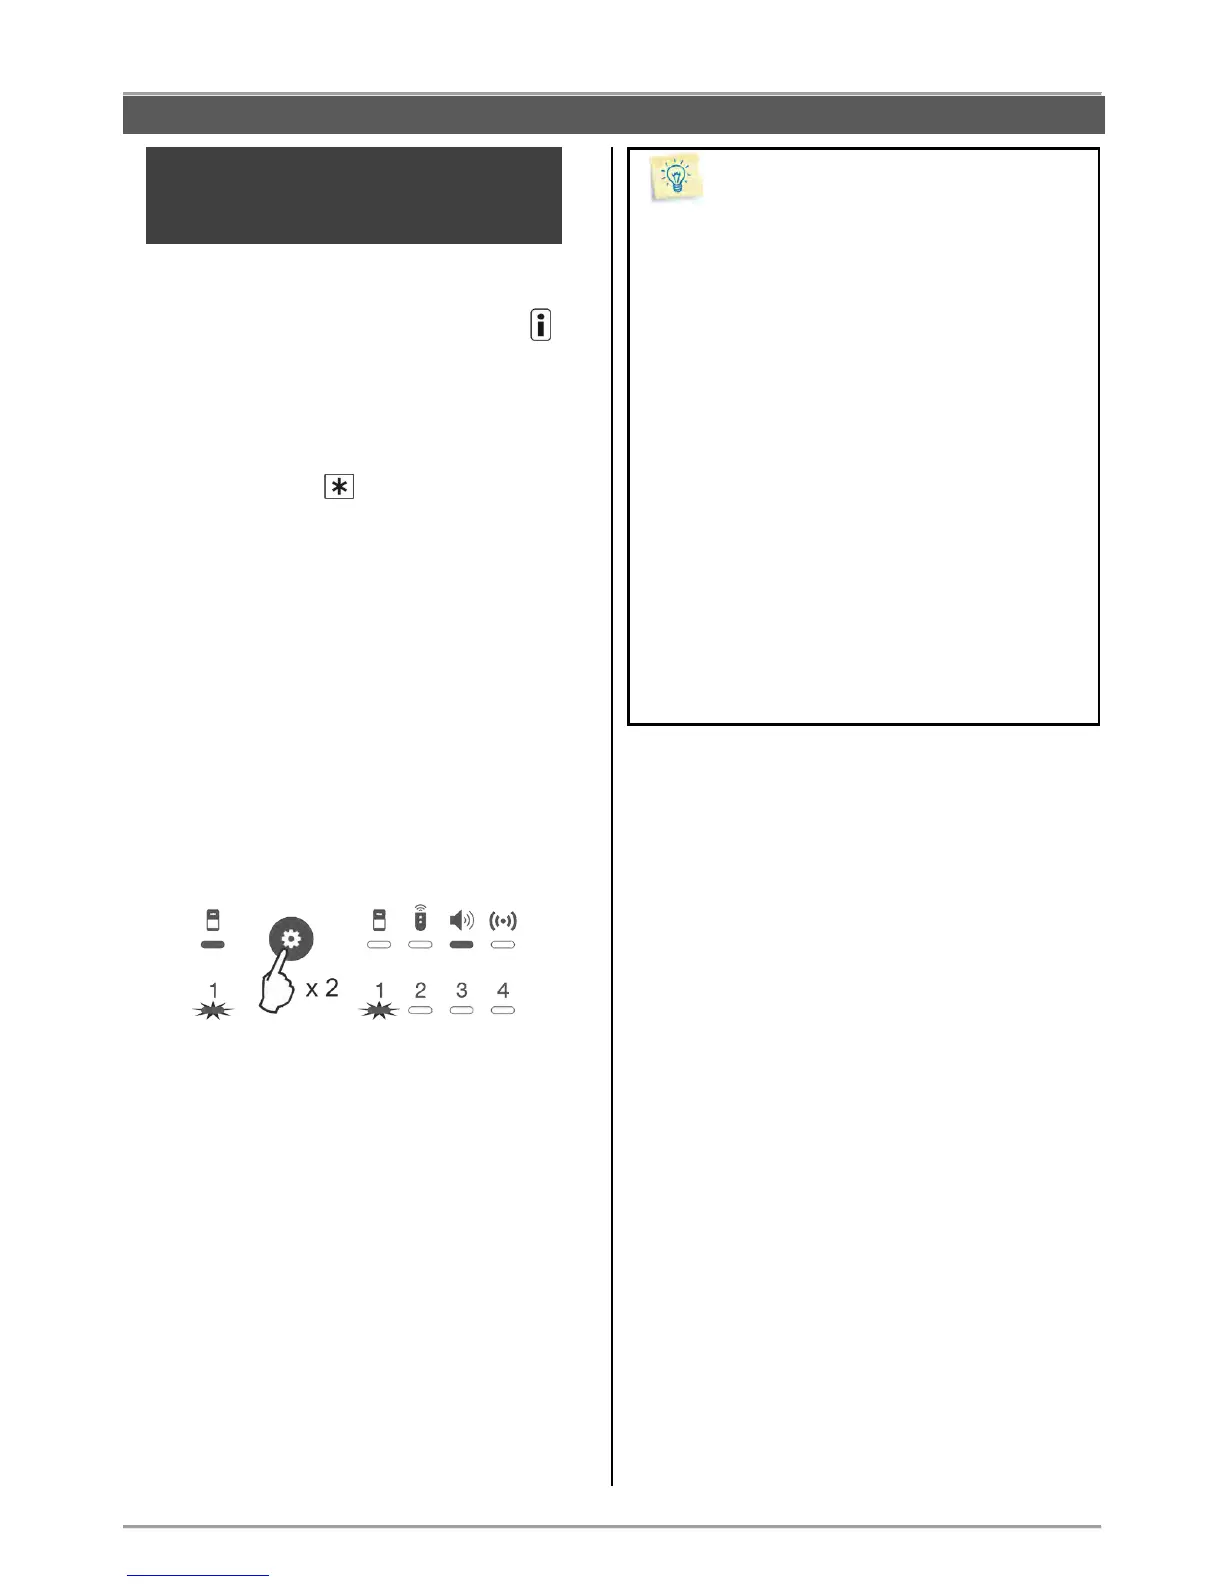
Enter in “Device enrolment” mode.
The system enters in the menu for detectors
enrolment. Press the “Programming” button twice to
move to the menu for sounder enrolment. The LED
indicator under the icon is lighting on and the
position 1 is blinking:
The BRAVO panel supports operation with one outdoor
sounder, which can be enrolled to position 1.
Switch on the battery – the LED on the PCB is
lighting on in sequence in red and green.
Press the ENROLL button – the LED is blinking in
red and after a short time interval – in green. The
panel confirms the successful enrolment with a
sound signal, and the position number is blinking in
red.
Go to the place for installation of the sounder and
make a radio test for signal strength – see item 7.1.
Close the covers of the sounder and test its
operation simulating an alarm event.
By default the alarm cycle of the sounder is set to 1
minute. The installer can program other duration of
the alarm cycle (up to 3 minutes) via ProsTE
software – see item 7.9.
You can scroll over the device groups also using
the arrow buttons – when reaching the last zone/
position the panel automatically moves to the next
device group.
Leave the enrolment of the used key fobs at the
end – in this way the entry in the “Device
enrolment” mode will be easier during the
installation of the other devices.
In “Device enrolment” mode the zones/ positions of
bypassed devices are lighting in yellow.
Use a double-sided mounting tape for fixing the
detectors during the initial installation – it is
possible to change the mounting place later in
order to obtain a better strength of the radio signal.
After successful enrolment to the panel, write the
zone number on the sticker and place it on the
inner side of the detector’s enclosure.
Fill in the Object card for the protected site given at
item 11.