44
SETTING FUNCTIONS ON SETUP SCREEN
SETTING FUNCTIONS ON SETUP SCREEN
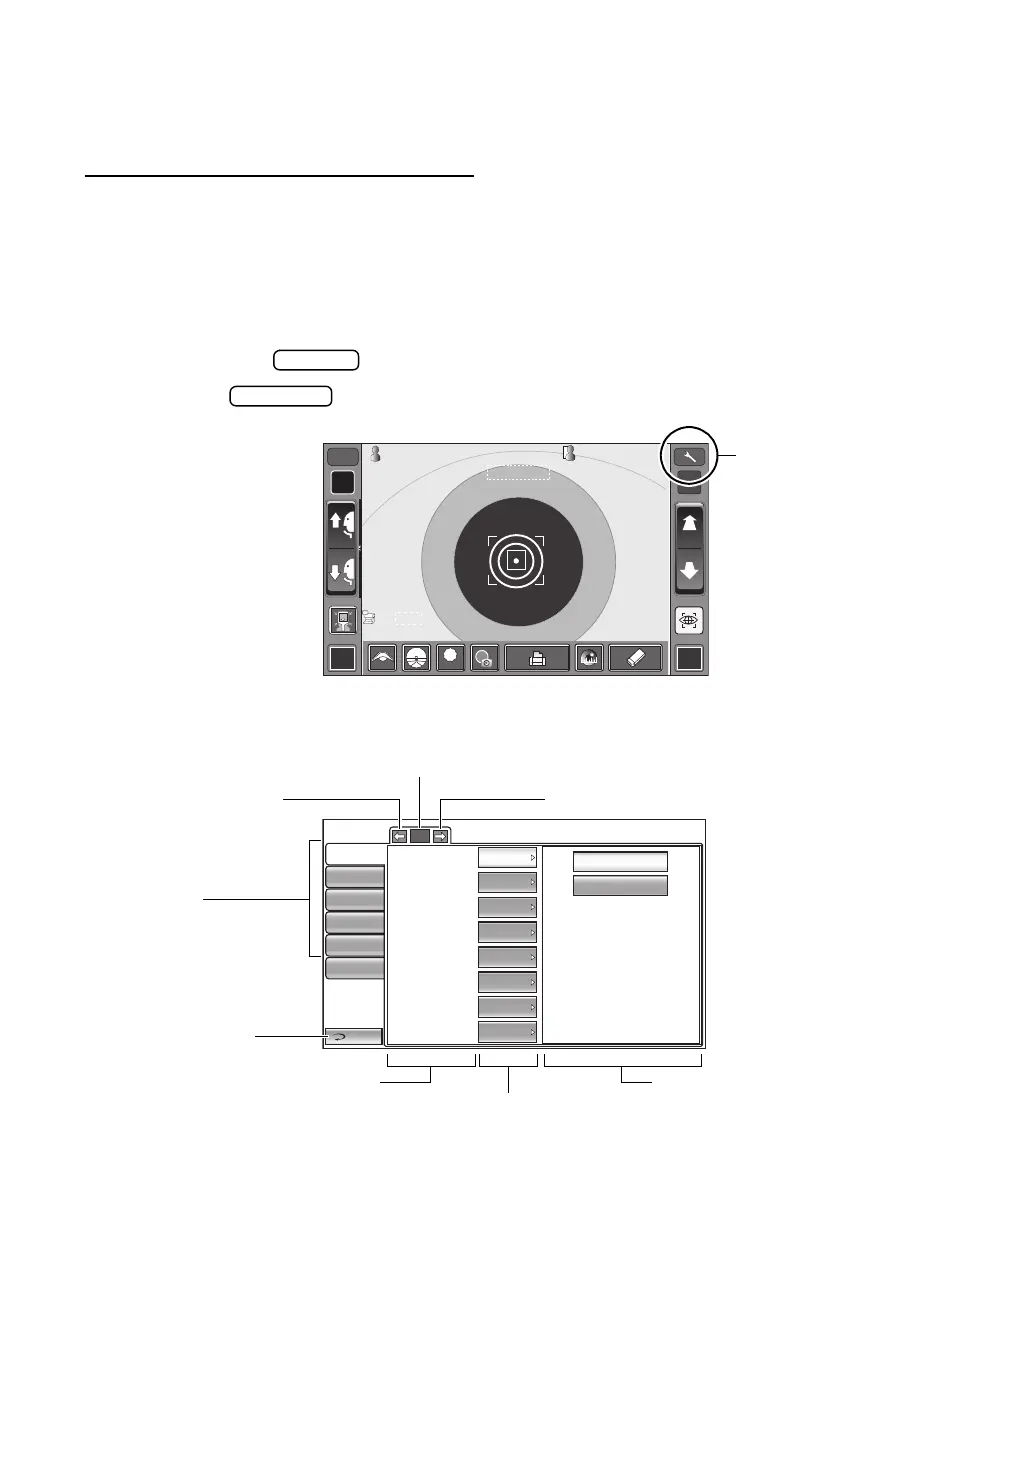
OPERATING THE SETUP SCREEN
Various functions can be set on the SETUP screen.
PREPARATONS FOR SETTING
1 Make sure that the power cable is connected.
For connection, refer to “CONNECTING POWER CABLE” on page 19.
2 Turn ON the switch.
3 Tap the button on the control panel.
The SETUP screen is displayed.
R L
R/K
ID
A
0000100001000010000100001000010000100001 00001000010000100001
diod io
AUTOAUTO
-1.- 1 . 2525 -0.-0. 5050 -0.- 0 . 2525 -0.-0 . 5050
1801 8 0 1801 8 0
010 1mmmm
S C A S C A
13.7513.75
-1.-1 . 2525
-0.-0 . 5050
7.807 . 8 0
7.757 . 7 5
1801 8 0
1801 8 0
VDV D
PR2PR2
R
S
C
A
K
R1
R1
R2R2
A1A1
PR1PR1
3/33/3
3/33/3
7.807.80
-0.-0 . 2525
-0.-0 . 5050
7.807 . 8 0
7.757 . 7 5
1801 8 0
1801 8 0
3/33/3
3/33/3
7.807.80
R
S
C
A
K
R1
R1
R2R2
A1A1
PR1PR1
PR2PR2
PA1PA1
PA1PA1
LOWLOW
FOGFOG
1/5
Initial
AUTO
ON
OFF
ON
ON
ON
OFF
OFF
ON
1
Buzzer
Start mode
Auto Print
Printer
Patient No. reset
Show patient ID
Required patient ID
Device ID number
Print
Comm
LAN
Operator ID
Special
Return
Return button
Index
Descriptions
Back Page button
Page display
Next page button
Current condition button
Options