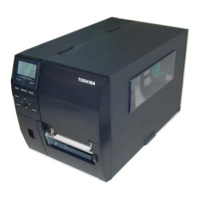
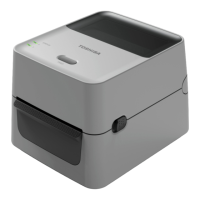
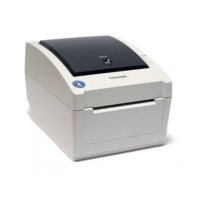
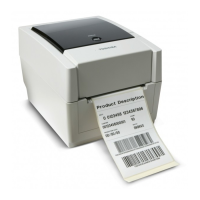
2. PRINTER SETUP ENGLISH VERSION
2. PRINTER SETUP
E2- 1
2. PRINTER SETUP
This section outlines the procedures to setup your printer prior to its operation. The section includes precautions,
loading media and ribbon, connecting cables, setting the operating environment of the printer and performing an
online print test.
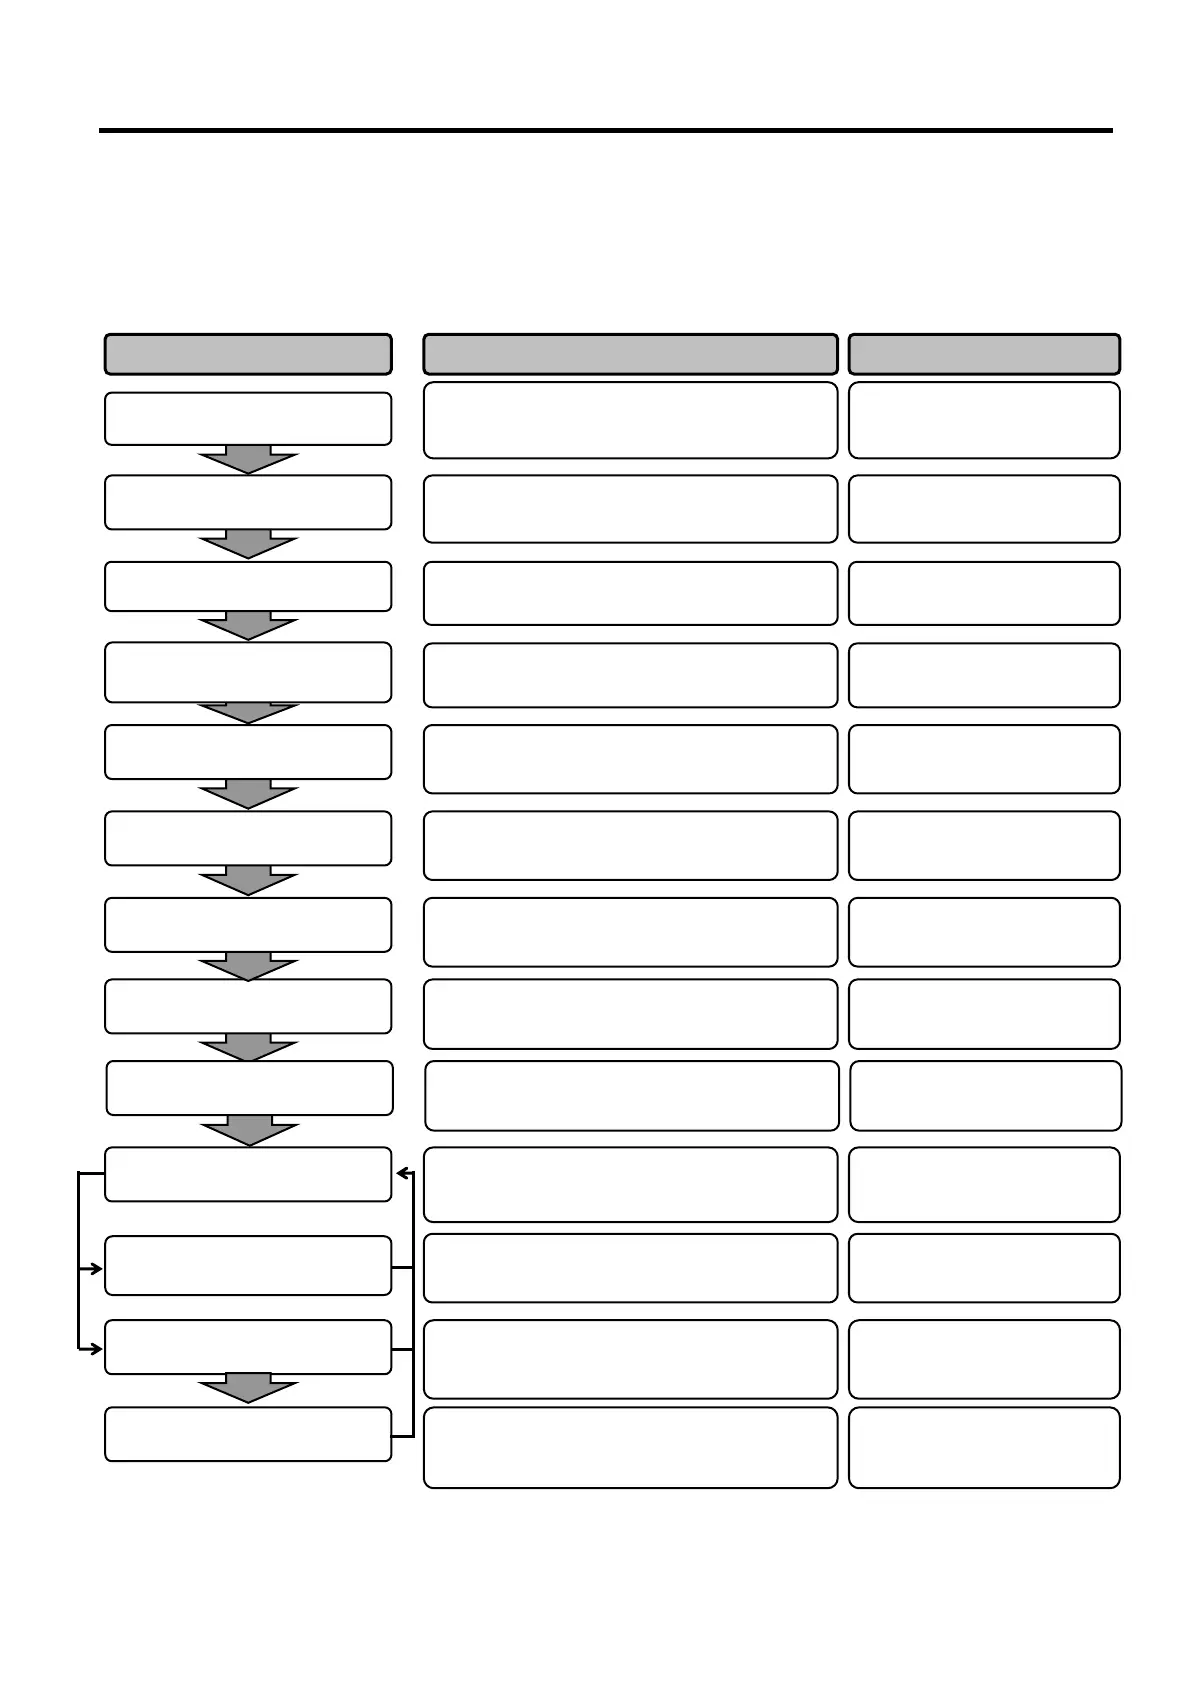
Reference Procedure Setup Flow
After referring to the Safety Precautions in this
manual, install the printer i
location.
Connect a power cord to the power inlet of the
printer, then to an AC outlet.
Load a label stock or tag stock.
Adjust the position of feed gap sensor or black
mark sensor according to the media being used.
If using thermal transfer media then
ribbon.
Connect the printer to a host computer or
network.
Set the printer parameters in the system mode.
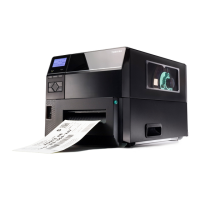
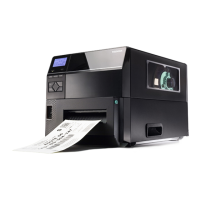
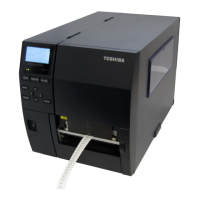
Installation
Connecting the power cord
Loading the media
Printer setting
Media sensor position
alignment
Loading the ribbon
Connecting to a host computer
Make a print test from
environment and check the print result.
Print test
Cord
2.3.1 Loading the Media
2.3.1 Loading the Media
2.3.2 Loading the Ribbon
to Your Printer
2.6 Printer Setting
2.8 Print Test
Automatic threshold setting
Manual threshold setting
If necessary, install the printer driver o
host computer.
2.7 Installing the Printer
Drivers
properly when pre-printed label are
threshold automatically.
If the print start position cannot be detected
properly even after
automatic threshold setting is
performed manually set the threshold.
2.10 Threshold Setting
2.10 Threshold Setting
Turn on the printer power.
Turning the power ON
ON/OFF
Position and Print Tone Fine
adjustment
If necessary, fine adjust the print start position,
cut/strip position, print tone, etc.
2.9 Position and Print Tone
Fine Adjustment
Installing the printer driver
 Loading...