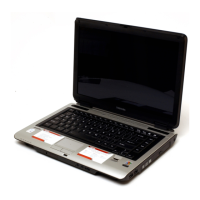
4.15 Top Cover with Display Assembly 4 Replacement Procedures
Satellite Pro M10 Series Maintenance Manual (960-431) 4-53
Installing the Top Cover with Display Assembly
To install the top cover with display assembly, follow the steps below and refer to Figures 4-
32 to 4-35.
1. Seat the top cover with display assembly and secure it with six latches.
2. Secure the top cover with following screws:
• Three M2.5×5 black screws
• One M2.5×4 brass flat-head screw
• One M2.5×12 black flat-head screw
3. Connect following four cables:
• LCD/FL cable to PJ4205 on the VGA board
• Internal microphone cable to PJ5002 on the sound board (if necessary)
4. Close the display panel and turn the computer right side up.
5. Secure the bottom case with the following five screws:
• Two M2.5×16 black flat-head screws
• Three M2.5×6 black flat-head screws
6. Seat the CPU/MDC cover and secure it with one M2.5×6 black flat-head screw and
two M2.5×4 black flat-head screws, if necessary.

 Loading...


