95
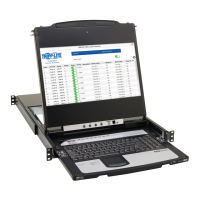
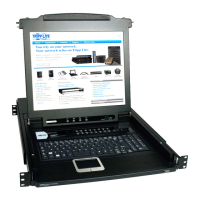
18. Remote Session Operation
Windows XP and later:
1. Open the Mouse Properties dialog box
2. Click the Pointer Options tab
3. Set the mouse speed to the middle position (6 devices in from the left)
4. Disable Enhance Pointer Precision
Sun / Linux:
Open a terminal session and issue the following command:
Sun: xset m 1
Linux: xset m 0
Mouse Synchronization Procedures
If you are experiencing syncing problems after adjusting the mouse properties, try the following methods to help synchronize the local and
remote mouse pointers.
Note: Mouse synchronization may require several seconds to take effect. Wait for 15 to 30 seconds to ensure the mouse has had sufficient time to sync.
• When in a remote session, move the mouse pointer to the upper-center of the screen to open the control panel, and then move it back into
the remote screen. The mouse pointers should align.
• Drag the control panel to a different position on the screen.
• When in a remote session, move the pointer into all 4 corners of the screen (in any order).
• Perform a Video Auto Sync by right-clicking on the Video Settings icon in the control panel. In most cases, the local and remote mouse
pointers will sync following the video auto sync.
• Invoke the Adjust Mouse hotkey command (see the Hotkeys section in 13.1 Control Panel for more information). This hotkey command
defaults to F8, F7, F6.
• Adjust the video settings to decrease the amount of information being transferred over the network. The less data that is being sent, the
faster the response time. In particular, the Quality and Detect Tolerance settings in the Video Settings screen (see Video Settings section in
13.1 Control Panel for more information) can help improve keyboard and mouse response time.
• Go to the Network page in the Web Interface and reduce the Network Transfer Rate setting.
• Go to the display settings section of the remote computer and lower the video resolution, refresh rate and color settings.
• If the remote computer has a graphic desktop background, change it to a solid color background.
First Port – Skips to the first accessible port on the installation.
Previous Port – Skips to the first accessible port prior to the currently selected port.
Next Port – Skips to the first accessible port after the currently selected port.
Last Port – Skips to the last port on the installation.
Scan Ports – Initiates Auto Scan mode.
Array Mode – Initiates Panel Array mode. Refer to 18.3 Panel Array Mode for more information.
Open GUI – Opens the Web Interface.
Customize Control Panel – Opens the Customize Control Panel screen and allows users to choose which icons are displayed in the
control panel. Feature editing is also available.
 Loading...