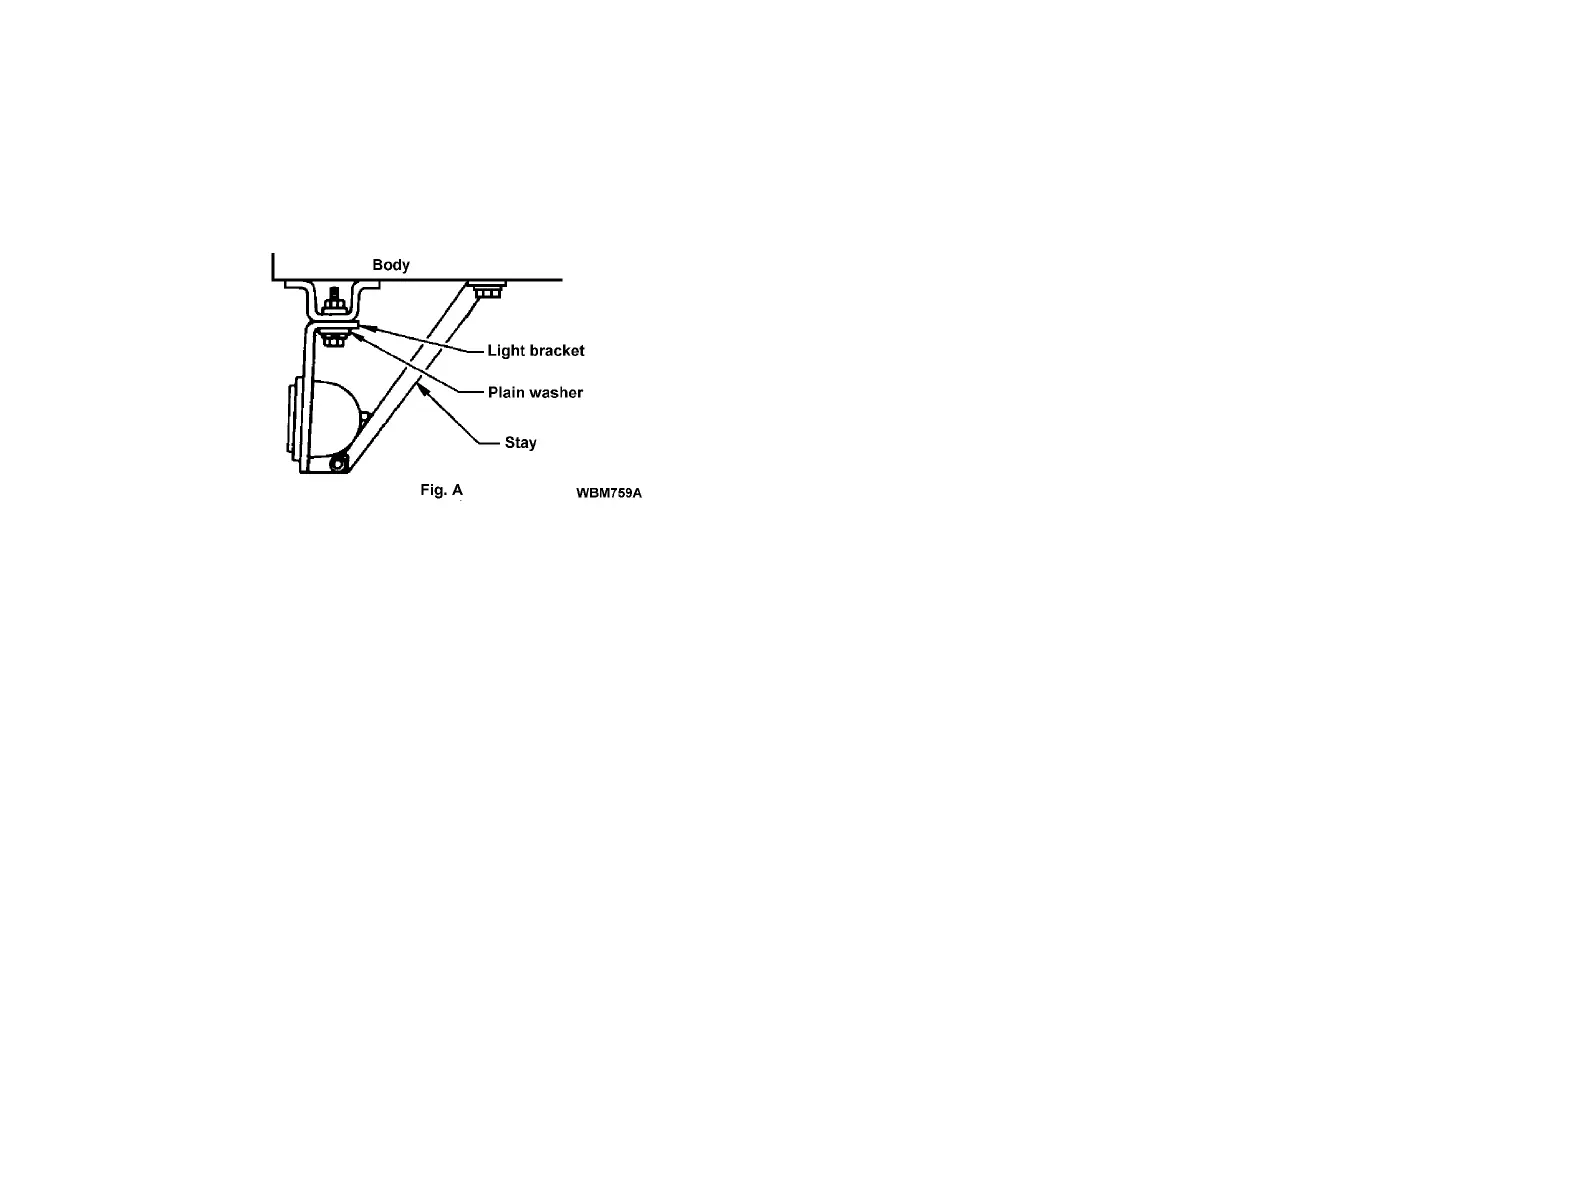
• Installation using upper fitting holes
Tighten the light bracket with 0.31 in (8 mm) diameter hexagonal
bolts and nuts at 3 places. Be sure to use plain washers. Support the
light with a stay to avoid the light vibration.
(b) The license plate light and holder assembly is bolted on the rear
frame crossmember. If it is not necessary to relocate this assembly,
replace the bolts and nuts with rivets, or weld each nut and bolt
assembly to prevent loosening. If the light is moved, care must be
taken not to change the relative position between the holder and the
light. Assure that the assembly is permanently affixed.
5. ADDITION OF OTHER LIGHTS AND ELECTRICAL
COMPONENTS
When the total wattage of the lights on Table III of paragraph 4
exceeds 108 watts, or when adding a light other than one described in
paragraph 4 and other electrical components, install the wiring circuit
according to paragraph 3 and the instructions below.
(1) Power supply (12-volt)
• When connecting additional components, take power from the B-termi-
nal of the vehicle’s alternator. Be sure to follow these precautions.
Be sure to install a fusible link, fuse or circuit breaker for circuit protec-
tion.
Be sure to limit the maximum load to under 20A (240 watts).
Be sure to use proper wire and size and specifications for power
supply.
Be sure to install a relay for controlling an added light, and keep in
mind precautions (2).
(2) Switch for added device
• When controlling an added light with an existing switch, install a relay
for the light. Be careful to pass only the actuating current for the relay
through the switch. The load current for the added light must not be
passed through the switch.
Other added loads must not be controlled by existing switches. Be
sure to install an exclusive switch for each added device. When adding
switches inside the cab, extra care must be used to prevent
interference to existing wiring.
C21