Step 3: Mounting the caps Assembling the X/Y axes34
To attach the wooden caps, perform the following actions:
1. Attach the wooden caps in corner A, see image 33.
The wooden caps WITH hole on the inside, the wooden end caps
WITHOUT hole on the outside.
5 Notice: Use two bolts M3 x 16mm and two hex nuts 3mm at both
panels.
image 33: attaching the wooden caps in corner A
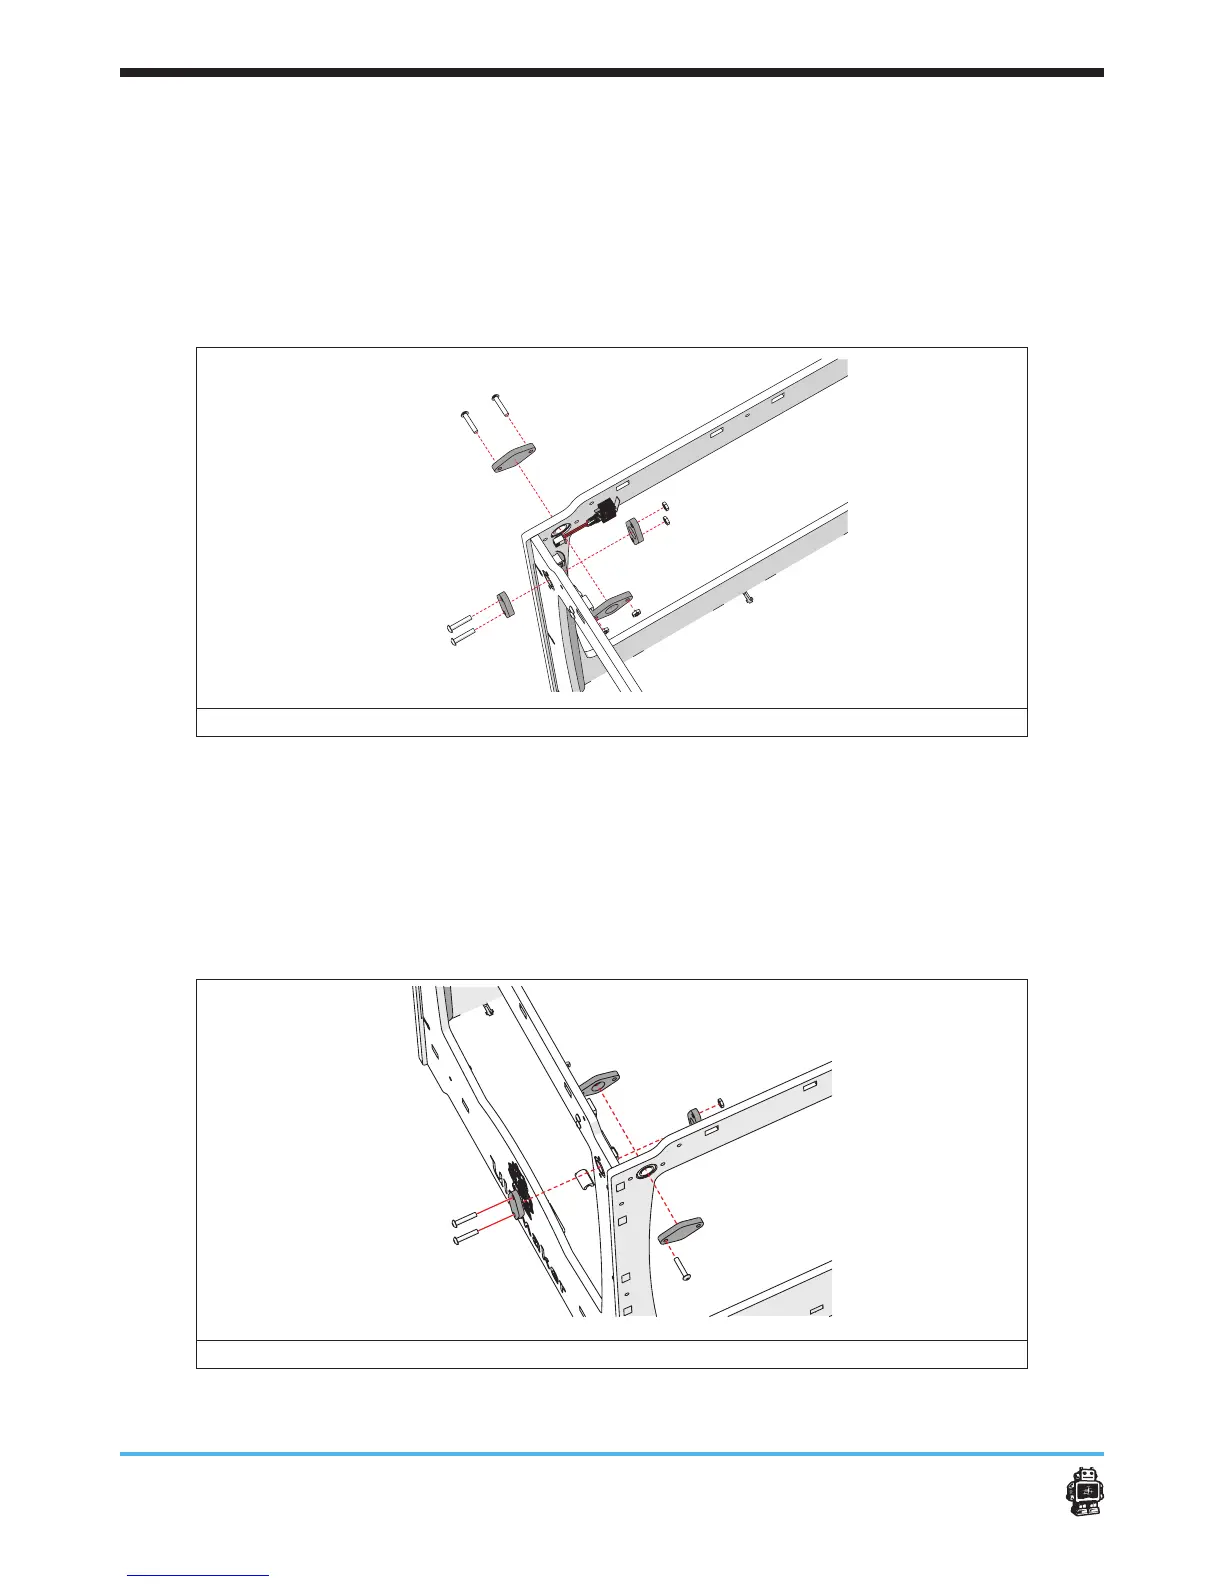
2. Attach the wooden caps in corner B, see image 34.
The wooden caps WITH hole on the inside, the wooden end caps
WITHOUT hole on the outside.
5 Notice: Use ONE bolt M3 x 16mm and ONE hex nut 3mm at the RIGHT
panel.
5 Use two bolts M3 x 16mm and two hex nuts 3mm at the FRONT panel.
image 34: attaching the wooden caps in corner B
 Loading...


