Step 4: Mounting the axes Assembling the X/Y axes40
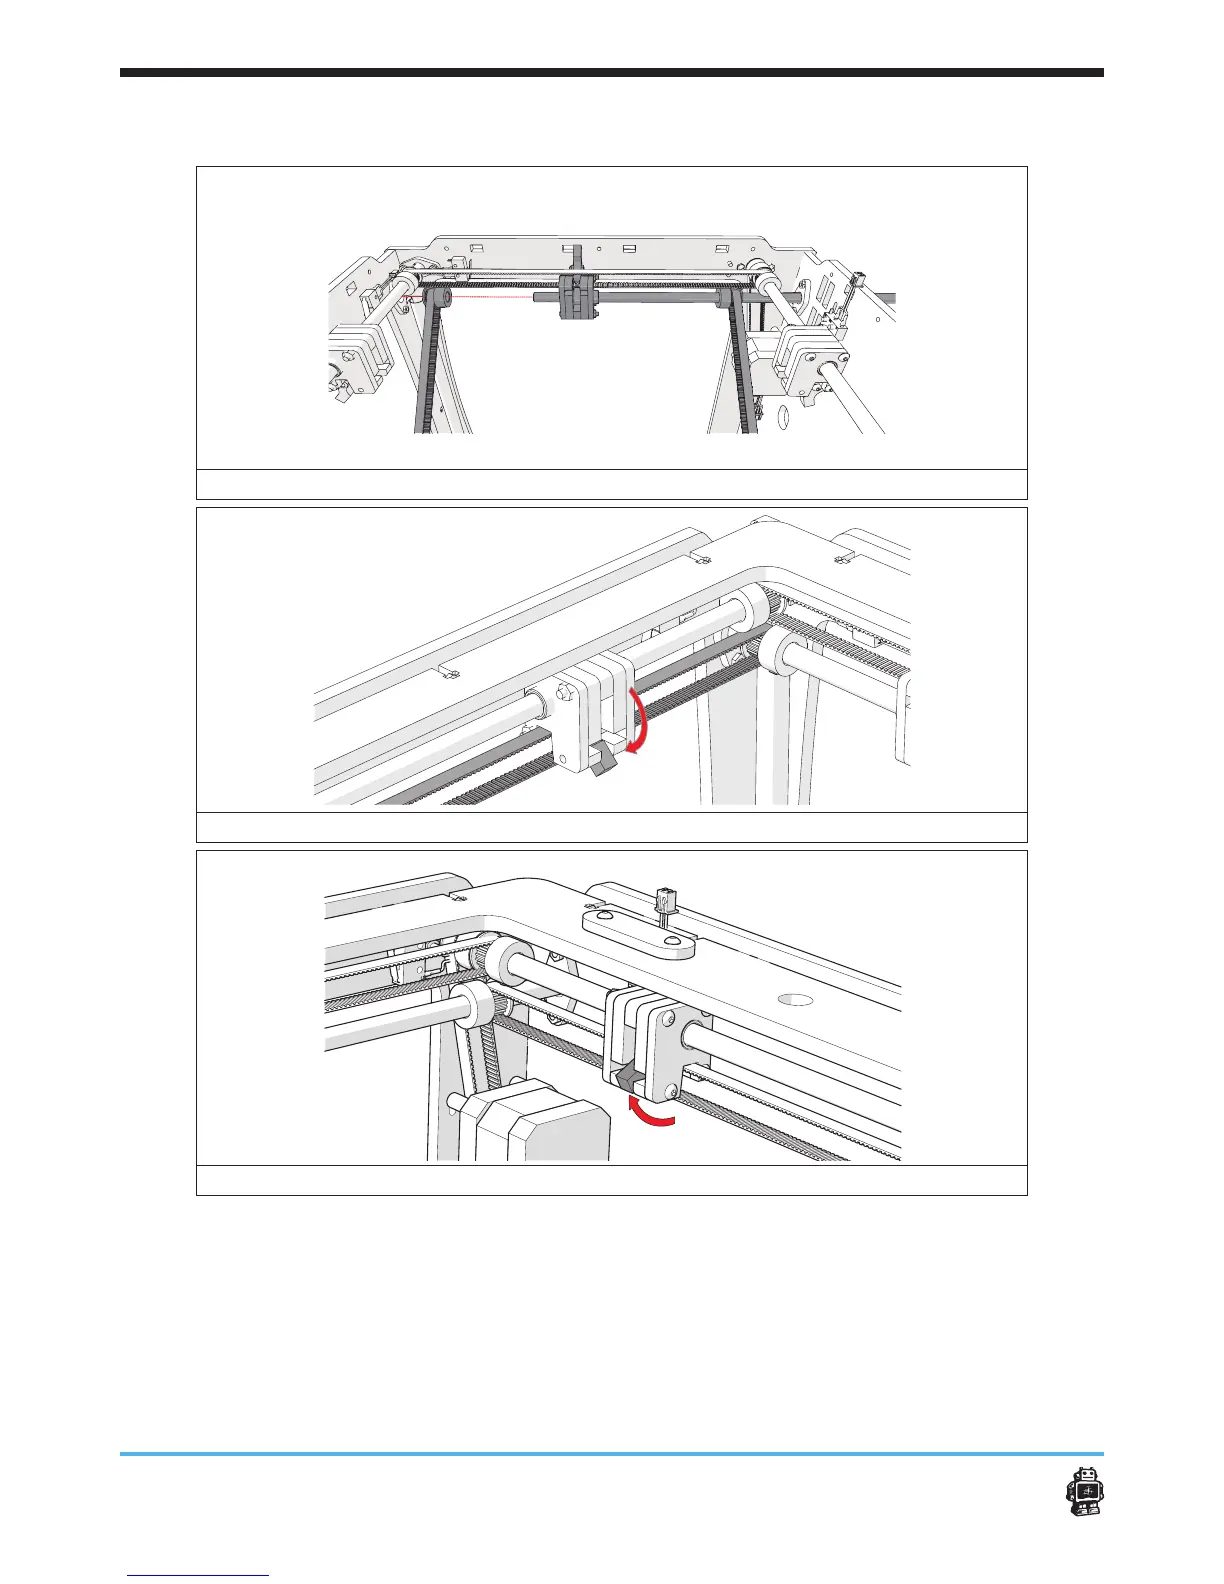
image 43: attaching the LEFT axis.
image 44: attaching the FRONT slider block on the timing belt
image 45: attaching the BACK slider block on the timing belt
To attach axis RIGHT (LONG) perform the following actions:
1. Get a axis LONG.
2. Rotate the wooden end cap WITHOUT hole (BACK panel, RIGHT).
3. Put the pulleys on the timing belts.
Use ONE timing pulley for the timing belt which is connected to the
motor.
Use ONE timing pulley for each timing belt which is connected to axis
 Loading...


