66
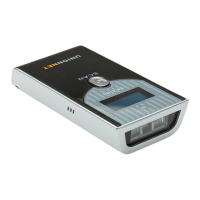
BarcodeGuy.com® - UnionNet SP2100 User’s Guide
4
5
6
7
8
9
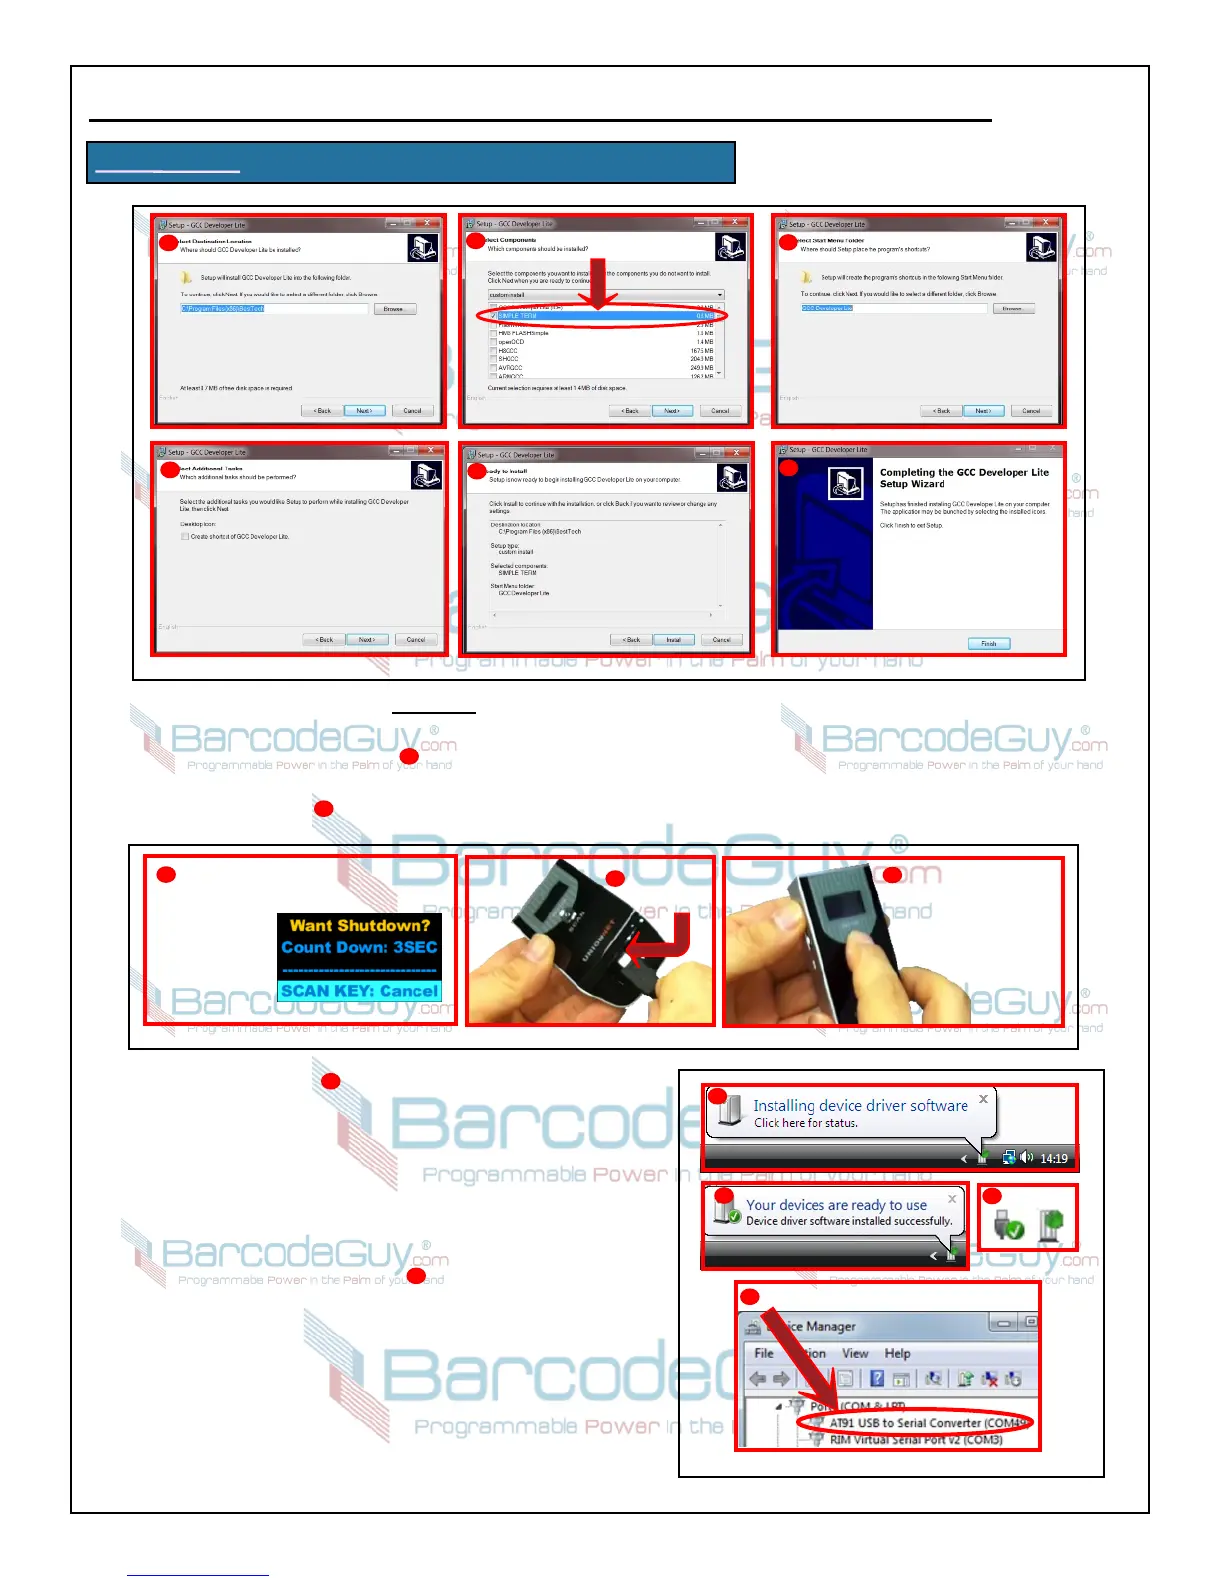
figure F3 - Continued from prior page
APPENDIX F
-
Updating SP2100 Firmware
Insert USB
Cable ..
2
1
Then plug
Type A
Connector
into your
Windows PC
Press & Hold Scan Button until
Power Off Screen Appears. Allow
Power-Down.
3
Press & Hold Top
Side Button then
press Scan Button.
LED Indicator will
Flash green.
figure F4
8. CAUTION: Follow this step explicitly!
8.1 Power off the SP2100 by pressing the Scan Button for 5 seconds. “Want Shutdown” message will be displayed on
the SP2100 screen (figure F4 ). Allow the scanner to fully power down.
8.2 With the SP2100 powered off, plug one end of the USB cable (supplied in the kit) into the bottom port of the
SP2100 (figure F4 ). Plug the other end of the cable into a Type A USB port on the PC where you installed
“SIMPLE TERM” IN Steps 4 through Step 7.
8.3 Refer to figure F4 Press and hold the Top Side button
of the SP2100
8.4 While holding the Top Side button in, press the SP2100’s
Scan button. The scanner will respond by rapidly flashing
the LED indicator green. Release both buttons on the
SP2100.
9. With the LED indicator flashing green on the SP2100, look at
the System Tray of the PC on the bottom right of the screen
down by the clock. You should see the message “Installing
device driver software” (figure F5 ).
9.1 If you’re running Windows 7 with an Internet
connection, Windows Update will search online until it
finds and installs the appropriate driver - ”AT91 USB to
Serial Converter”. Note that this may take up to 10 minutes
to locate and install. If you get a warning about Windows not
being able to verify the Publisher of the driver, choose “Install
this driver software anyway”.
9.2 When the driver is finished installing, you will see a
System Tray balloon down by the clock that says “Your
2
1
3
4
Serial Port Assigned in Device Manager
figure F5
2
1
3
NOT
1