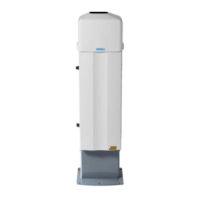
Ceilometer CT25K
User’s Guide CT25K-U059en-2.1
100
8.3 Start-up procedure for replacement (all parts)
Replacement can be done outdoors even in the presence of light precipitation
but in this case take care that the removed subassembly remains dry and no
water gets into the interior of the Ceilometer CT25K. However, if adjustment
is needed after replacement then that must be done in clear weather conditions
or indoors using the Optical termination hood (CT25184).
Before you start to remove or replace parts do as follows:
1. Open the enclosure door of the Ceilometer.
2. Turn the Circuit Breakers F1 and F2 to OFF position.
3. Turn the Battery Switch OFF
4. Detach all cables from the external connectors J2...J4.
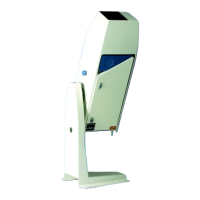
Tilting the Ceilometer unit slightly backwards gives better access to the
interior. To tilt the unit, loosen the two screws of the pedestal first. Tilting
backwards must not be done in rainy weather.
Clean the window by flushing it with water to remove coarse grains. During
this operation, the enclosure door should be closed. Use a soft lint-free cloth
moistened with mild detergent. Be careful not to scratch the window surfaces.
Check also the condition of the shield and clean it if necessary.
NOTE
Outdoor adjustments should be done in clear weather
conditions (no precipitation, no fog present and no clouds
below 1,000ft). Also the window must be clean. If the
ceilometer is serviced indoors, or outdoors with fog or
clouds below 1,000 ft present, then an Optical
termination hood (CT25184) must be used to prevent the
receiver from saturating from the backscatter signal.
Optical termination hoods can be purchased from Vaisala.
 Loading...
