Subject to modification! Updated 10/2017
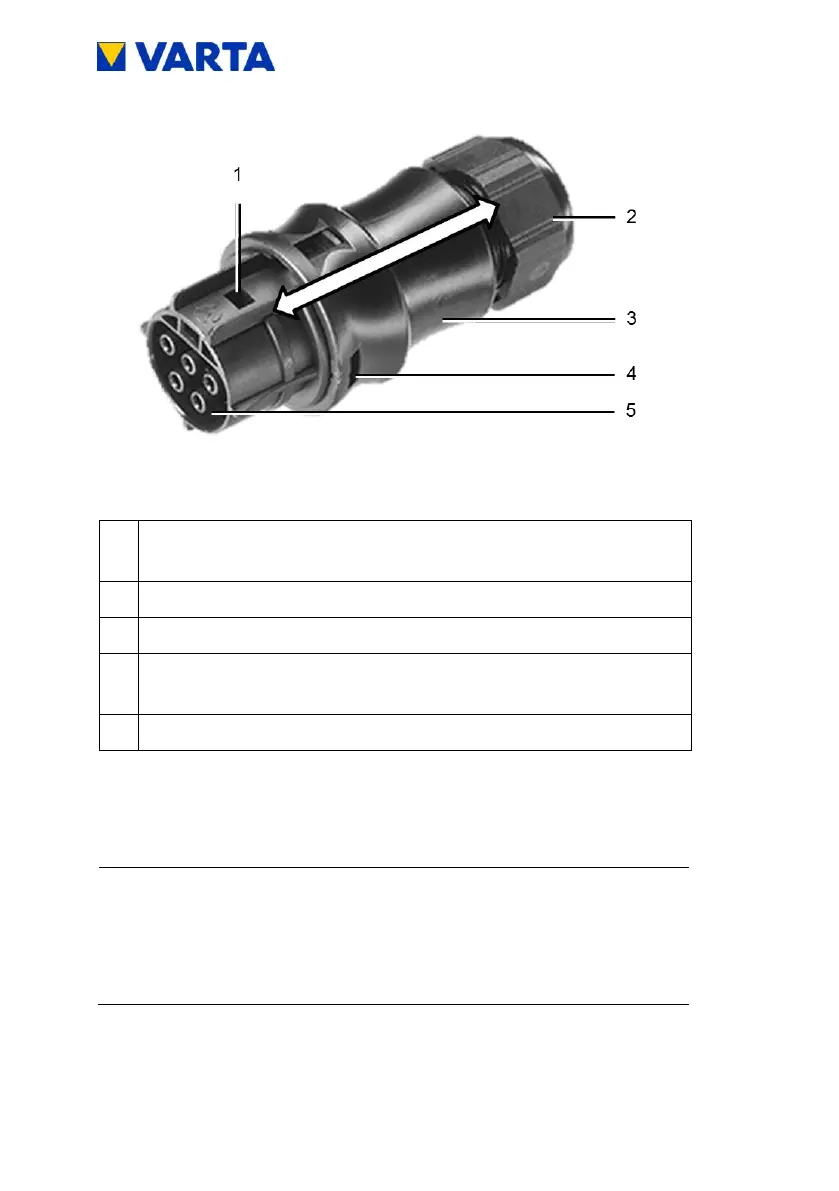
Opening for locking when inserting
To release: Push in snap-in nose
Union nut for strain relief
Opening for snap-in nose (on both sides).
For locking when mounting the connector
Insert the wires according to Figure 13: Assignment AC-
connector (connection side) into the screw connections in
the contact insert and screw tight.
Ensure that the conductor is tightly fixed in the
connections.
Insert the contact insert into the connector housing. Both
parts must audibly snap into the snap-in noses at the
sides.